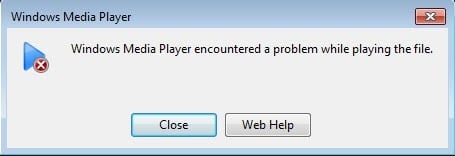
Have you ever downloaded a video and gotten an error message that the file could not be played because it is damaged or corrupt? There are many reasons why a video file could become corrupt ranging from bad sectors on a hard drive to electromagnetic interference to power failures to torrent problems, etc.
Luckily, most damaged AVI or MPG files can be fixed because the problem is normally related to the index. If the index is repaired, then the files can be read by the media player again.
In this article, I’m going to talk about a couple of programs that can help you repair corrupt video files. Note that you might end up with a smaller file or with parts of the video missing when using these tools, so make sure to create a backup of the original file.
Also, if you end up using multiple tools, make sure to always start off with the original file for each program. Performing multiple repairs on the same video file using different programs could lead to more corruption!
It’s also worth noting that I specifically didn’t mention a couple of programs that you might run across online because of various issues. Digital Video Repair by Rising Research showed up as having malware when I ran it through VirusTotal.
Another program called File Repair that claims it can repair files of all sorts, but it didn’t repair my test AVI file and therefore wasn’t really worth mentioning for this article.
DivFix++
DivFix++ has been around for a long time and does a really good job of repairing AVI and DivX files. Once you download it, go ahead and extract all the files and then run the EXE file.
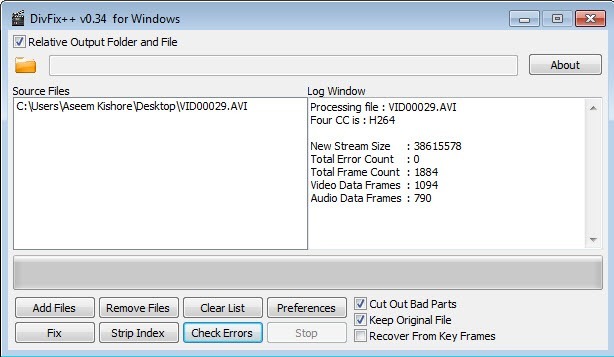
Click the Add Files button to choose your video file and then click on the Check Errors button to have the program scan to see if there are any issues.
In order to fix the file, go ahead and click on the Fix button. In my instance, it gave me an error count of 0, but the video was still not playable because I purposely messed up the index.
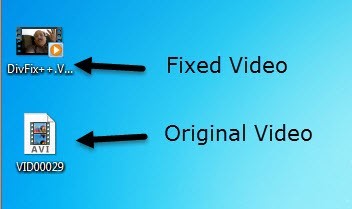
Even so, when I clicked the Fix button, it instantly repaired the file and created a copy because I checked the Keep Original File box. It will output the repaired video in the same directory as the original video file.
I could also tell before I even played the video that the file was repaired because Windows was showing me a thumbnail of the first frame rather than a generic video icon. Go ahead and give this program a shot first because it usually works.
VLC Media Player
If you already have VLC Media Player installed on your computer, then this might be the better option because it has the ability to repair the index for an AVI file.
When you open the damaged file, you’ll get a message asking what you would like to do: Build index then play, Play as is, or Do not play.
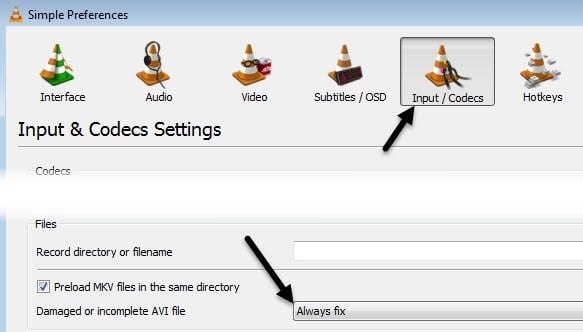
If you have a bunch of files that are having this problem, you can have VLC automatically fix the file when it is played by going to Tools and then Preferences. Click on Inputs and Codecs and then choose Always Fix next to Damaged or incomplete AVI file.
Now whenever you open a damaged AVI file, it will automatically fix it temporarily and play the video. Note that it does not actually modify the original video file itself, instead it just fixes the issue in memory and plays the file.
Remo Repair AVI
Remo Repair AVI is a free program to download, but will try to charge you a whopping $70 when you go to save your repaired video. This is just a ridiculous price and because of the way the program is currently coded, it can easily be bypassed.
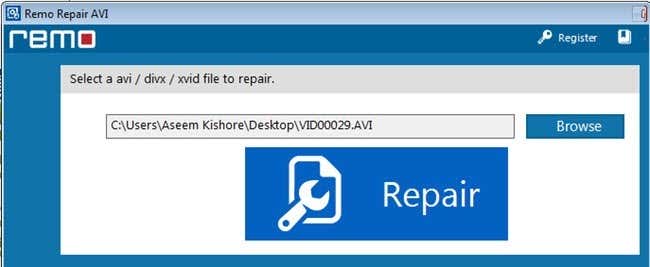
Download the program, install it and then run it. Click the Browse button to select your video file and then click on the big Repair button.
Now don’t worry about clicking on Save or Preview because the program has already repaired the file and simply saved it to a hidden folder on the computer.
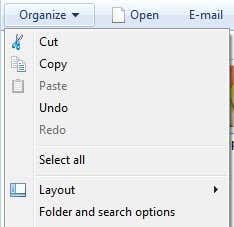
First, go ahead and open Explorer and configure it so that you can see hidden files and folders in Windows 8 or Windows 10. If you’re running Windows 7, click on Organize and then Folder and Search Options.
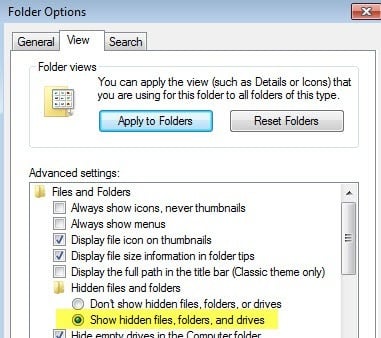
Next, click on the View tab and then click on the Show hidden files, folders and drives button.
Now navigate to the following folder on your hard drive:
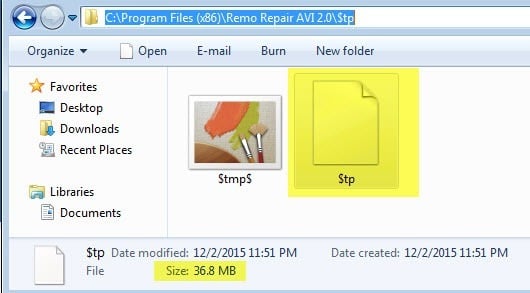
C:\Program Files (x86)\Remo Repair AVI 2.0\$tp
Here you should see a file called $tp and it should be the same size or very close to your original video file. The file won’t have any extension so it’ll look like a default document.
Go ahead and copy this file to anywhere you like and then just rename it to anything you like, but make sure to put an .AVI extension to the end. For example, I copied mine to the desktop, right-clicked on it, chose Rename and then typed in MyVideo.avi. BAM! You can now play the repaired video just fine.
Hopefully, one of these three methods will get you a repaired and playable AVI video! If you have any questions, feel free to comment. Enjoy!
