Arcades are something of a relic from days past. You may occasionally catch one in your local mall, bowling alley, and amusement parks or other family attractions, but for the most part, they’ve gone the way of the dinosaur. Not only that but the arcades of today don’t tend to house the familiar games of yesteryear.
MAME, short for Multiple Arcade Machine Emulator, has seen fit to do its part in recreating the original arcade experience in the form of a multi-purpose emulation framework. An emulator is a software designed to mimic specific hardware. There are many out there that will imitate an arcade machine (as well as other gaming consoles) but MAME is hands-down the best for the job.
The sole purpose MAME set out to accomplish was the preservation of old arcade titles. Most but not all arcade games operate on a similar hardwired processor chip setup. But there are others, like Dragon’s Lair, that ran on laserdiscs.
MAME will emulate the hardware that housed the games, including the machine’s memory, processors, or CPU (central processing unit). When you pair it up with an arcade game ROM (read-only memory) and the perfect sound, MAME will imitate the game for you. It serves as a perfect arcade machine emulator.
A ROM is essentially the storage software for the game you intend to play. MAME supports thousands of different ROMs so finding one for your nostalgia trip, should be a rather simple task.
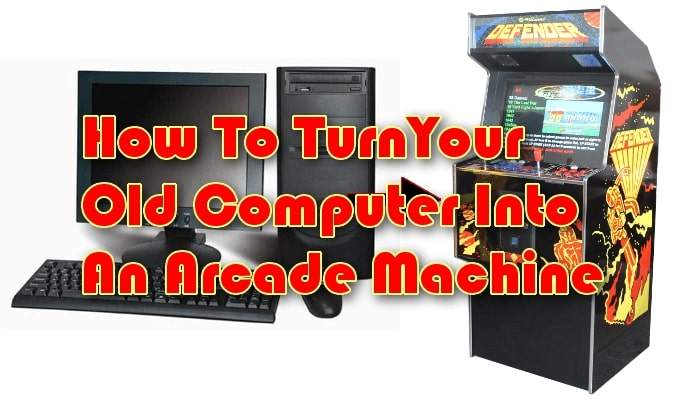
How To Turn Your Old Computer Into An Arcade Machine
Before we can begin building an old time arcade machine, there are a few things you’ll need to know. Firstly, creating an arcade machine emulator is not a simple project. The undertaking will require skills in more than just your knowledge of games and tech. There will also be a need for coding, soldering, wiring, and a bit of carpentry.
You could just enjoy the games on your regular everyday computer, but that’s not the experience we’re going for in this article.
The Legality Of It All
MAME is free and open for use to the public but does not come with any ROMs. The reason for this is that arcade games, including those with companies that may have have since closed, are still copyright protected.
This means that unless you have a physical copy of the game itself, the download and use of the ROM would be considered against the law.
For this project, we’re going to assume that you have legitimately purchased a physical copy of the game you plan to play. All you’re missing is the hardware to play it on. In this case, the use of both MAME and the ROM(s) are perfectly legal.

The Right Computer & Monitor For The Job
The MAME website lists the minimum requirements for running MAME on a computer as:
- Any MMX-capable AMD or Intel processor.
- Windows 98 or later.
- DirectX 5.0 or later.
- A DirectDraw or Direct3D capable graphics card.
- Any DirectSound compatible sound card.
Understand that the more powerful a computer is, the better it will be at handling the MAME processing requirements. Remember that MAME is attempting to emulate the behavior of the original hardware. This will require a lot of processing power.
The basic PC version of MAME runs a command-line system meaning you’ll need to type in commands to edit settings and play the ROMs. You can find ports of MAME that will run on machines with a Mac or Linux-based operating system. If you download the basic PC version of MAME, you’ll see that it’s a command-line system.
A monitor will be a necessity and most MAME enthusiasts prefer a cathode ray tube (CRT) TV to a computer monitor. This is because the older CRT models create a more true to heart arcade visual experience. Just make sure that whichever screen you choose, it is capable of connecting to your computer.
Choosing Your Controls
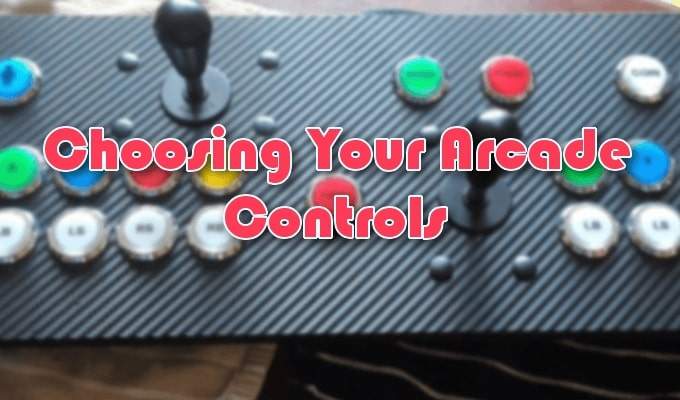
The controls you choose for your arcade machine emulator will depend on the games you want to play. Racing game? Use a steering wheel and pedal combo. Games like Centipede? A trackball works best. You want to play Tempest? The original game used a dial-like rotary controller.
Then there is the standard combination of joysticks and buttons. Regardless, MAME will likely support it so long as you turn it on using a line command.
Standard computer joysticks, steering wheels or gamepads will work with most games. You can install them via PC ports or connect them via USB. However, they don’t necessarily reproduce the feeling of a real arcade machine. You’ll need to go out and buy the real deal from vendors who sell prefabricated game control panels.
A prefabricated control panel will cost you more than buying the parts separately, but it will save you time when it comes to wiring and encoding your controls. Though, there are some MAME arcade machine fabricators that like the freedom to do it all themselves. Some will even include multiple control devices on a single machine. The choice is yours in the end.
Using Arcade Controls
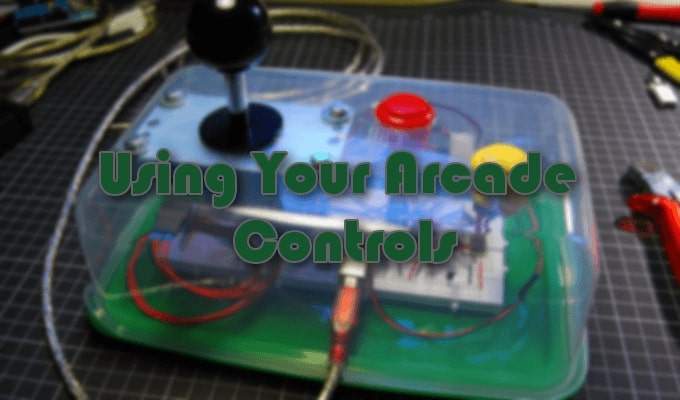
In order to use the controls, you’ll have to map them. MAME maps your arcade controls to specific keyboard keybinds by default. Each key of your keyboard is actually just a switch. You’ll want to replace the default switches with those of your controls.
An arcade joystick has switches that move in two, four, or eight directions. By mapping each direction of the joystick to a different key on the circuit board, you can program MAME to accept the input.
There are two kinds of switches used in arcade machines:
- Leaf spring switches are considered the better of the two by many arcade enthusiasts. The reason being that the design provides a better feel when playing a game.
- Microswitches tend to be on the stiffer side but are easier to find and require far less maintenance than leaf spring.
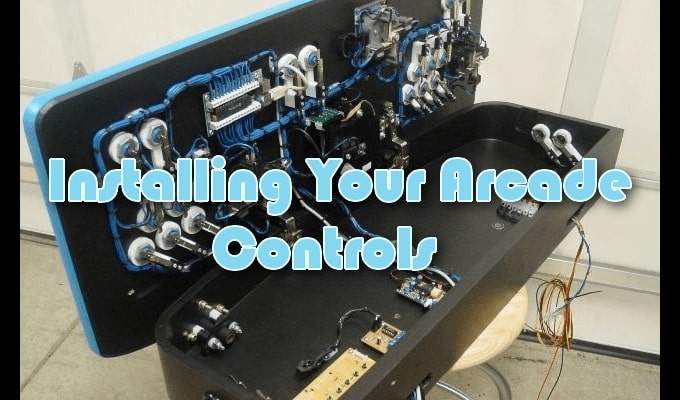
Installing The Controls
This is the most difficult part of the entire arcade machine emulator project. You’ll be crimping or soldering the wires to the appropriate connectors that correspond to the controls. You can do this by linking the ground wire connectors in series to a common ground. You’ll also need to connect the keyboard encoder to your computer.
A keyboard encoder is what is used to connect your computer with the arcade controls. Since MAME gives each arcade control a corresponding keyboard key, you’ll have to use it to test out the controls and set them as you want them.
You can run the MAME program to test your controls once they’ve been wired. This process is slow as you’ll be determining which keystrokes are being simulated by the controls and then mapping them to the correct control settings in MAME.
This means that pushing the joystick right may correspond with the keystroke B. You would need to edit the settings in MAME to match that B should map to the player pushing right on the joystick. Repeat this process for every action.
A power strip or junction box will need to be installed inside your machine to plug in your various components. An exterior power switch is also nice to have to avoid the need to open the cabinet to turn the machine on.

The Arcade Atmosphere
The lights and sounds of an arcade machine are what really bring it to life. The project wouldn’t be complete without a lit display and a solid sound system. Graphics are important but it’s the little things that bring out the project’s authenticity.
What you’ll need:
- A light source, some plexiglass, and a marquee, for the arcade machine’s overhead display. The marquee is a translucent material with artwork on it that you can either do yourself or you can buy one premade.
- Fluorescent light fixtures are a better choice than incandescents as they don’t generate a lot of heat, the bulbs last longer, and they can be found in different lengths.
- In order to protect the artwork, the marquee will need to be sandwiched between the sheets of Plexiglas. Install the fluorescent light in the top of the cabinet and aim the light source in the direction of where the marquee will be. Tweak the fixture until everything fits perfectly as you see it.
- The sound will depend on the type of monitor you chose. For TV sets, the default speakers should work just fine. A computer monitor will require a sound card installation that is compatible with your version of MAME. This, in addition to a few mounted speakers that will go inside the cabinet.
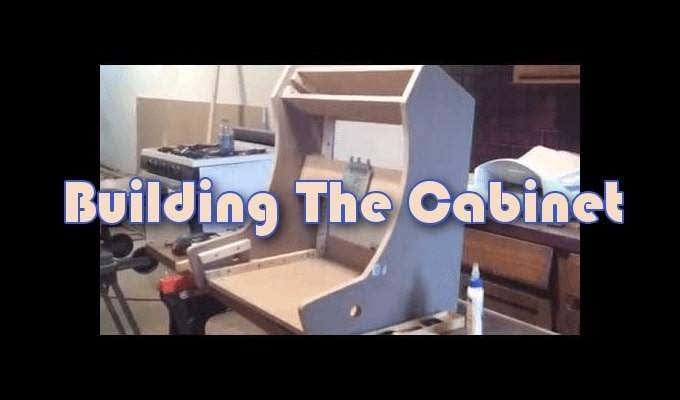
Building The Cabinet
The purchase of an arcade machine cabinet can be made at various warehouses, auctions, and websites. Cabinet parts can also be purchased separately but all in all, the option will be costly. Not only expensive but there’s no guarantee that your MAME setup will fit inside a prefabricated arcade cabinet.
If you intend on building your own cabinet from scratch you should take into consideration the computer, monitor you’ve chosen, the type of controls for installation, on top of where you expect to put it in your home.
The only design limitations are contributed by the equipment used, available floor space, your budget, and your imagination. If you need help in the design of your cabinet there are plenty of DIY websites that can assist you.
To build your own arcade cabinet, you’re going to need:
- Fiberboard or something similar to make the body.
- Wood glue, screws, bolts, and brackets to hold it together.
- A drill, a jigsaw, screwdriver, and other similar tools for the job. Door hinges, clasps, and a power switch are all optional components.
- Enough room for wiring your game control panel. This is particularly important if you’re attempting to combine multiple control system setups.
For a first time project, look to the web for help in plotting out your control panel. This is to avoid complications and mistakes, making for a less stressful project overall.