Facebook Pay is Facebook’s effort to make moving money online easier and more secure. You can use it as a money sending app to split a bill with friends or as a service to order things online.
Facebook introduced Facebook Pay on November 12, 2019. There has been a payment platform on Facebook and Messenger since before then, but it’s only now that Facebook has announced plans to bring it to their other apps and websites – WhatsApp and Instagram.
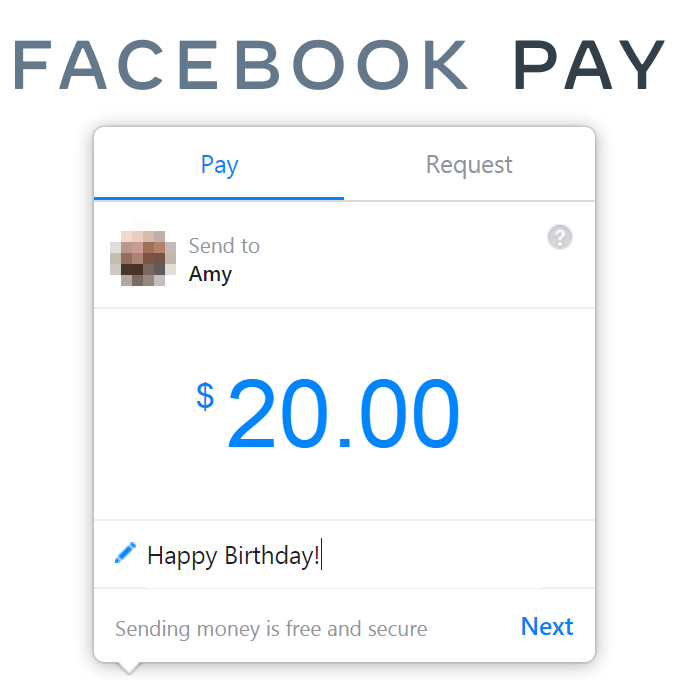
The new idea with Facebook Pay versus the old way Facebook has allowed online payments, is that you can have the payment method be used across all their apps. After signing up and choosing a payment method, you can easily buy things and exchange money with recipients from any of their apps.
Where Facebook Pay Works
Facebook Pay currently runs on Facebook and Messenger, but it’s also coming to Instagram and WhatsApp. It works across all platforms, so you can use it through those websites or through the mobile apps.
Only users in the US can use Facebook Pay at this time, but Facebook is planning on rolling it out to other countries eventually.
What Facebook Pay Is For
Facebook Pay serves two purposes depending on where you’re using it – to pay people and to buy things online.
Here’s what you can do (eventually, once implemented) with Facebook Pay from each of Facebook’s apps:
- Facebook: Buy things from Facebook Marketplace, donate to fundraisers you support, and buy games and event tickets.
- Messenger: Pay friends and family from your phone or computer.
- Instagram: Donate and order things from brands you follow.
- WhatsApp: Send and receive money just like in Messenger.
How To Use Facebook Pay
The easiest way to start using Facebook Pay is to attempt to send money to someone.
- Open a conversation with the person you want to send money to or request money from.
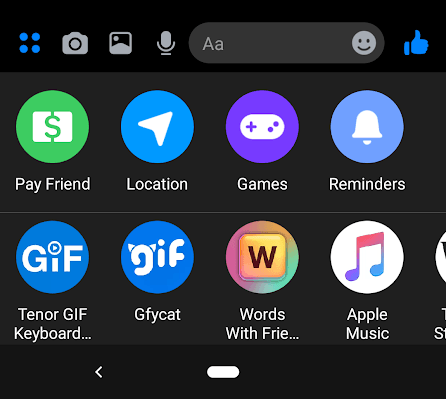
- Tap the four-dotted menu to the left of the text field. It might be an arrow if your keyboard is open. This button is a plus sign on computers.
- Choose Pay Friend. Click the money icon if you’re using the desktop version of the site.
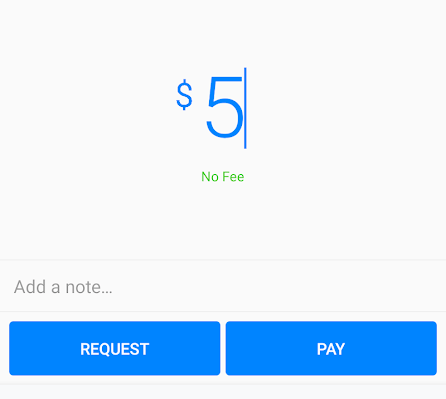
- Enter an amount and an optional note, and then choose either REQUEST or PAY.
- Add your payment information; you can pick ADD DEBIT CARD or ADD PAYPAL. Desktop users have to use a debit card at this screen.
- Select the payment method now that you’ve added it to your account.
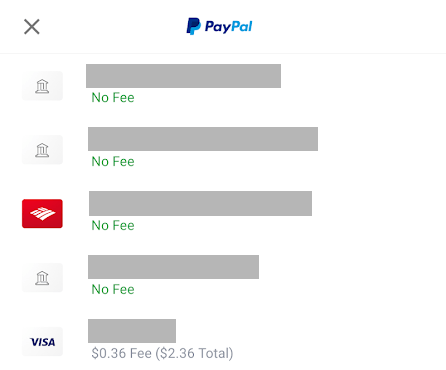
- Choose PAY or REQUEST to complete the transaction. If you selected PayPal, you’ll have an option to pick which payment method from your account that you want to use. You can also see which methods charge a fee and which are free.
- To get back to the screen where you can add a payment method, open the menu in Messenger and choose Payments.
- Then Add new debit card or PayPal.
- If you’re using Messenger on a computer, open the menu, go to Settings, and then select Manage on Facebook from the Payments section.
Another way to access the Facebook Pay settings is from the Facebook website.
- Open your Facebook settings and choose Payments from the left side, and then Account Settings at the top.
- To see all your Facebook Pay transactions, open the Payment History page of your Facebook settings, or go here.
Facebook Pay vs PayPal
Should you use Facebook Pay or PayPal? With both options readily available and free for most transactions, it might seem like a tough decision. However, PayPal and Facebook Pay are (currently) vastly different in terms of functionality.
Here’s a quick look at PayPal vs Facebook Pay:
- PayPal works at more stores
- Facebook Pay is easier to set up
- PayPal works in more countries
- Facebook Pay doesn’t charge fees
- PayPal doesn’t require a Facebook account
Facebook Pay is great for sending money to friends and family. All you need is a debit card number, and you can make payments really easily from any conversation. In its current form, Facebook Pay is just a peer-to-peer payment platform. You can’t actually buy anything with it.
This is where PayPal is different. As you might already know, lots of online stores and even physical stores let you pay with PayPal. All your payment information is stored in your account, and you can just check out with your PayPal account to securely and quickly buy things.
Another difference that’s really only relevant for a short time is that Facebook Pay requires you to have a Facebook account. This is because you have to set up your account through Facebook or Messenger. However, once Facebook makes Facebook Pay available to WhatsApp and Instagram users, you’ll be able to use the service without ever having a Facebook account.
If you don’t have a Facebook account or you don’t like to use it, your only option (between these two payment platforms) is PayPal.
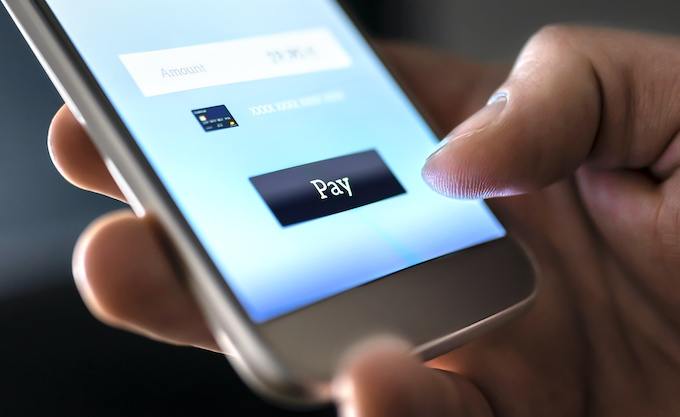
Another difference between Facebook Pay and PayPal is that there currently are zero fees to use the former. PayPal, on the other hand, takes a certain percentage of some transactions.
PayPal also has the upper hand in that you can use it in more than 200 countries/regions, and exchange money in over two-dozen currencies. Facebook Pay only works with the US dollar, and is only available in the US (though they will expand in the future).
With that being said, PayPal doesn’t have the ultra-quick setup that Facebook Pay has. If your friend doesn’t have Facebook Pay but you want to send or request money from them, they can enable payments from their account in just a minute or two; PayPal’s setup procedure isn’t that fast.