Google Docs is a favorite word processor for many people. However, many people feel limited by the few fonts that are available to choose from.
Luckily, you can add fonts to Google Docs. There are a couple of ways to do that including accessing more pre-installed fonts in Google Docs and using an add-on for external fonts.

Can You Use Your Computer’s Fonts With Google Docs?
As of this writing, you cannot upload fonts from your computer to Google Docs. You can only use the fonts that come with Google Docs and you can get a few more fonts with an extension.
Use The Fonts Menu To Find & Use More Fonts
The font picker on Google Docs only shows a limited number of fonts. There are a number of other fonts that you can use by expanding the fonts menu.
- Open your existing document or create a new document with Google Docs.
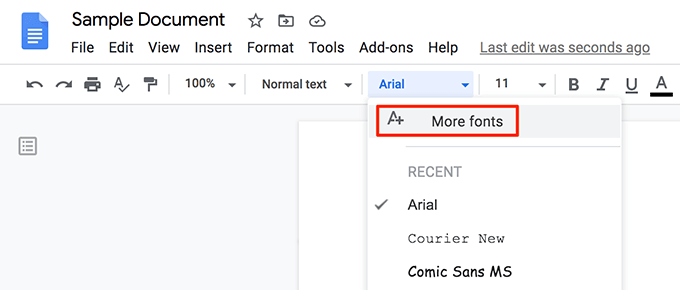
- Click the font picker arrow in the toolbar and select More fonts. This’ll open a new window.
- You’ll now see a number of fonts that weren’t available in the font picker. You can search for your favorite fonts by typing their names in the search box.
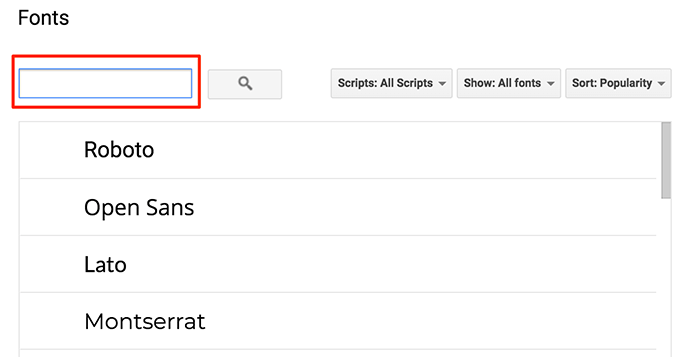
- Click on various options at the top to sort fonts by scripts, font types, and various sorting orders.
- Once you find the font you like, click the font and it’ll be added to your fonts list. Then click OK at the bottom to close the fonts window.
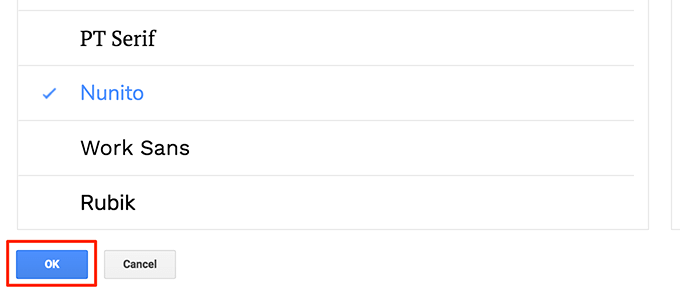
- Your selected font will now be used in your current Google Docs document.
- Google Docs lets you keep a list of your favorite fonts in that More fonts window. You can add and remove fonts from there so it’s an organized list of your favorite fonts.
Use Additional Fonts In Google Docs For Mobile
You can change fonts in your documents on the Google Docs app for Android and iOS as well. This app lists all available fonts on a single screen for you to pick from.
- Launch the Google Docs app on your phone and open your document.
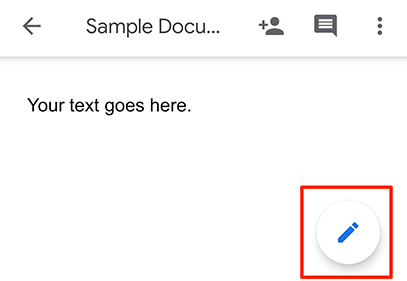
- Tap the pencil icon at the lower-right corner to edit your document.
- Tap and hold the text you want to change the font for. Then tap the A icon at the top to open the formatting menu.
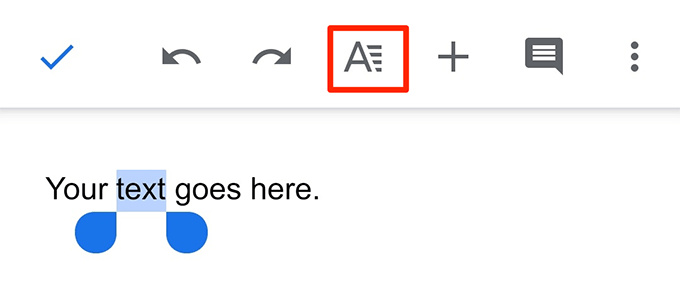
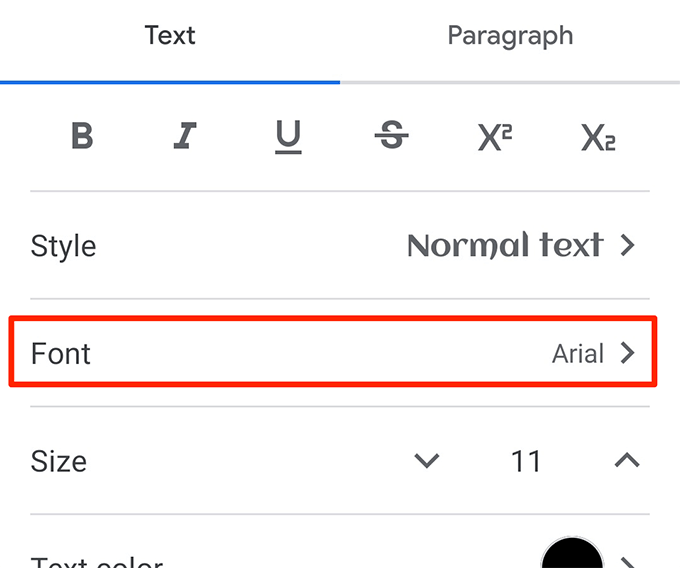
- Select the Font option to view available fonts.
- You should now have a scrollable list of fonts. Scroll down, find the font you like, and tap the font to use it in your document.
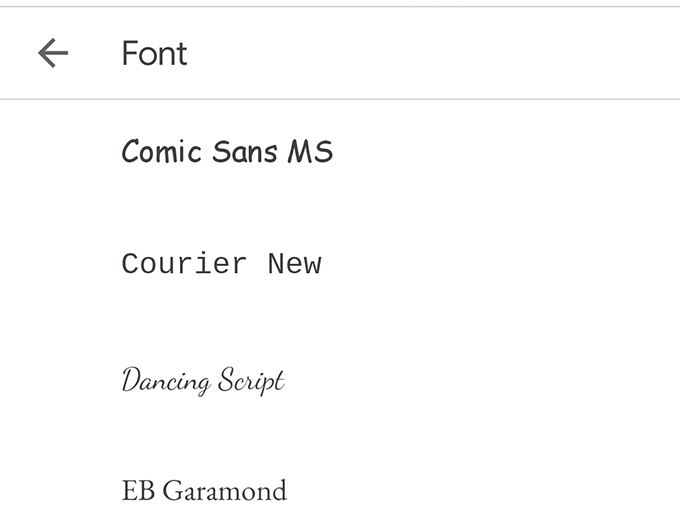
- As soon as you tap a font, your selected text will use that. Then tap the checkmark icon at the top to go back to the editing screen.
Use An Add-On To Add Fonts To Google Docs
One way to add external fonts to Google Docs is to use an add-on. There’s an add-on called Extensis Fonts that lets you add over 900 fonts to Google Docs. You need to install and integrate it with your account first, which can be done as follows.
Install Extensis Fonts In Google Docs
- Open an existing document or create a new document in Google Docs.
- Click the Add-ons menu at the top and select Get add-ons.
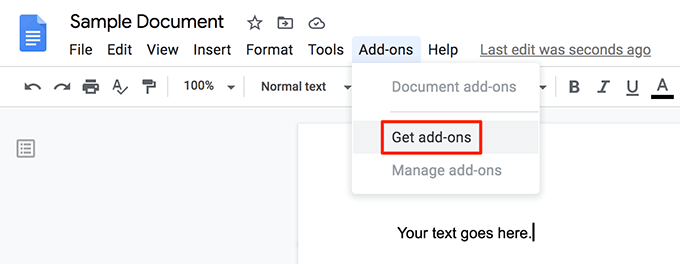
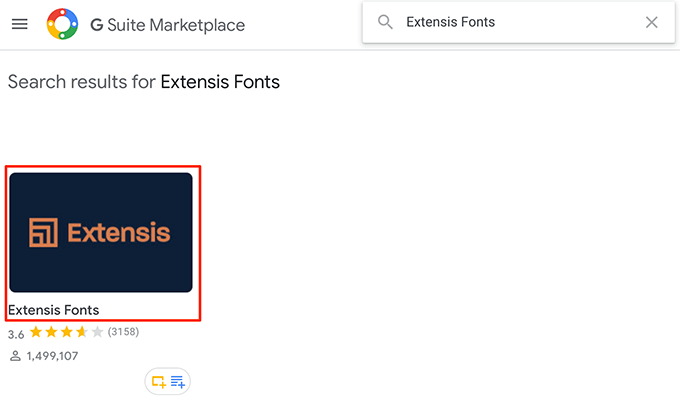
- You’ll see G Suite Marketplace offering various add-ons to use with Google Docs. Put your cursor in the search field, type Extensis Fonts, and hit Enter.

- Click the only Extensis Fonts add-on on your screen.
- You’ll now see a blue button that says Install. Click it to install the Extensis Fonts add-on in your Google Docs account.

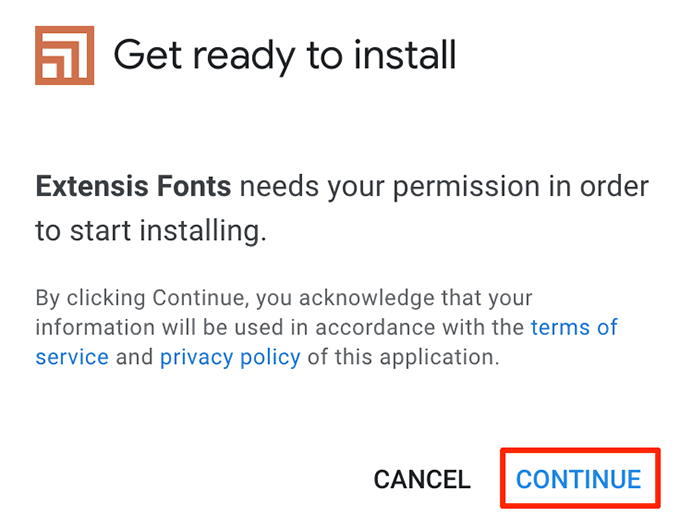
- Select Continue in the prompt.
- Choose the Google account you want to use this add-on in.
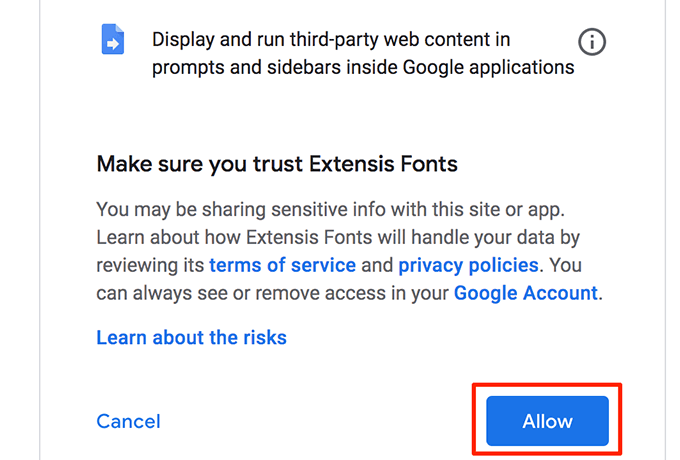
- Review data sharing information for the add-on and click Allow at the bottom.
The Extensis Fonts add-on should now be available in Google Docs.
Add Fonts To Google Docs Using Extensis Fonts
Unlike the default Google Docs fonts, you can’t pick a font from the Extensis Fonts add-on and start typing. You must have some text in your document already, and then you can use a font from that add-on to format your text.
- Select the text in your document that you want to change the font for.
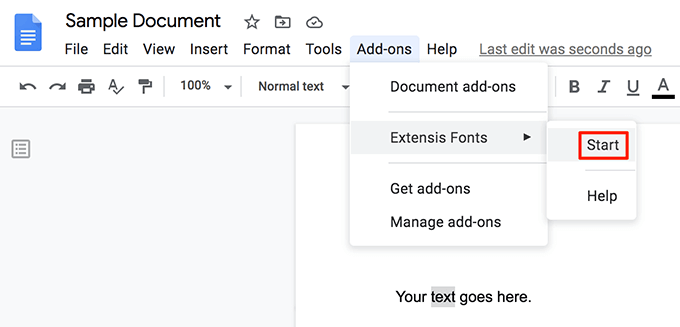
- Click the Add-ons menu at the top and select Extensis Fonts followed by Start.
- A new pane will open on the right-hand side of your screen. This pane has several fonts to choose from for your text.
- Click the font you want to apply to your text and your text will immediately use that font.
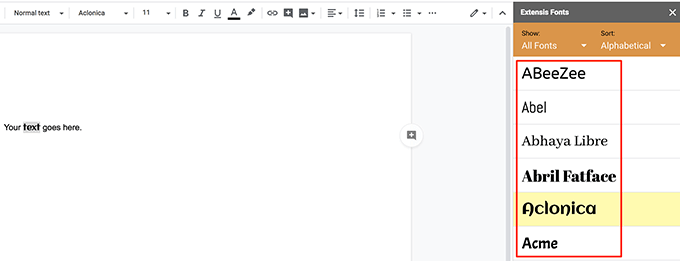
- You can click on various sorting options in the Extensions Fonts’ pane to easily find the font you’re looking for.
After you’ve applied a font to your text from Extensis Fonts, you can type using that font for as long as you want.
Set a Newly Added Font Default In Google Docs
If you’ve found the font you were looking for, you can set that font as the default so all your future documents use it.
- Select some text in your Google Docs document.
- Click the font picker to choose a built-in Google Docs font or use the Add-ons menu to select a font from Extensis Fonts.
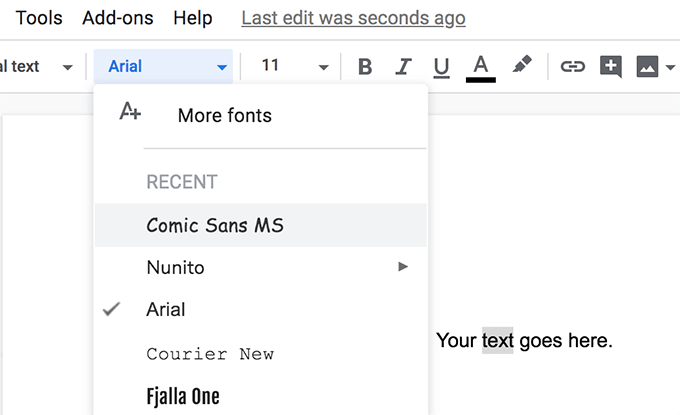
- Apply your selected font to your text.
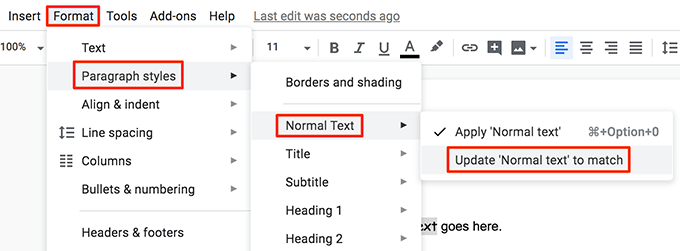
- Click the Format menu at the top, select Paragraph styles, click Normal Text, and choose Update ‘Normal text’ to match.
- Make sure your text is still selected. Click the Format menu, select Paragraph styles, click Options, and choose Save as my default styles.
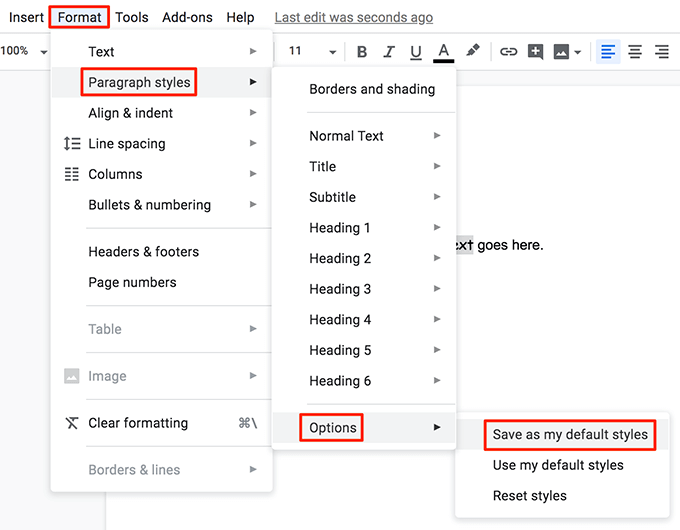
- Google Docs will now use your chosen font as the default font for all your documents.
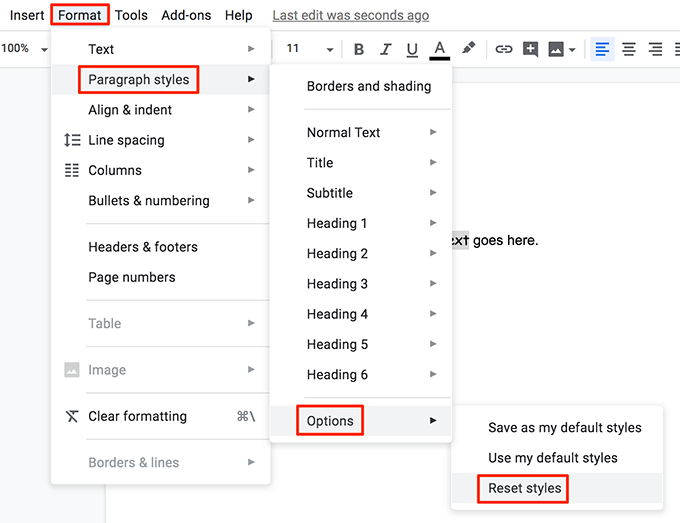
- You can reset your font preferences by clicking Format > Paragraph styles > Options > Reset styles. You then need to save your reset style as the default like you did above.
You can’t add a custom font of your choice to Google Docs but you can certainly enjoy many fonts that the above third-party add-on has to offer.
What’s your favorite font? Did you find it prebuilt into Google Docs or did you need to use Extensis Fonts? Let us know in the comments below.