Canva may not be your first thought for creating a presentation. However, this popular web-based design tool offers a robust slideshow feature set. We’ll walk through how to create a Canva presentation, present it to your audience, and share it using a variety of methods.
Create a Canva Presentation
If you’ve never made a presentation with Canva, don’t worry. This online graphic design application goes beyond creating images and crafting infographics. Canva makes it super easy to create and set up a presentation for your audience.
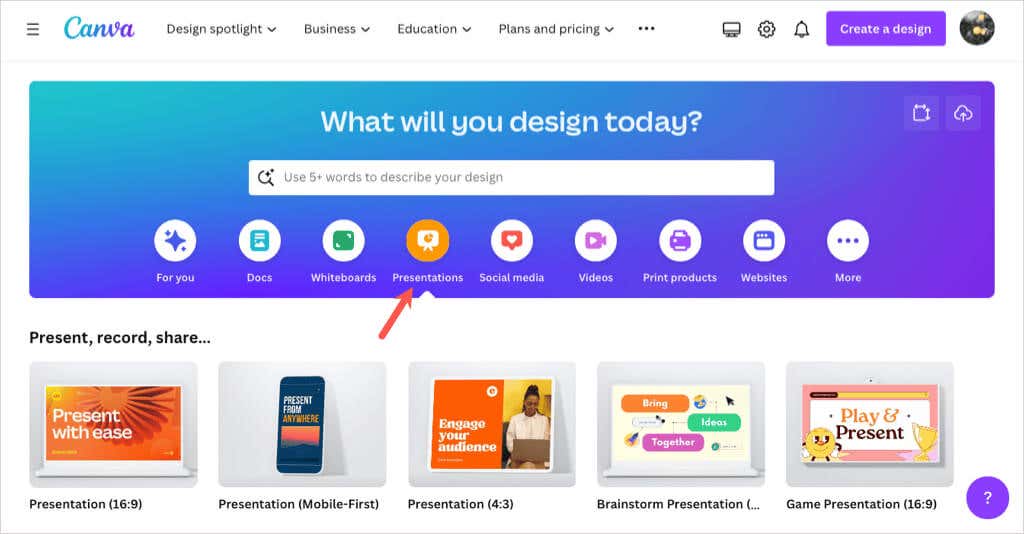
On the Canva home page, select Presentations below the Search bar. Then, choose a slideshow size or Canva presentation template to get started.
Note: If you’re using Canva Docs, you can also convert your document to a presentation by selecting Convert at the top. Follow the prompts, and you’ll see your presentation open in the Canva editor.
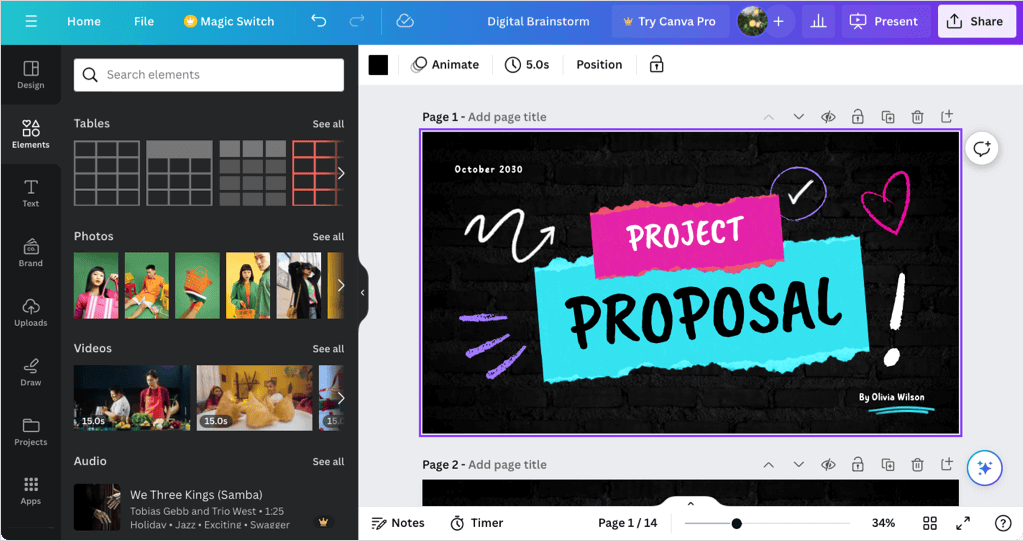
Once in the Canva editor, use the menu on the left side to add slide elements. You can select or drag items like shapes, images, or text boxes onto your slides.
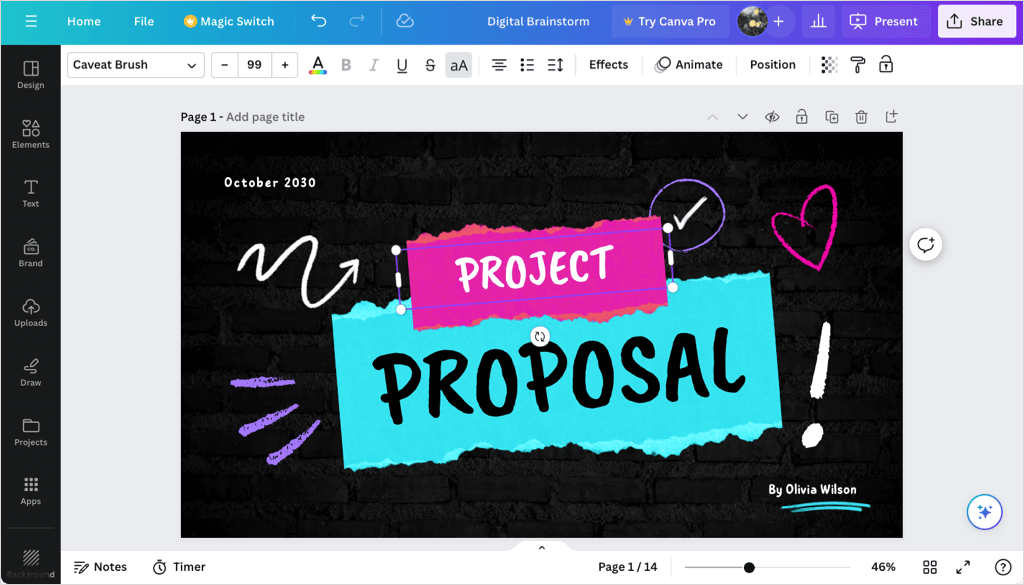
You can also edit or remove a slide element by selecting it and using the tools that display near the item or in the top toolbar. For example, you can change the style of text or transparency of an image.
Be sure to check out the full set of Canva presentation tools in the editor. You can add animations, insert slide transitions, use the grid view to rearrange presentation slides, and more.
Set Up the Presentation
After you tap your creativity to make an attractive and informative presentation, you can add notes, clock your speaking time, and adjust the slide durations.
Add Presenter Notes
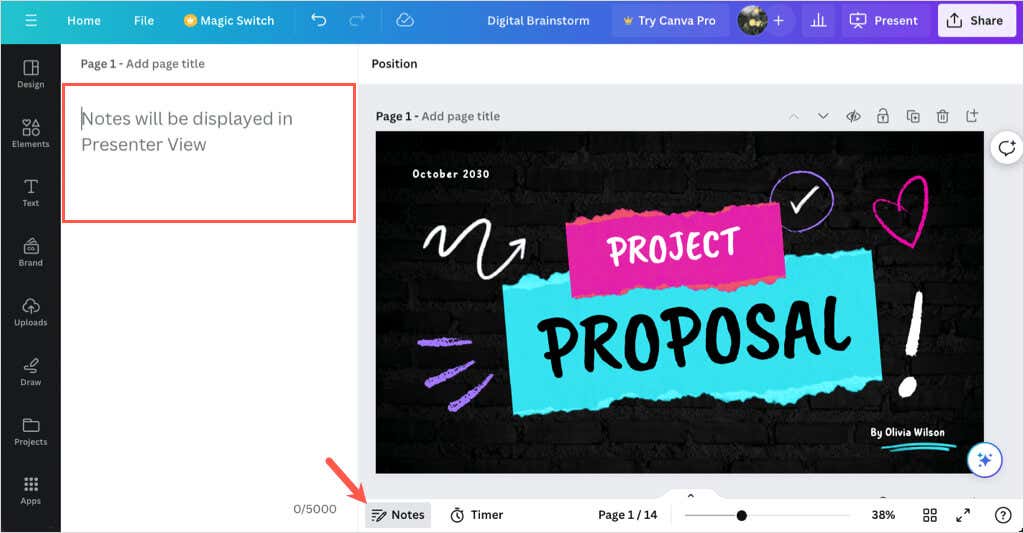
To add presenter notes to a slide, select Notes in the bottom toolbar. Then, type your note in the panel that displays on the left. You can then move to your other slides and add notes the same way.
When you finish, deselect Notes in the toolbar.
Use the Timer
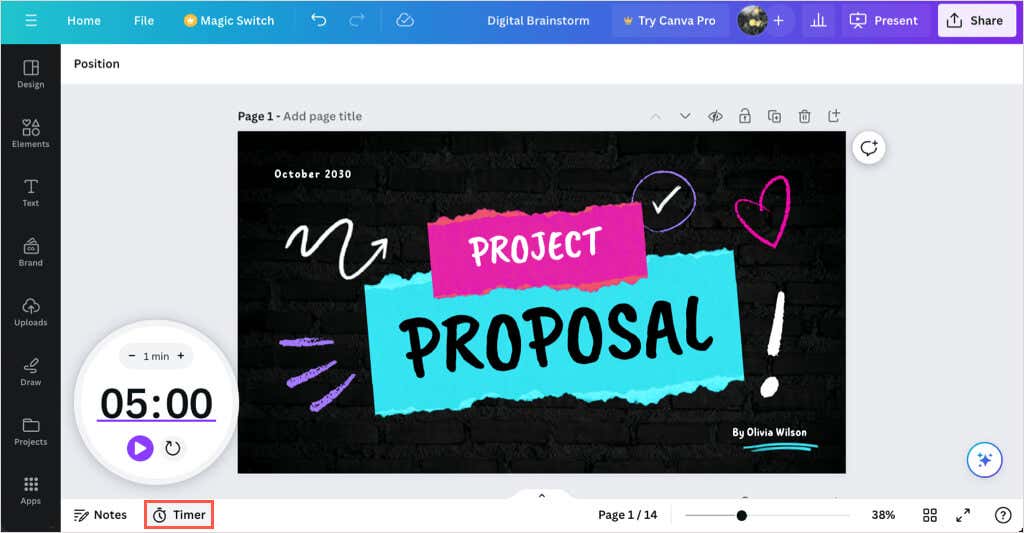
If you’d like to time your presentation, you can use the built-in countdown Timer feature. Select Timer in the bottom toolbar to display the timer. By default, the timer is set for five minutes, but you can change this using the plus and minus buttons.
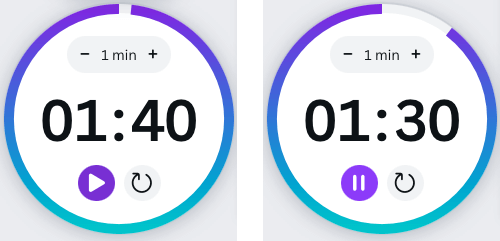
Press the Play button to start the countdown, the Pause button to temporarily stop the timer, and the Reset button to restart the timer.
To close the Timer, deselect Timer in the toolbar.
Set the Slide Duration
Maybe you’re using Autoplay (described below) and would like to display particular slides for a longer or shorter time. You can adjust the slide duration for each or all slides in two different ways in Canva.
Use the Duration Slider
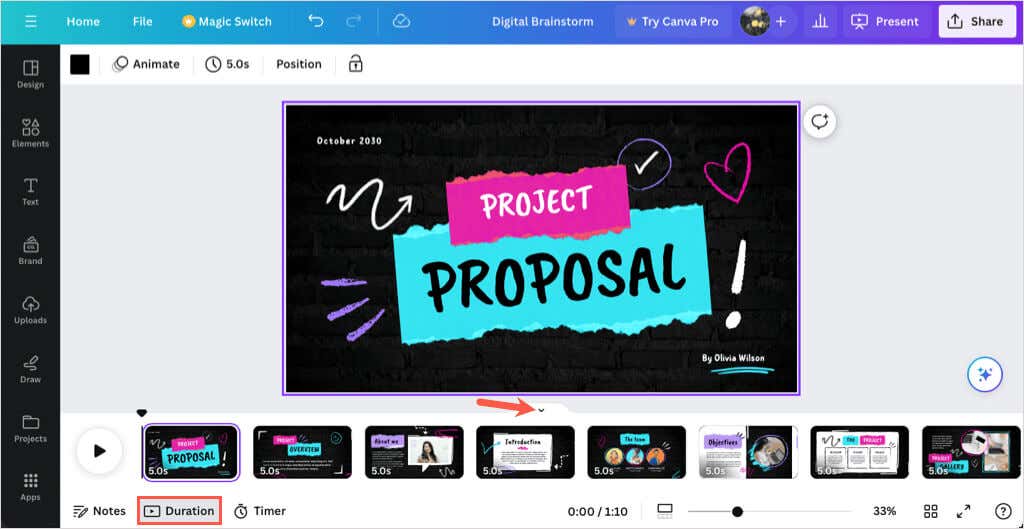
Expand the bottom section by selecting the Show Pages arrow. Then, choose Duration on the left to see the default timing for each slide.
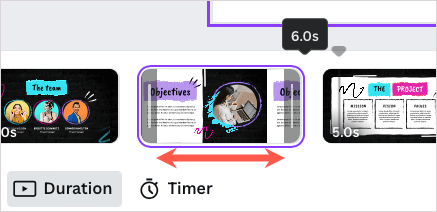
Select a slide thumbnail (page) and hover your cursor over the left or right side of it to display the duration slider. Then, drag the slider in or out to shorten or lengthen the duration.
When you finish, deselect Duration in the toolbar and optionally use the Hide Pages arrow to minimize the bottom section.
Use the Timing Feature
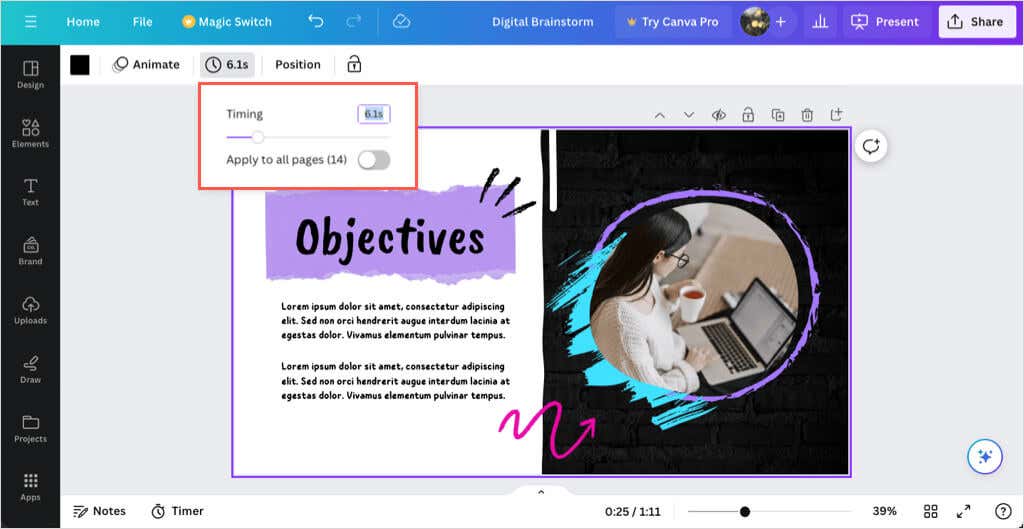
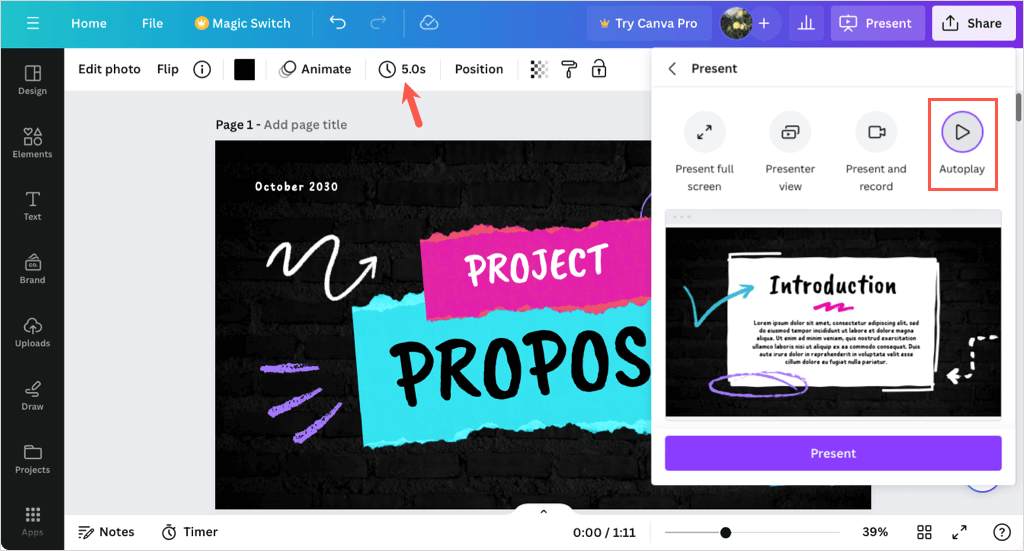
Another way to change the duration of a slide is by using the Timing option at the top of the editor. Select a slide to see its duration and choose the current timing to enter a new duration, or use the slider to adjust it.
You can also turn on the toggle to apply the new duration to all pages (slides) in the presentation.
To close the Timing tool, deselect it in the top toolbar.
Show a Canva Presentation
The great thing about creating a presentation in Canva is that you can present from it as well. If you prefer not to download and present using a different application, you have a few options to show your slideshow directly from Canva.
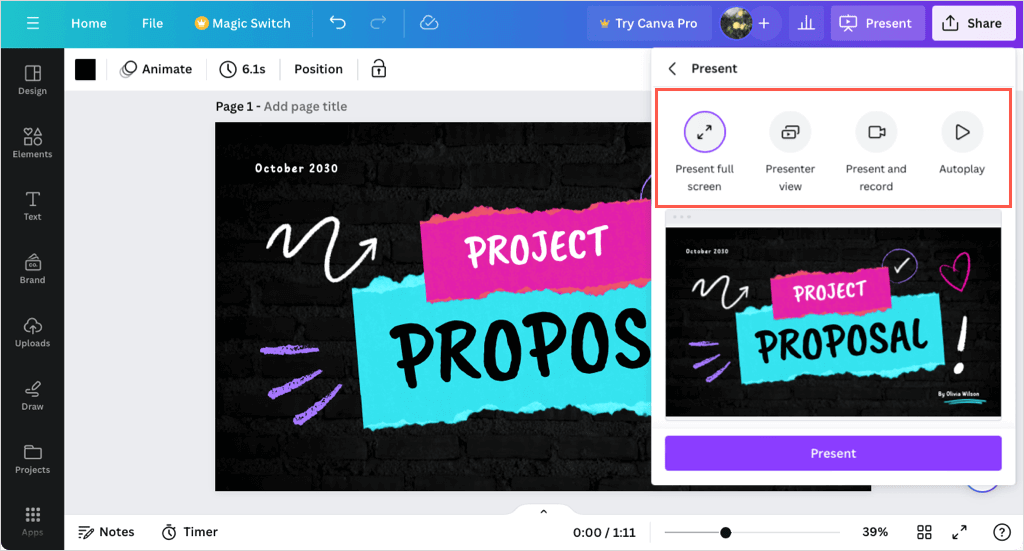
When you’re ready to present or practice your presentation, select Present on the top right. You’ll then see the options below.
Present in Full Screen Mode
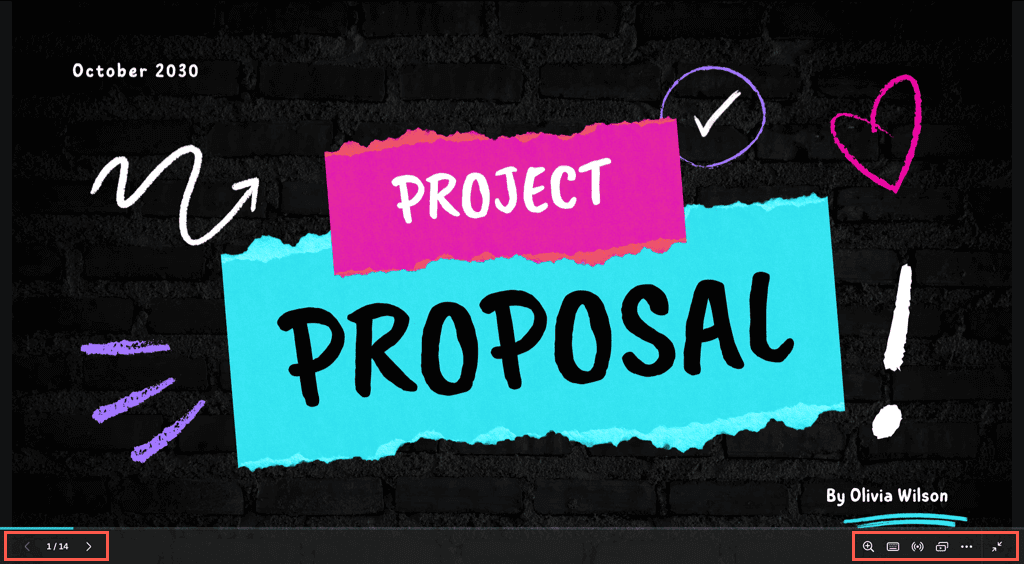
Choose the Present full screen option to enter presentation mode. You’ll see your presentation consume your entire screen and have controls at the bottom.
Use the arrows on the left to move through the slides and the controls on the right to zoom, interact, use shortcuts, or exit full-screen mode.
Use Presenter View
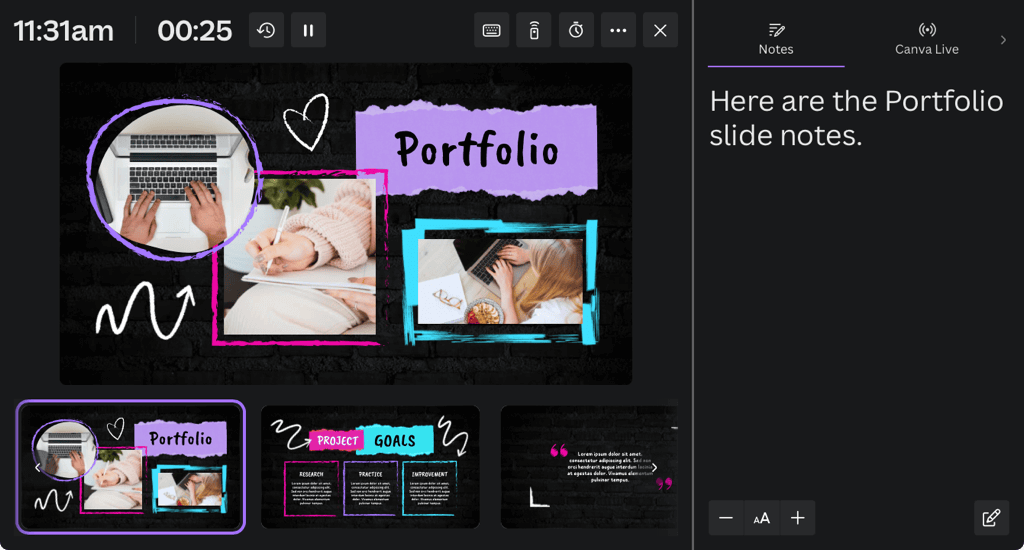
To see your notes and controls on one screen with your presentation on another for your audience, choose Presenter view.
Your screen shows the time, a count-up timer, and other controls for a countdown, AutoPlay, and the font size for your notes.
You can drag the other screen wherever needed for your audience to view.
Present and Record
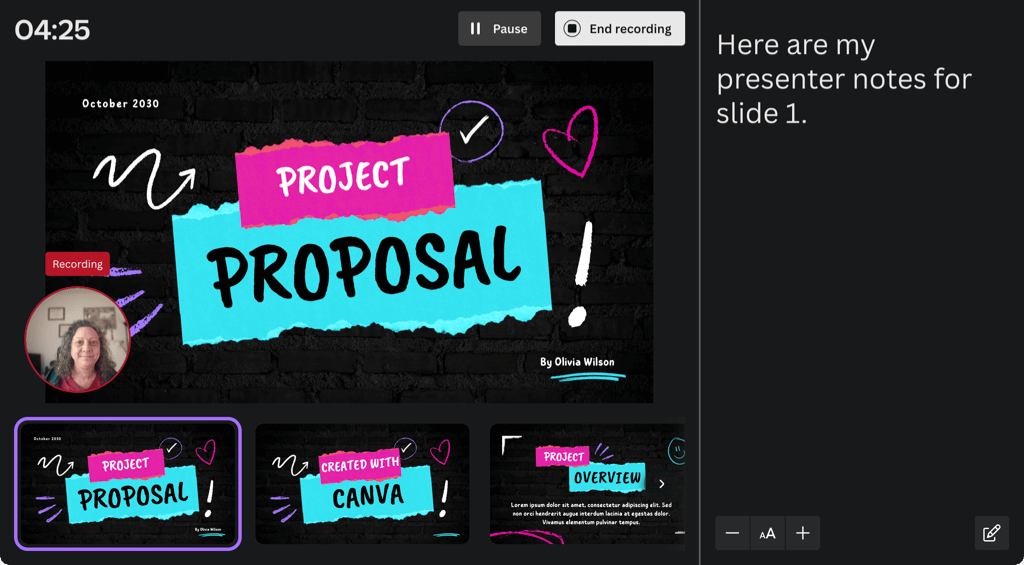
Maybe you want to incorporate your smiling face into your presentation. For this, pick the Present and record option to record yourself live as the presentation plays. You can then share the whole presentation as if you’re in the same room.
Note: This feature is currently only available when using the Google Chrome web browser.
You’ll see your face appear in a circle on the bottom left of the presentation. You can use the Pause and End recording buttons at the top to control the recording as well as see your presenter notes.
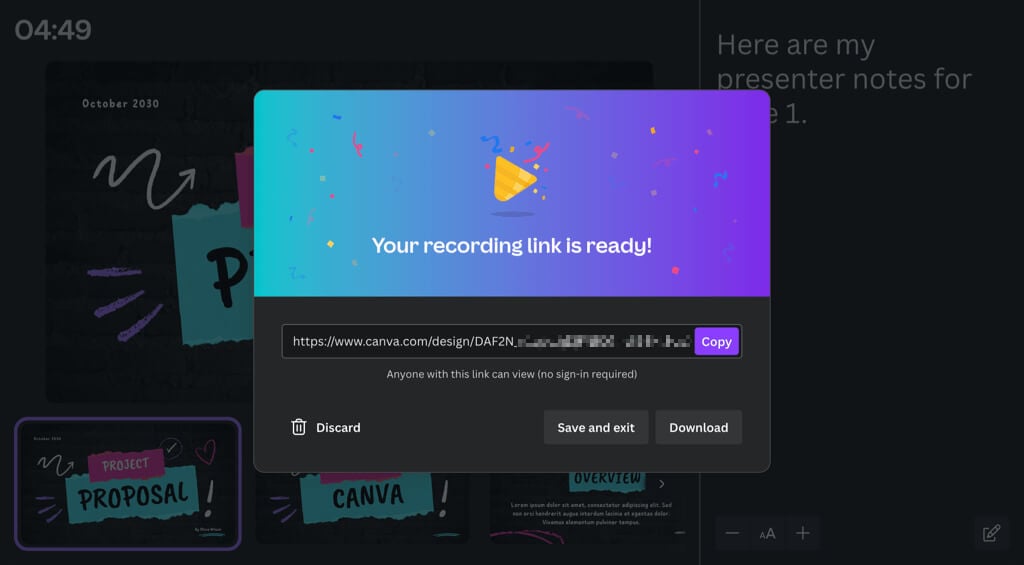
When you finish, you’ll see a link that you can copy and have the option to download the recorded presentation immediately.
Use Autoplay
Like Autoplay for a PowerPoint presentation, this is one more way to present a slideshow using Canva. With Autoplay, you can start the presentation and let it play on its own. This is ideal for kiosk presentations or when you are unable to present yourself.
When you choose Autoplay, the presentation begins and moves through each slide using the Durations you set (explained earlier). You can also manually control the presentation if needed using the same tools as the Present Full Screen option.
Share a Canva Presentation
Along with or instead of actually presenting a slideshow with Canva, you can share it in a variety of ways. Whether you want to collaborate with your team, download the file to your device, or pop the presentation up on social media, Canva has you covered.
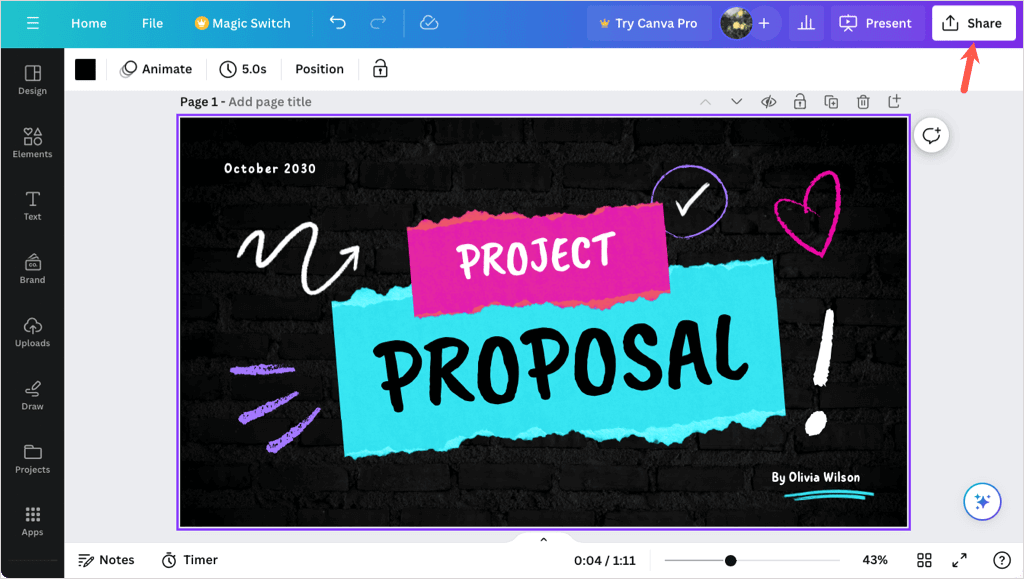
Select Share in the top right corner and then choose one of the following ways to share.
Collaborate With Others
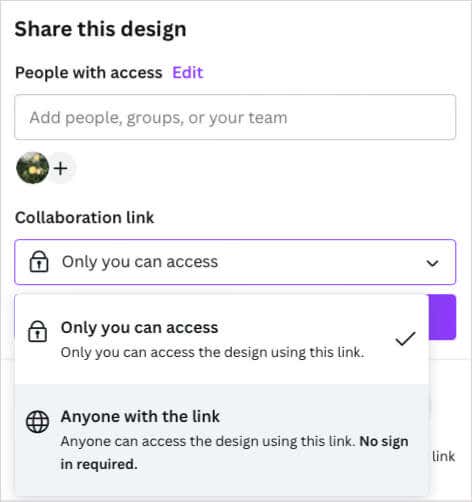
Maybe you want to work on the final presentation with a team member or coworker. You can grant access to others and provide them with a collaboration link.
Enter the people, groups, teams, or email addresses in the People with access field. Then, open the Collaboration link drop-down menu and pick Anyone with link to provide access.
Download a Presentation
If you’d like to save your presentation to your device or download it as a Microsoft PowerPoint file, this is easy too.
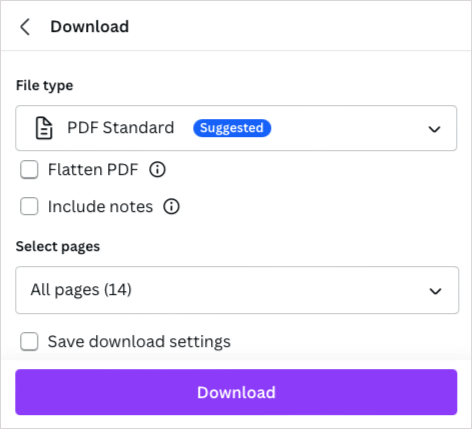
Select Download and use the File type drop-down to pick PDF, PPTX, GIF, PNG, or another format.
You can then choose to flatten the PDF, include notes, or download only certain pages (slides).
Share on Social Media
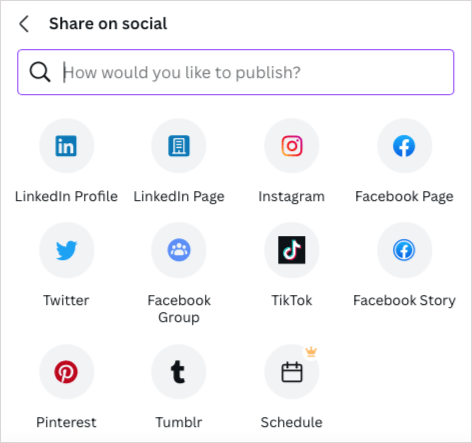
Want to post your presentation directly to Facebook, Instagram, or another social media network? Select Share on social, choose the location, and follow the subsequent prompts to sign in and set up the social media post.
More Sharing Options
If you don’t see the sharing avenue you want, don’t despair because there are even more. Select More at the bottom of the Share menu.
You’ll then see sections for Share, Social, Save, Messaging, Design, and More Options giving you a ton of sharing methods. As examples, you can obtain a public link, send it to your phone, get an embed code for your blog, upload it to Dropbox or Google Drive, send it to Slack or WhatsApp, and more.
Will You Create a Presentation in Canva?
Now that you know the basics, are you going to use Canva for your next presentation? If so, let us know what you think of the tools and features. For doing even more, check out how to blur a face in a photo using Canva.
