Have you ever thought about opening an Etsy store? The online storefront, Etsy, is a popular place for customers to buy almost anything. Etsy sellers offer craft supplies, vintage goods, and high-quality handmade items and everything in between.
We’ll walk you through what it takes to open your own Etsy shop, from creating product listings to accepting online payments. Along the way, we’ll offer a few tips and tricks for attracting potential customers and ensuring the success of your Etsy business.
Getting Started
You might ask why entrepreneurs choose to sell on Etsy instead of their own website. Etsy’s ecommerce platform gives business owners a quick, easy way to list products and accept various payment methods. Payment options accepted by Etsy include:
- Paypal
- Credit and debit cards
- Apple Pay
- Google Pay
- Ideal
- Sofort
- Klarna
- Etsy gift cards and coupons
Perhaps most importantly, Etsy helps shop owners find new customers. Etsy helps beginners create a new shop, promote their new products, and quickly move customers through the buying process.
It all starts on the Etsy homepage. Once you register and tell Etsy you want to open your Etsy shop, the wizard will walk you through everything you need to get your shop up and running.
- To begin, register for an Etsy account or, if you already have one, log in and select Sell on Etsy from the profile dropdown menu.
- Then select the Get Started button.
- If you leave and want to resume setting up your shop later, you can get back here by selecting the Shop Manager icon.
If you’ve told Etsy you want to be a shop owner, but you don’t set up your shop right away, you’ll receive periodic emails reminding and encouraging you to return to etsy.com. The sooner you finish setting up your shop, the sooner you’ll make your first sale.
Shop Preferences
The first step in setting up your shop is to choose your shop preferences.
- Select the primary language, country, and currency for your shop. All your product listings will be in the default language you choose, and you can’t change it after this, so choose carefully! You can, however, add additional languages later.
- Next, tell Etsy what kind of small business entrepreneur you are. Is this your full-time job or a side gig?
- Select Save & continue.
Name Your Shop
Next, you’ll make some big decisions.
- Enter your Etsy shop name, but don’t worry, you can always change it later. Shop names must be between 4-20 characters. Etsy will automatically check the availability of the shop name you enter. If it’s already taken, it’ll suggest some alternatives.
- Once you’ve found a name that’s available, select Save & Continue.
Stock Your Shop
Start stocking your shop by adding a single product.
- Add photos of your first product. You can upload multiple product photos showing it from every angle and in different settings. Select Add a photo to upload an image. Tip: Quality product photography is crucial to attracting customers.
- Adjust the thumbnail image that customers will see when your product appears in Etsy search results.
- Next, you can opt to upload a 5-15 second video featuring your product. The video won’t have sound, even if you recorded sound when you made it.
- All Etsy listings must have product descriptions. Enter a Title for your first item, and make sure it includes words that customers would use to search for your product.
- Now answer a few questions about your item. Who made it? What is it? When was it made? Tip: Customers and crafters shopping for vintage items can search for products made in a certain time period, so be sure your information is accurate.
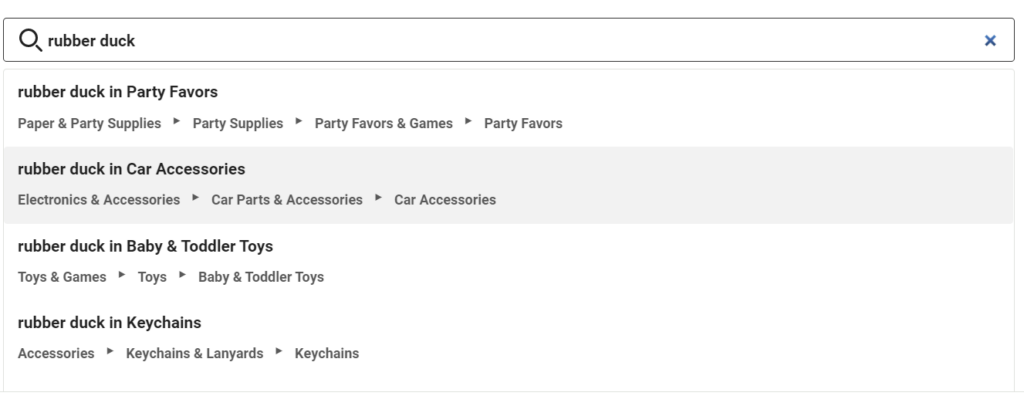
- Enter a Category for your item. If you enter a two- or three-word description, Etsy will suggest some possible categories that have similar items for you to choose from.
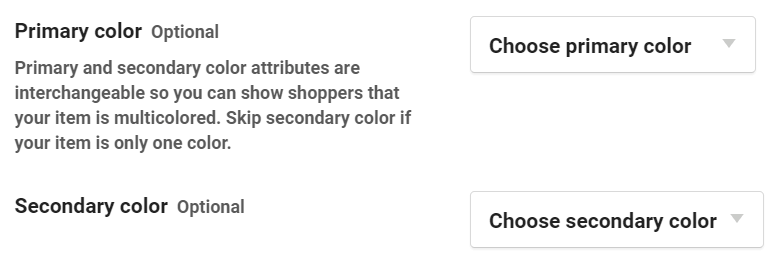
- Optionally, select primary and secondary colors for your listing.
- Next, select the renewal options for your listing. Products are listed for four months or until they are sold out. Select auto-renewal to have your listings automatically renewed. You’ll be charged a $0.20 listing fee for each auto-renewal.
- Next, tell Etsy whether the item is a physical product that you’ll ship to customers or if it’s a digital file that customers will download.
- Now it’s time to enter your product description. The first few lines are the most important because that’s what customers will see first. Etsy will show you how your product will appear in Google search results. Tip: Increase your shop’s traffic by learning more about search engine optimization (SEO) before you write your product descriptions.
- If you have a production partner—anyone who’s not part of your shop but helps you make your item—enter their information.
- Next, you’ll have the option to add Sections, Tags, and Materials for your listing.
- In the Inventory and Pricing section, enter the product price, how many are available to be sold, and, if you wish, your in-house SKU for the product.
- Next, add Variations such as the different sizes or colors your product comes in.
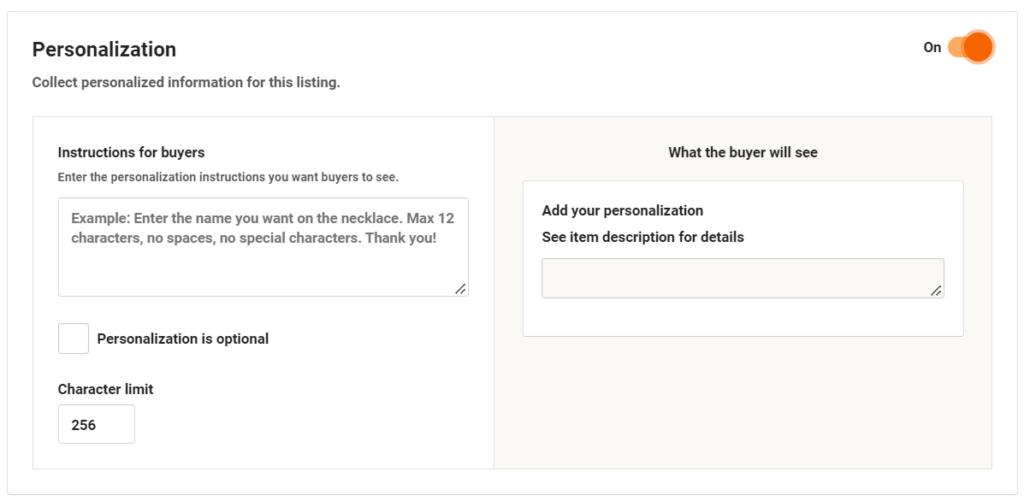
- If your item can be personalized, turn on Personalization and enter the personalization instructions for customers.
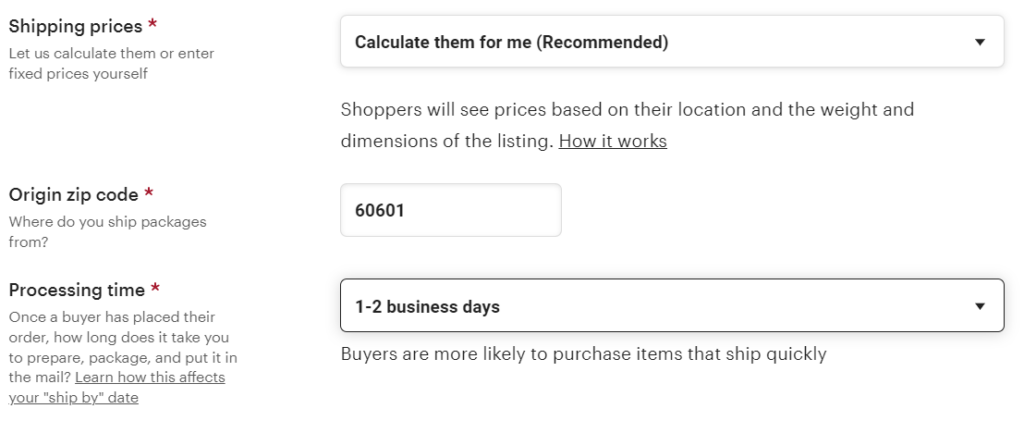
- Next, enter the Shipping options for your product. You can have Etsy calculate the shipping price for your item or you can set shipping costs manually. Enter the zip code of where you’ll be shipping packages from and how long it will take you to ship a product once a customer has submitted an order.
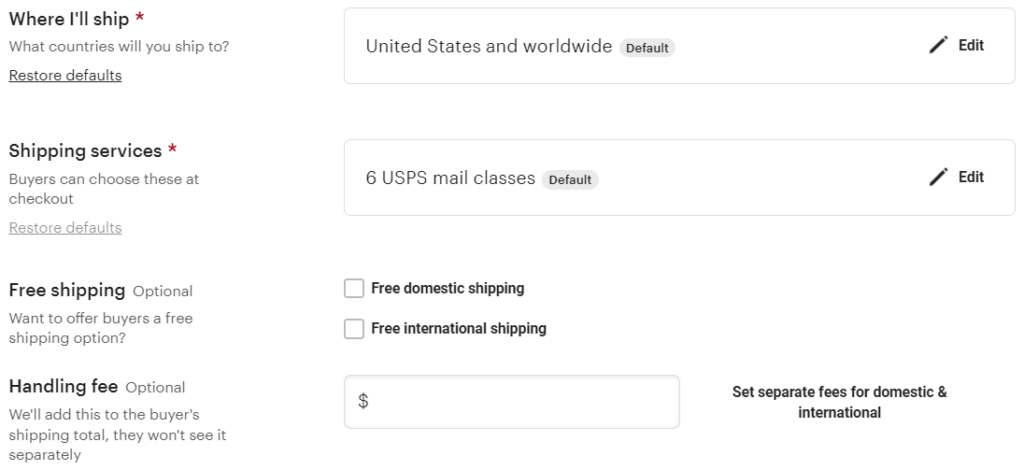
- Enter which countries you’ll ship to and what shipping services buyers can choose from at check-out. You’ll also have the option to offer free shipping to customers and/or an extra handling fee.
- Select Save as a shipping profile if you want to use these shipping options again for another product.
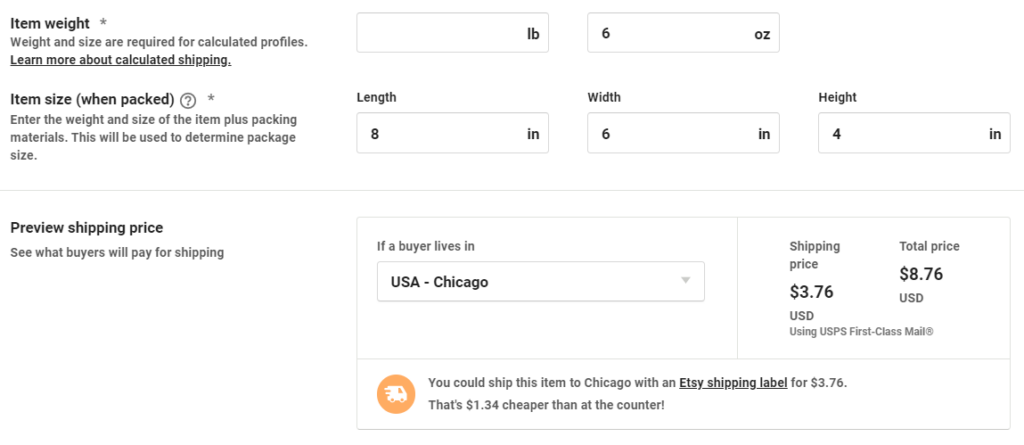
- Next, enter the item’s weight and size when packed. Etsy will calculate the shipping prices for customers around the globe, and, if you’re based in the United States, Etsy may offer shipping labels that you can purchase and print straight from your Etsy shop.
- Select Save and continue.
How You’ll Get Paid
Now for the good part: getting paid!
- Tell Etsy if you’re an individual/sole proprietorship or an incorporated business.
- Fill out your contact details (name, address, date of birth, social security number, and phone number).
- Select the country in which your bank is located and then enter the bank account details for the bank that will be receiving your Etsy payments. U.S.-based sellers should enter an account type, account number, and routing number. (If you’re setting up an Etsy shop in another country, you may see slightly different instructions.)
- Select Save and continue.
Set Up Billing
You get what you pay for, so next you’ll set up billing for your Etsy storefront.
- Add your credit card information. This card will be used to pay your Etsy fees. Fees may include listing fees, transaction fees equal to 5% of the total cost of items (including shipping and gift options), and payment processing fees.
- Select Save and continue.
Your Shop Security
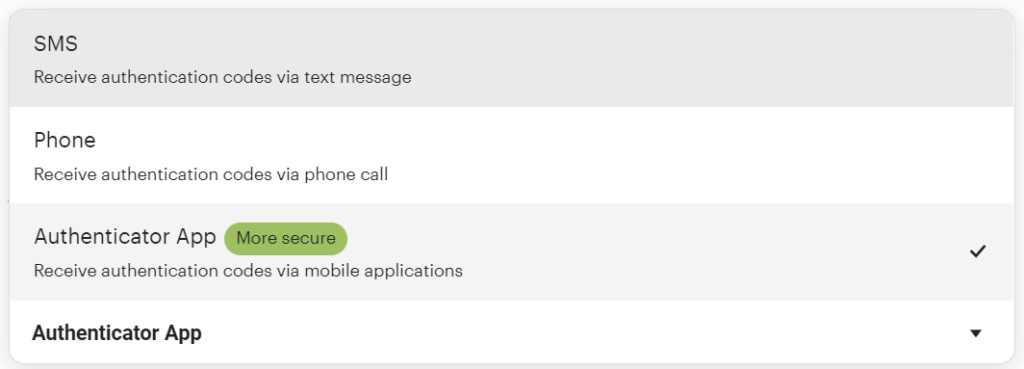
You’re almost finished! Setting up two-factor authentication will help keep your Etsy shop safe and secure.
- Choose your preferred authentication method.
- Follow the on-screen instructions for completing the setup of the authentication method you chose.
- It’s time for the magic moment! Select the Open your shop button, and you’ll be in business!
Once your shop is open, consider promoting it on your social media channels and through Etsy ads. You can find lots of great advice and shop policies in Etsy’s Seller Handbook. Read it for how-tos and best practices for selling on Etsy.

