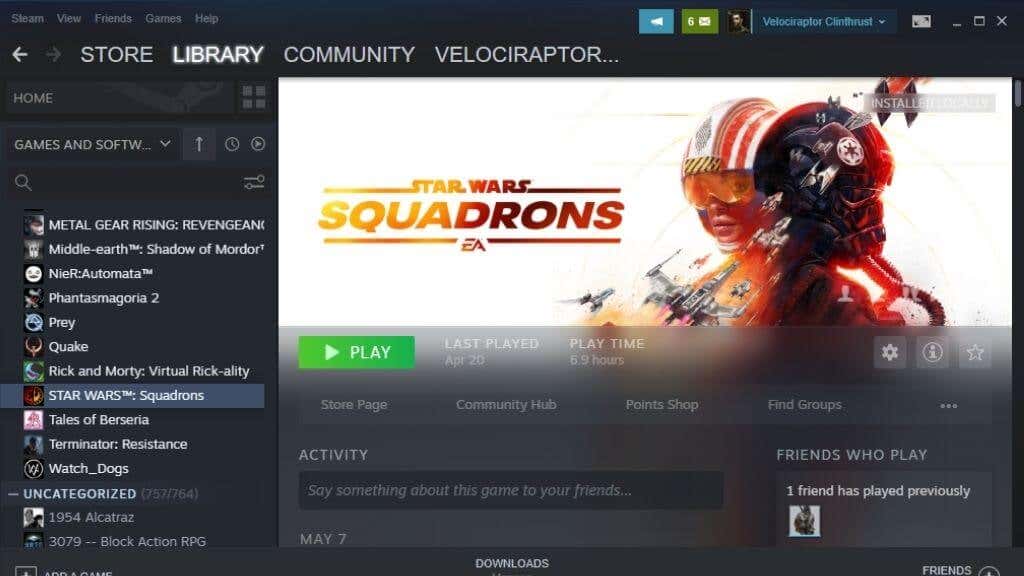
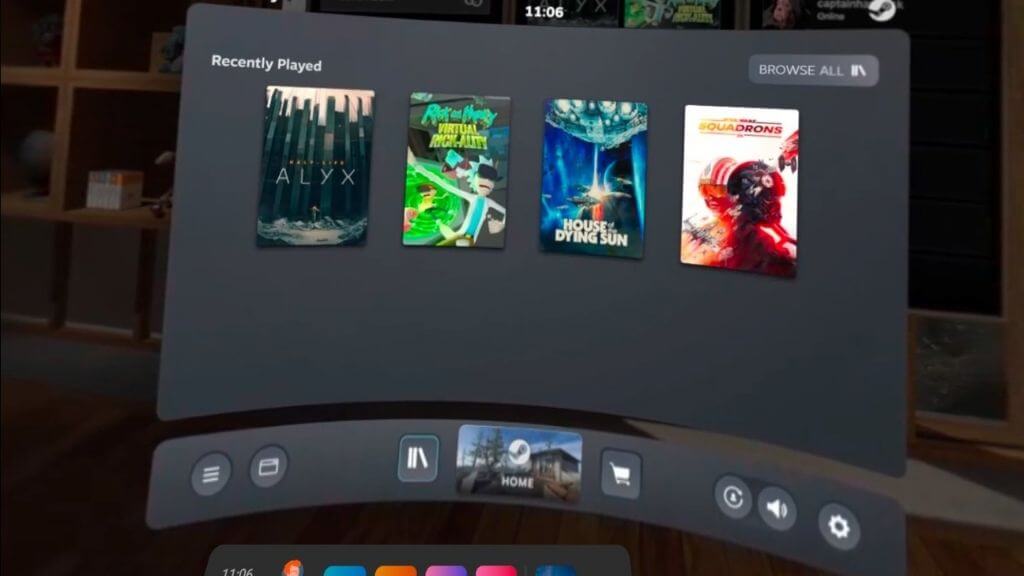
The Meta Quest 2 might be a standalone VR headset, but you can also use it with a computer the same way as an Oculus Rift. You don’t have to stick to the Oculus VR library either; you can also play SteamVR games using your Quest 2!
Oh, and if you still have the original Quest, this information applies to you too.
What Is SteamVR?
Several Virtual Reality APIs (application programmer interface) and SDKs (software development kits) exist for VR on PCs. SteamVR is the standard used by the Steam client and VR games that run in it. SteamVR also runs as its own environment. You get a SteamVR virtual room where you can launch games and otherwise tweak your VR settings as you please.
This is great if you’re using a SteamVR-native headset like the Valve Index, but the Quest 2 uses a proprietary Oculus API and SDK. So it doesn’t understand SteamVR games at all. The good news is that both Valve and Oculus have made efforts to help the Oculus Quest 2 (and other Oculus headsets) play nice with SteamVR.
Essentially, if you launch a SteamVR game with your Oculus plugged in, it will detect the headset, and the two APIs will translate between themselves. SteamVR games will think your Oculus is a SteamVR headset; in theory, you’ll be none the wiser. For this to work, the following has to be in place:
- Your VR-capable computer.
- An Oculus Quest 2.
- The Quest software is installed on your Windows computer.
- Your Quest 2 is set up and with its native software in Windows.
- A USB 2.0 (preferably 3.0 or 3.1) USB-C cable to connect the Quest via Oculus Link.
- Alternatively, you need 5Ghz WiFi to use the (currently) experimental Oculus Air Link feature.
- Steam and SteamVR are installed on the computer.
- Some SteamVR games, such as Half-Life Alyx.
Let’s start with the Oculus Quest side of the equation.
Get Your Quest 2 Set Up on Your PC
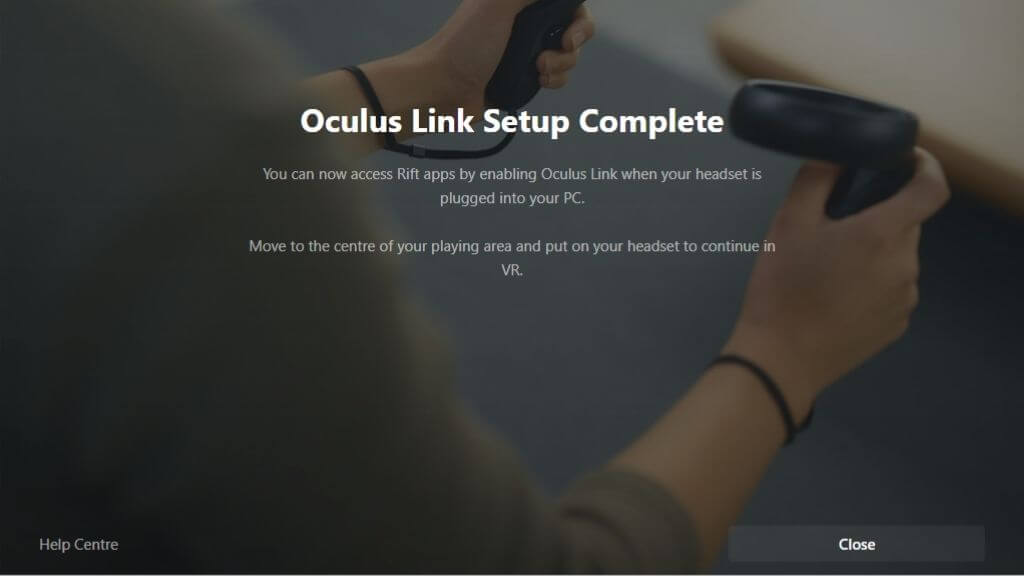
You’ve probably already set up your Quest 2 with your computer and have even played a few games, but in case you haven’t yet, you’ll have to download the Oculus software from their website and install it. Once you’ve installed it, you just need to plug it into your computer while the software is running and follow the instructions. Assuming everything goes as it should here, the next step is to cover the SteamVR part of the puzzle.
Make Sure SteamVR Is Installed
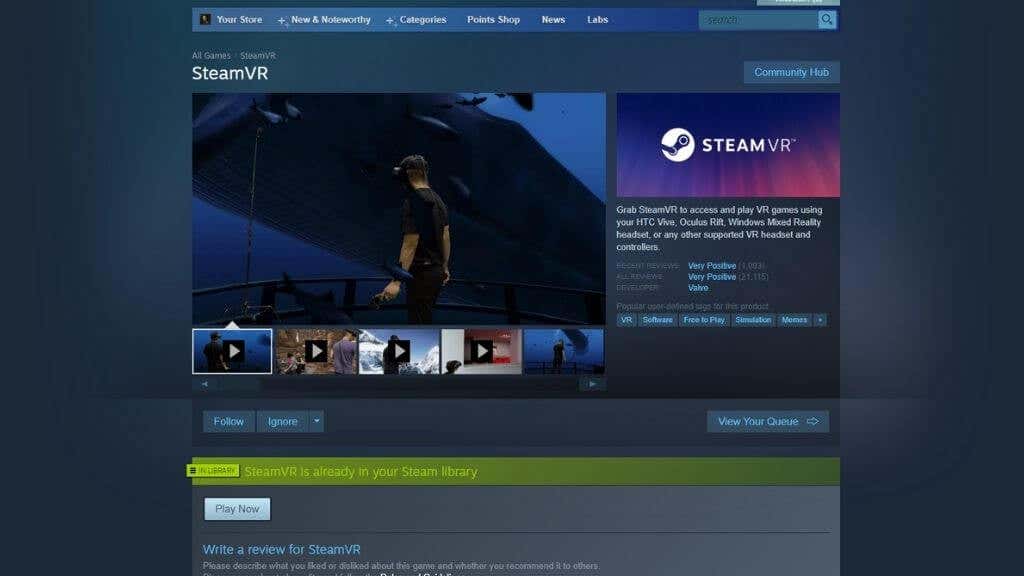
We assume you know that you’ll have to install Steam if you want to play SteamVR games, regardless of which headset you have. However, SteamVR isn’t installed with Steam by default.
If you’ve already installed a SteamVR game, then the SteamVR software should have been installed automatically. Simply search your Steam library for “SteamVR.” You can find it in the store just like any other Steam application if it isn’t there.
With both the Oculus Software, SteamVR, and at least one SteamVR game installed, let’s see how to play it.
Method 1: Launch the Game From Oculus Home
If you’re starting from the Oculus Home environment, look down at the semi-circular dashboard and press the icon that looks like a computer monitor. This will bring your desktop into the virtual space. Your motion controller will act as a mouse, but you can also use your regular mouse.
Open Steam, then open the SteamVR game of your choice. If this is the first time you’re running either SteamVR or the game, there may be some additional setup to perform, but you should launch directly into the game once that’s done.
Method 2: Launch the Game From SteamVR Home
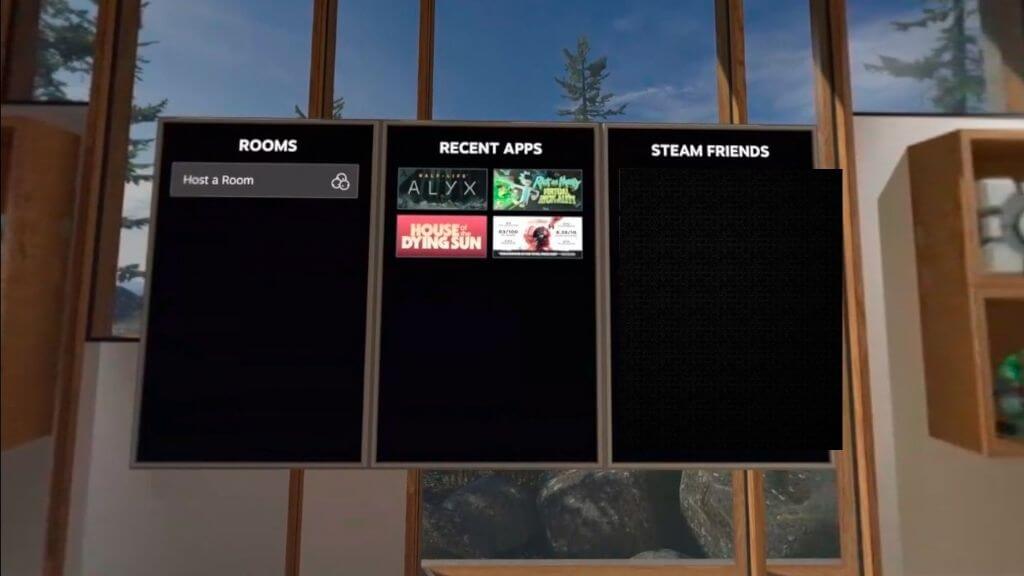
Instead of starting the game directly, you can open your desktop in the Oculus software described above and launch SteamVR as its own application. This will shift you over into the SteamVR home environment. From here, you can launch all your SteamVR games.
It’s also helpful if you want to tweak universal VR settings for all SteamVR games before opening the game itself.
Method 3: Just Launch the Game From Steam
If you plugged in the headset, you could just launch the SteamVR game in Steam before putting the headset on. When you put on your headset, it should put you straight into the game.
Wired or Wireless?
The Quest 2 has a feature called Oculus Link. This is the technology it uses to act as a tethered headset. Oculus Link needs at least a USB 2.0 USB-C cable, but you should use it with a USB 3.0 or a better cable if possible. Of course, the port should also be USB 3.0. This will ensure more stability and better image quality.
At the time of writing, you also have the option of using Oculus Air Link. This is a wireless version of Oculus Link and lets you play your PC VR games as if you’re tethered to the computer. You should only use this feature with a 5Ghz router in close range to the Quest 2. Preferably, your computer should be connected to the router using Ethernet, with only the link to the headset being wireless.
Playing with Air Link (which you need to enable under the experimental features in your Quest 2 settings) is much more freeing and immersive than being tethered by a cable. However, it depends on having ideal network conditions and won’t match the image quality and exact latency of using the cable.
There’s a third-party alternative to Air Link as well and, so far, we’ve had much better luck with it than the experimental Air Link solution. You’ll need to buy the $20 Virtual Desktop App, but other than that, it’s smooth sailing. Have a look at How to Play Wireless PC VR Games on Oculus Quest with Virtual Desktop for more information.
Having Performance Problems?
While we’ve found that bridging the Oculus-SteamVR divide is a smooth experience, sometimes things go wrong. Oculus VR games played from the Oculus software are usually flawless, barring some unrelated problem, but sometimes the SteamVR version of the same game has performance issues.
If you have any choice at all, it’s usually better to buy the Oculus version of a game if it’s on both platforms. If it’s a SteamVR-only game, make sure you’re running the latest version of all the software involved.
It’s also worth checking SteamVR settings when you’re in the SteamVR home environment. There have been instances where the SteamVR client sets resolution or other headset settings far too high for the GPU of an Oculus headset.
