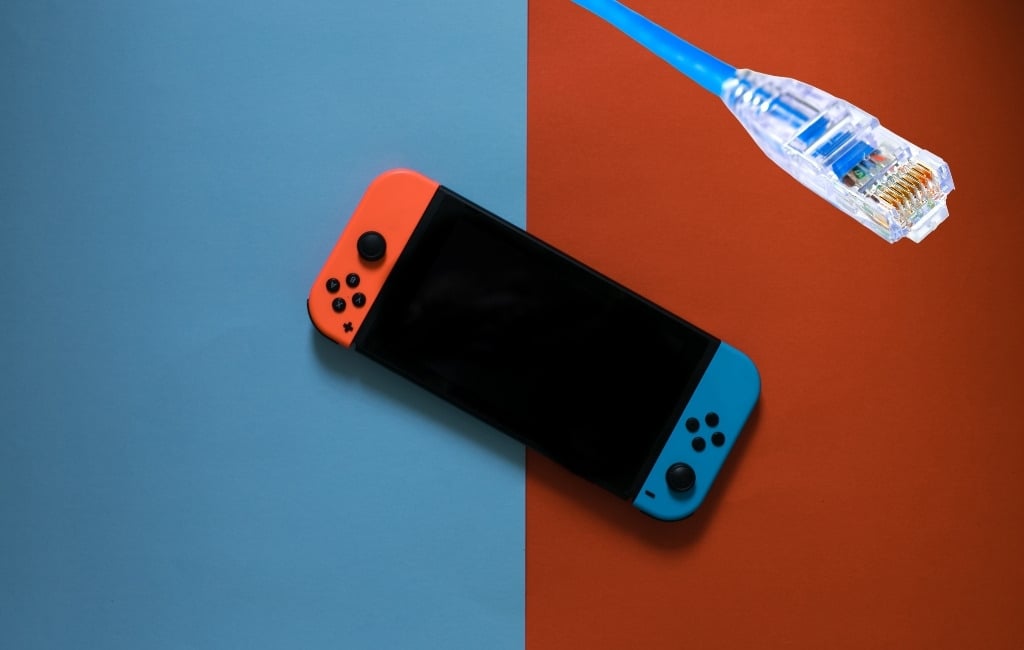
A wired internet connection can do wonders for any gaming console, as it will greatly increase your connection speed. However, if you want to do this with a Nintendo Switch device, you’ll find that you’ll need to take some extra steps.
The Nintendo Switch dock doesn’t actually include an ethernet port. This doesn’t mean that you can’t connect one. You’ll just need to buy one of Nintendo’s LAN adapters in order to get the job done. Then, you can follow the steps in this article to get a wired connection to the internet with your Nintendo Switch.
Getting and Using a LAN Adapter
Instead of having an ethernet port, what the Switch does have is a USB port. This is what you’ll use to hook up an ethernet cable. First, buy a USB to LAN adapter. There are many of these available online, and Nintendo actually produces their own version specifically for use with the Switch. There was also one made for the Wii and Wii U which you can also use if you have it.
Once you have your USB to LAN adapter, follow these steps to use it with your Switch:
- Open the Nintendo Switch dock backing where the USB port is. It should be between the AC adapter port and HDMI port.
- Insert the USB end of the LAN adapter into the Switch dock.
- Connect your ethernet cable to the other end of the LAN adapter.
- Connect your ethernet cable to your router, making sure it’s secure.
- Place your Nintendo Switch in the dock.
Now, you’ll want to make sure your Switch connects to the internet. You should also know that you can only use a wired internet connection in TV mode, since the cable connects only to the dock.
Setting Up Your Wired Connection
Turn on your Switch console, then follow these directions to set up a wired internet connection on the device:
- Select System Settings on the home menu, which looks like a gear icon at the bottom of the screen.
- Go to Internet > Internet Settings. Wait for the Switch to search for Wi-Fi.
- When the option appears, select Wired Connection.
- Select Connect to the Internet via Wired Connection.
- Wait until the Switch has connected to your internet and has completed the connection test. Then, you’re all set to use your wired internet connection.
The Switch may also automatically identify the wired connection, in which case you can use the internet immediately.
Nintendo Switch Dock with Ethernet Port
When the Nintendo Switch OLED version was announced, Nintendo revealed that the new dock would have ethernet cable support. This removes the need for any LAN adapters, making it easy to have a wired connection on your Switch.
The good news about this new dock is that it will be available as a separate product from the Switch OLED model. So, you don’t need to buy the new version of the console if you just want to have the updated dock.
Connecting an Ethernet Cable to Your Switch
Thankfully, even if you don’t plan on getting the new version of the dock, getting a LAN adapter is pretty inexpensive, usually going for around $30-$40. This way, you can reap all the benefits of having a wired connection, such as a more stable and secure internet, as well as a faster connection speed.
This can help with games where you may be playing against others online, such as Super Smash Bros. Ultimate or Mario Kart 8 Deluxe, where you’d want especially high speeds. What are your favorite Switch games to play in online mode? Let us know below.


