Dungeons and Dragons is more popular now than it’s ever been. Not even the rise of Tiamat (or a global pandemic) could change that. If you want to play D&D but your group can’t meet because of social distancing restrictions, try Roll20.
Roll20 is an online platform used for hosting Dungeons and Dragons campaigns, as well as other tabletop pen and paper games. It is a great way to interact with not only your friends, but also your character. Roll20 automatically calculates damage, hit points, armor class, and many more important parts of Dungeons and Dragons.
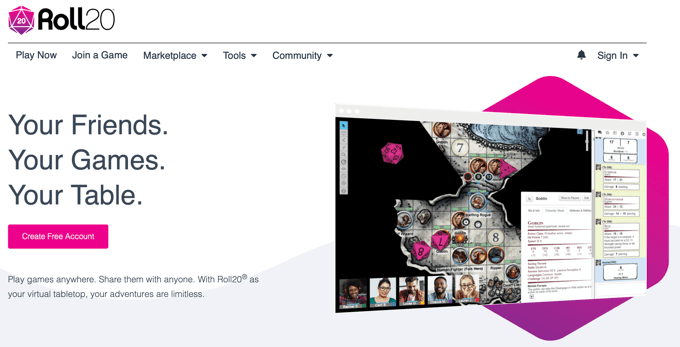
If it’s your first time using Roll20, it can be intimidating and overwhelming. There are a host of different menus to navigate through and options to select from. This Roll20 tutorial will help you set up your character so you can get started playing.
Creating a Character
The first step in any DND campaign (after joining the campaign itself, that is) is creating a character. For the purpose of this article, we will assume you know how to roll dice and distribute stats. The purpose of this Roll20 tutorial will be to show you how to implement it all into the Roll20 character sheet.
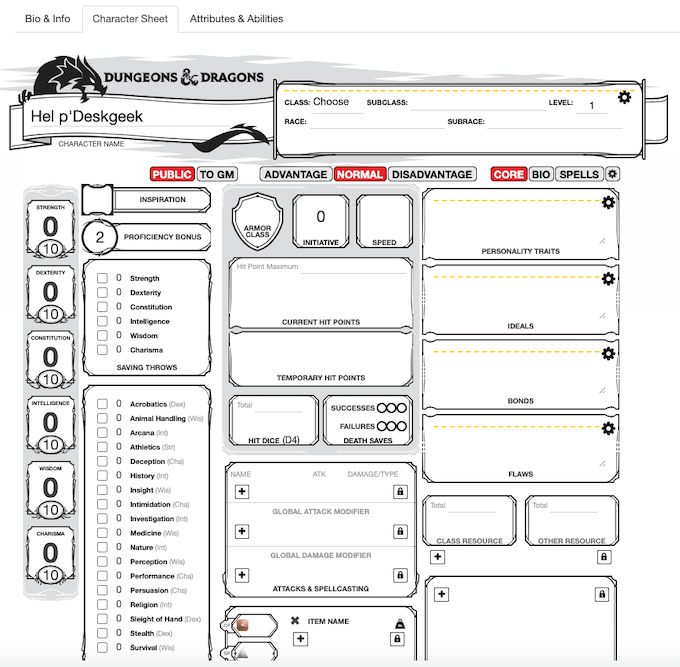
Enter your character name to start. After this, select the drop down box beside Class. Because this is set up as a D&D game, you will see all of the officially recognized classes (excluding Blood Hunter.) You should also enter your subclass, level, race, and subrace, if applicable.
Now select the gear icon beside Level. It will swap to a new set of options. Any relevant information you have already entered will be carried over. As you can see, we chose our class as Wizard and set our race as Computer. You know, because we’re a tech site.

This secondary field allows you to enter your character’s background, your alignment, and the total number of experience points. Keep in mind that experience points might not be necessary if your Dungeon Master uses the milestone leveling method.
Entering Character Stats
The next step is entering your stats. On the far left side of the screen, enter the scores for each of your character’s stats in the small round area beneath the large zero. The larger number is your modifier and is automatically calculated. For example, if you enter 20 in the Strength field, you get a modifier of +5.
The Inspiration field is a toggle on/toggle off area. Your Proficiency Bonus is automatically calculated, as are your Saving Throw modifiers. Just click the checkbox beside any Saving Throws your character is proficient in, although any based on class will automatically be selected.

Armor Class is automatically calculated when you add armor to your inventory. The Initiative field is your modifier and is also automatically calculated. Speed is based on your character, but you have to manually enter that. For most races in D&D, your base speed is 30 feet per turn.
Personality Traits, Ideals, Bonds, and Flaws must all be entered manually but are not a necessary part of gameplay. The Hit Dice field is based on your level and class. If you need to roll a Hit Die at any point during gameplay, just click the “Hit Dice” word at the bottom. Beside the Hit Dice field, Death Saves can be clicked on or off. You can also click “Death Saves” to automatically roll the dice.
Your Skills must all be selected manually. To add your Proficiency to any Skill roll automatically, click the checkbox beside it.
Adding Character Items
Now for items. If your Dungeon Master provides you use of the Compendium, you will be able to drag and drop your gear onto your character sheet. Take a look at the right side of your screen. You should see several options at the top of the screen. Select the icon that looks like an “i” in the middle of a circle.
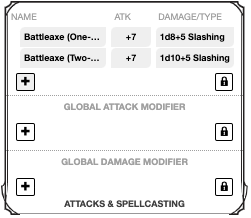
From there, select Items. You can scroll through this list and drag over most basic gear that you will have at level one. In this example, we have given our Wizard a Battleaxe. Because there are two different ways to attack with a Battleaxe, Roll20 has added both options to the Attacks & Spellcasting menu.
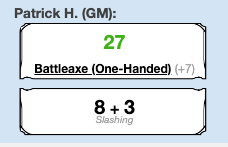
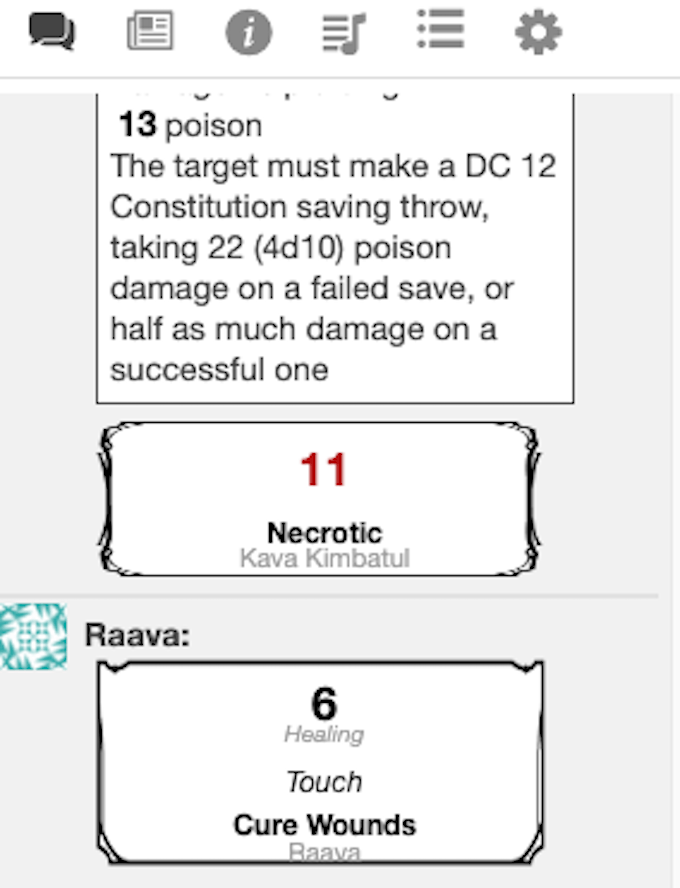
Roll and attack by clicking the name of the weapon. You will see it appear on the right side of the screen if you click the message icon. The top number is the Attack Roll to determine whether you hit or miss. The bottom number is the amount of damage you deal with the attack.
Beneath this field is the Equipment field. When you drag an item from the Compendium onto your sheet, it is automatically added to this field and calculates the weight of each item. Unless your DM has a penchant for tedium, weight will rarely play a role in the game.
However, as you can see in the image, we have added Glamoured Studded Leather Armor to the inventory. Doing so has automatically changed the character’s Armor Class to 13. In most cases, Roll20 will automatically calculate your Armor Class, although you’ll have to make manual adjustments if you take a feat that improves your overall AC.
Adding Spells
Another vital part of D&D is spellcasting. At the top-right of your character sheet are three tabs: Core, Bio, and Spells. Select Spells, and you’ll see a page like the one below.
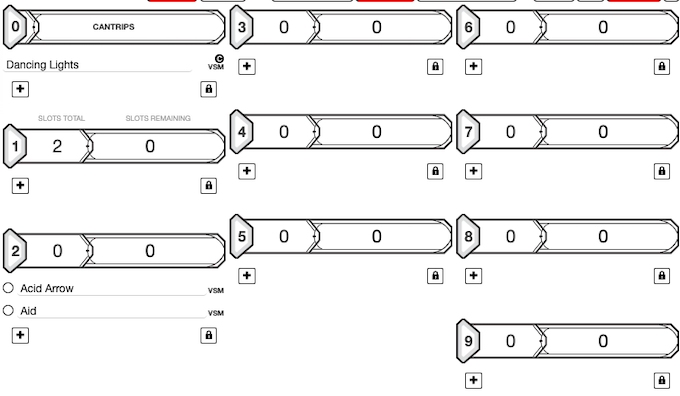
You can select any of the plus symbols on the screen to manually add spells, but the easiest way to do so is to drag and drop spells from the Compendium onto the spell page. This will automatically set up everything from range and spell card output to damage rolls and saving throws.
Adding Bio Info
The final field, Bio, is where you can enter details about your character’s appearance, their allies and organizations they belong to, backstory, and more. This section is to help you remember important information about your character and keep track of the treasure he or she has.
Depending on how your game is run, your Dungeon Master may place more importance on backstory than others.
This guide only scratches the surface of playing a campaign in Roll20, but it should help you get your character sheet set up so you can dive into a game. After all, the best teacher is experience—whether that experience is playing in a campaign yourself, or trying to take on an Ancient Red Dragon at level one.