Without warning, your Android phone screen goes black. There’s no lock screen, it won’t respond to your touch, and even plugging in the charger doesn’t seem to revive it!
You’ve encountered the dreaded Android Black Screen of Death problem. Before you buy an Apple iPhone instead, let’s see if we can’t bring your phone back from the dead.
What Is the Android Black Screen Of Death?
The “black screen of death” (BSoD) is a term used to describe a serious problem on an Android device that causes the screen to turn black and become unresponsive. This can happen for various reasons, including power or battery issues, software bugs, hardware malfunctions, or conflicts with third-party apps. The term “black screen of death” is similar to the “blue screen of death” (also known as a BSoD) on Windows computers, which indicates a serious system error.
In the case of the “black screen of death” on Android devices, the device may not respond to any input, including the power button, touch screen, volume button, or other buttons. The device may also not turn on or reboot or show signs of life. This can be a frustrating problem; sometimes, the device may need to be repaired or replaced!
We’ll cover some of the most common causes and their potential fixes below, but let’s not sugarcoat it. In many cases, there may be no way for Android users to fix the black screen issue without professional repair.
1. Is Your Screen Broken?
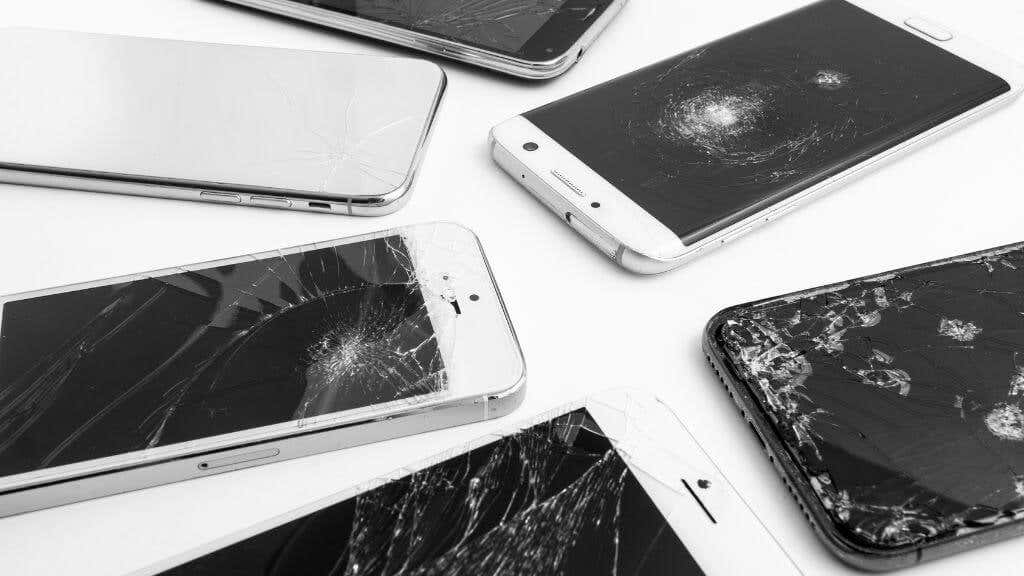
It may be your LCD or OLED screen that’s broken, not the phone. If your mobile phone’s screen goes black intermittently, or you can still hear system sounds despite the screen going black, this may be the most likely explanation. Best to take it to a repair shop for testing.
2. Fix Your Phone Battery
The most common reason an Android phone shows nothing but a black screen is that there’s no power going to the screen or the phone. The most likely reason is that the phone needs to be charged.
This may seem obvious, but some phones won’t show any life until they’ve been charging for quite some time. If the battery is severely drained and hasn’t been charged for a while, it can take quite a while for enough voltage to build up to start the phone. So if you plug your charger in and don’t immediately see anything happen, leave it plugged in for at least half an hour and see if the charging indicator eventually pops up.
Your charging cable and adapter can be faulty. So test both with another device or use an alternative USB cable and adapter with your phone to eliminate this possibility. Be sure to check the phone’s charging port. It may be faulty, or you may have to clean the port.
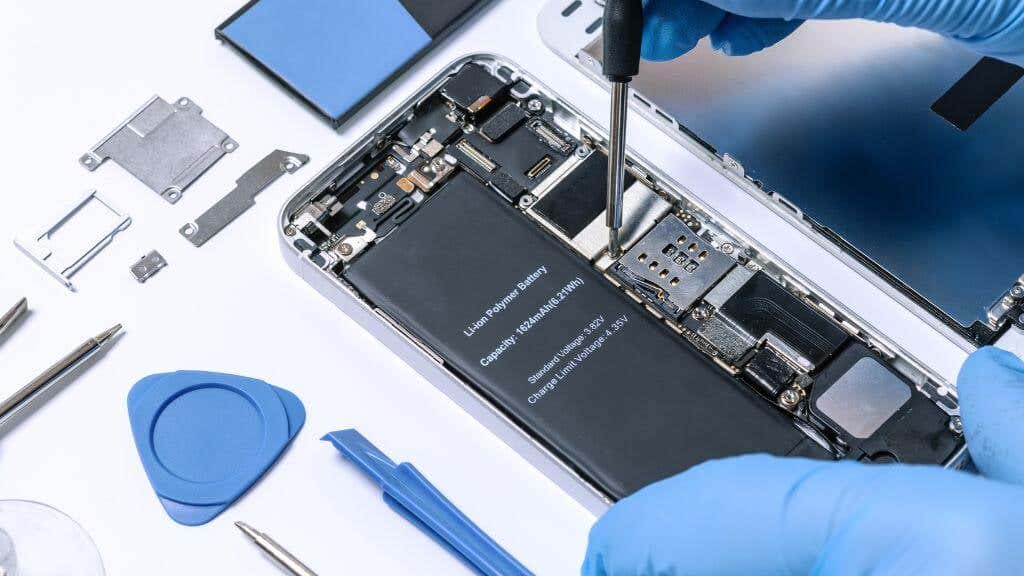
In some cases, it’s possible that the battery is defective or that the power management circuitry of the phone is broken. Either way, unless your phone has a removable battery, you’ll have to take the phone to a professional for evaluation.
Related: Check out our guide on how to keep your Android phone screen from turning off too quickly.
3. Run a Malware Check
Running a malware check can sometimes help with the black screen of death issue on an Android device. Malware can cause various problems on a device, including causing the screen to turn black and the device becoming unresponsive. Some malware can also prevent the device from booting up properly or cause the device to crash or freeze.
There are several ways to check for malware on an Android device, including using security apps designed to detect and remove malware. You can download these apps from the Google Play store to scan and remove them.
4. Update Android and Your Apps
Whether it’s new apps or old bugs, the Android OS may be at the root of your black screen problem. So check for the latest firmware version of Android and install it. Depending on your phone’s model and age, the latest version of Android it supports may not be the latest version to exist.
Unlike iOS, most Android phone makers don’t support software updates for very long, although the latest Samsung phones have a longer update commitment, and other phone makers are following suit.
5. Update or Uninstall Buggy or Incompatible Apps
Sometimes, bugs that cause the black screen can be fixed by updating the app to the latest version. Many developers release updates to fix bugs and improve the performance of their apps. Updating the apps can help fix the bugs and prevent the black screen from appearing.
If the black screen starts appearing after installing a new app, try uninstalling it to see if it resolves the issue. Sometimes, a new app can cause conflicts with the phone’s operating system or other apps, leading to a black screen.
Sometimes uninstalling and reinstalling the app can resolve the issue. Reinstalling the app can help to fix any bugs that a faulty installation or update may have caused.
6. Use Safe Mode
You can identify the problematic app by booting the device into safe mode. This allows you to use the phone without running any third-party apps. If the black screen doesn’t appear in safe mode, you can be sure that a third-party app is causing the problem, and then you can then identify the app by enabling apps one by one.
Safe mode is a diagnostic mode on Android devices that allows you to access the device with only the original software and drivers that came with the device.
Here’s how to boot your device into safe mode:
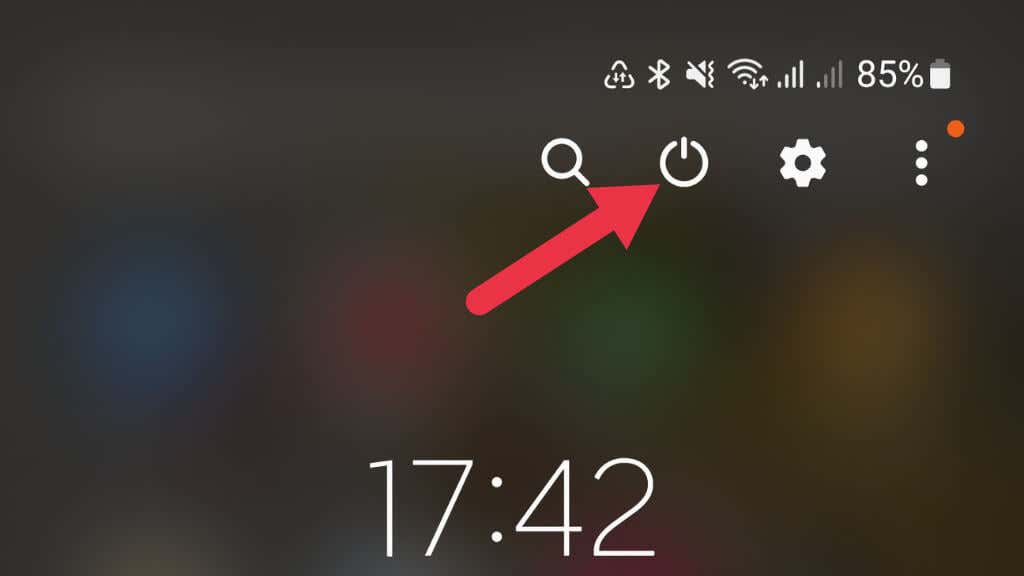
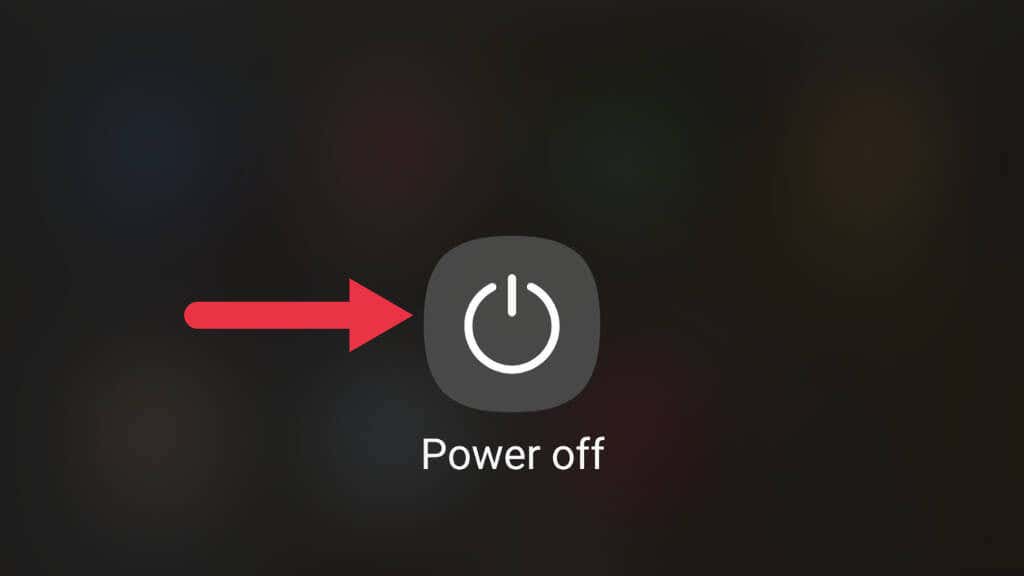
- Press and hold the power button on your device until the power off menu appears. Alternatively, swipe the app shade down and press the power button icon on certain phones, such as Samsung Galaxy phones.
- Press and hold the Power off option.
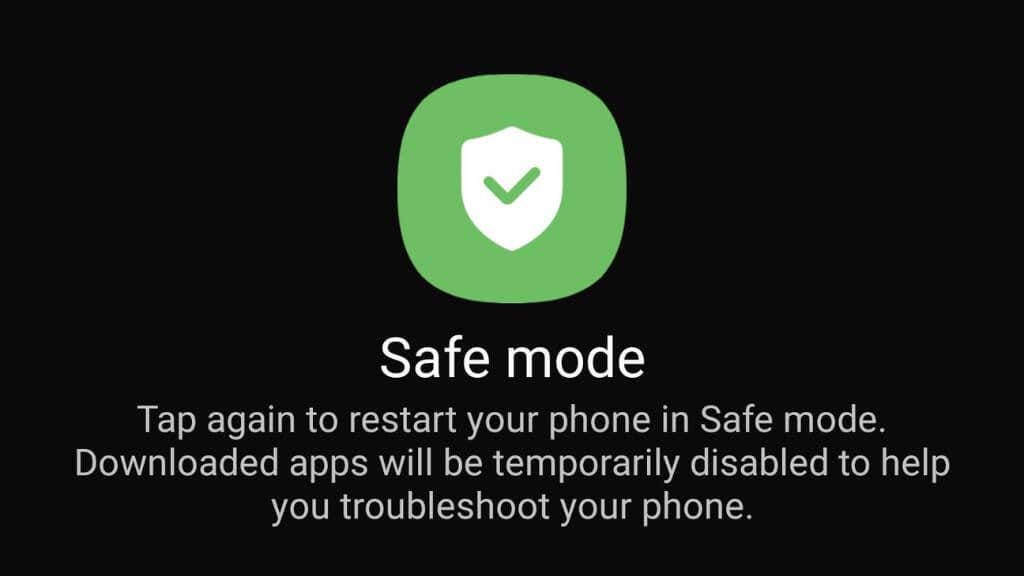
- A dialog box appears asking if you want to reboot to safe mode.
- Select OK to confirm and reboot your device into safe mode.
Once your device is in safe mode, the safe mode icon will appear on the screen’s bottom left corner. You can now use your device as usual, with only the original software and drivers running. First, test to see if the problem still exists in safe mode. If it doesn’t, a third-party app likely causes it. To exit safe mode, just reboot your device again.
7. Remove Custom Roms and Kernels
Custom ROMs and kernels can cause the black screen of death (and many other glitches) because they can introduce compatibility issues with the device’s hardware or software.
Custom ROMs are modified versions of the device’s official operating system. These ROMs can include additional features or modifications to the original software. If the custom ROM is not compatible with the device’s hardware or software, it can cause problems with a BSOD.
A kernel is the core of an operating system that controls communication between the hardware and software. Custom kernels can also introduce compatibility issues with the device’s hardware or software, especially if the kernel is not compatible with the current version of the operating system. If the custom ROM or kernel is not properly installed on the device, it can cause a black screen or other issues.
8. Wipe Data From Your Cache Partition
Wiping the cache partition is a troubleshooting step that can help fix various Android device issues. The cache partition is where the device stores temporary files, such as app data and system files. Sometimes, these files can become corrupted or outdated, causing the device to malfunction.
Here are the steps to wipe the cache partition on an Android device:
- Turn off the device.
- Follow the recovery mode shortcut for your specific brand and model of phone, as it differs between handsets. For example, on some models, you may have to press and hold the Home button as part of the process.
- Wait for the Android system recovery screen to appear.
- Use the volume up or volume down button to highlight wipe cache partition and press the power button to select it.
- Confirm the action by highlighting yes and pressing the power button.
- Wait for the process to complete, and then highlight reboot system now and press the power button to restart the device.
Wiping the cache partition can help to resolve issues like app crashes or freezing, but it will not erase any personal data stored on the device. The exact steps may differ for your phone, but this is the general process.
9. Factory Reset Your Device
A factory reset will restore the device to its original settings, erasing all personal data, apps, and settings. Here are the steps to perform a factory reset on an Android device:
- Turn off the device.
- Follow the recovery mode shortcut for your specific brand and model of phone, as it differs between handsets. For example, on some models you may have to press and hold the Home button as part of the process.
- Wait for the Android system recovery screen to appear.
- Use the volume keys to highlight factory reset and press the power button to select it.
- Confirm the action by highlighting yes and pressing the power button.
- Wait for the process to complete, and then highlight reboot system now and press the power button to force restart the device.
The exact steps may differ for your phone, but this is the general process.
It’s important to note that a factory reset will erase all personal data stored on the device, so make sure to back up any important files before proceeding to avoid data loss. Also, some apps might not get restored after the reset, and you might need to re-download them.
Factory resets don’t always fix Android black screen issues. And since this is a last resort, we only recommend doing it after trying everything else before sending your phone in for evaluation. You’ll have to do a factory reset before that anyway. You may also want to try an Android system repair app if you have nothing to lose. But most of these aren’t particularly effective, and some might even be malware. So wipe your phone and remove your SD card first.
