Procreate is a powerful and popular app for art creation. There are tons of tools available on the app to help you draw or paint whatever your imagination desires. However, before you can use these tools to their fullest potential, you’ll need to understand how they work to help you achieve your desired effects.
Blending is something you may want to do often in artwork, so there are several ways to achieve this effect in Procreate. So, you can experiment with some of the different methods to create a blending effect you really like.
Follow the guide below to get the blend you want and make it look great in your Procreate projects.
Blending With the Smudge Tool
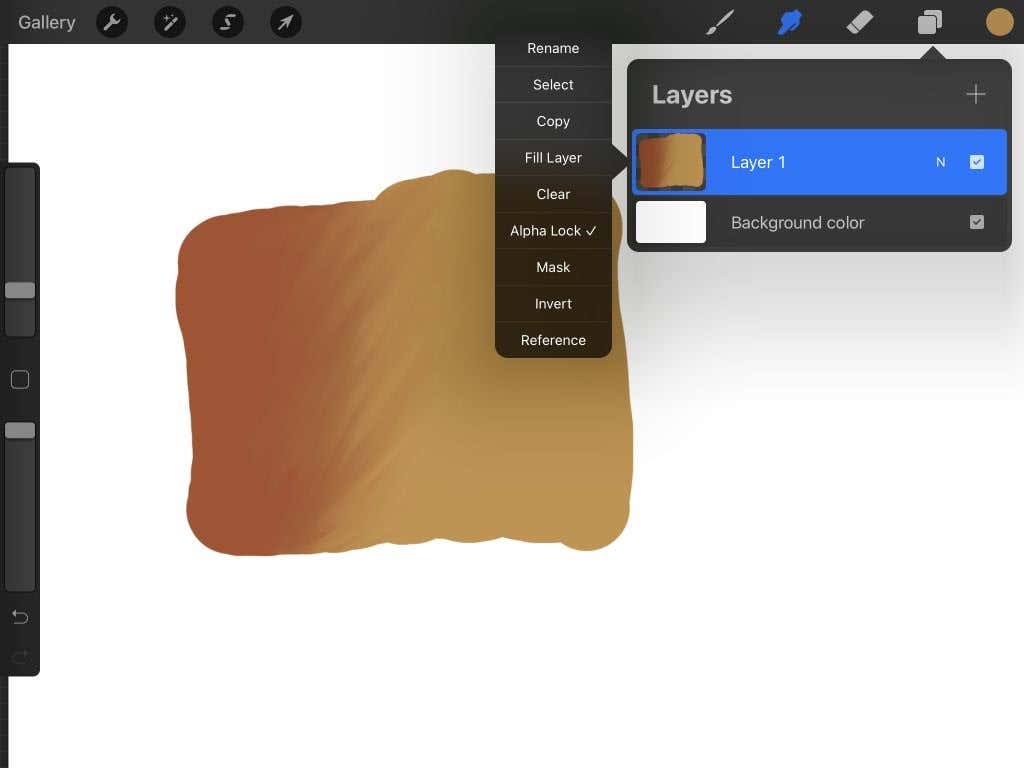
The easiest way to create a blend effect in Procreate is by using the smudge tool. You can switch to this tool by tapping on the hand icon in the top right corner. Or, you can tap and hold to smudge with the current brush you are using.
No matter how you choose to use the smudge tool, blending with it will be the same. However, using it with your current brush can help make the blend smoother and look better. To use the smudge tool effectively, follow these steps:
- Draw what you wish to blend in one layer and turn on the Alpha lock, or use a clipping mask on more than one layer. This will prevent you from blending outside your drawing so you can be much more precise.
- Select the Smudge tool, and start blending in your drawing. Start from the shadow color and blend out if you’re using your blend for shadows. If you want an even blend, start from the middle of the two colors and move from left to right in shorter strokes.
When blending colors, remember that the end product will turn out looking nicer if you’re blending analogous colors. These are colors that sit next to each other on the color wheel instead of complementary colors, which are opposites.
Blending With Gaussian Blur
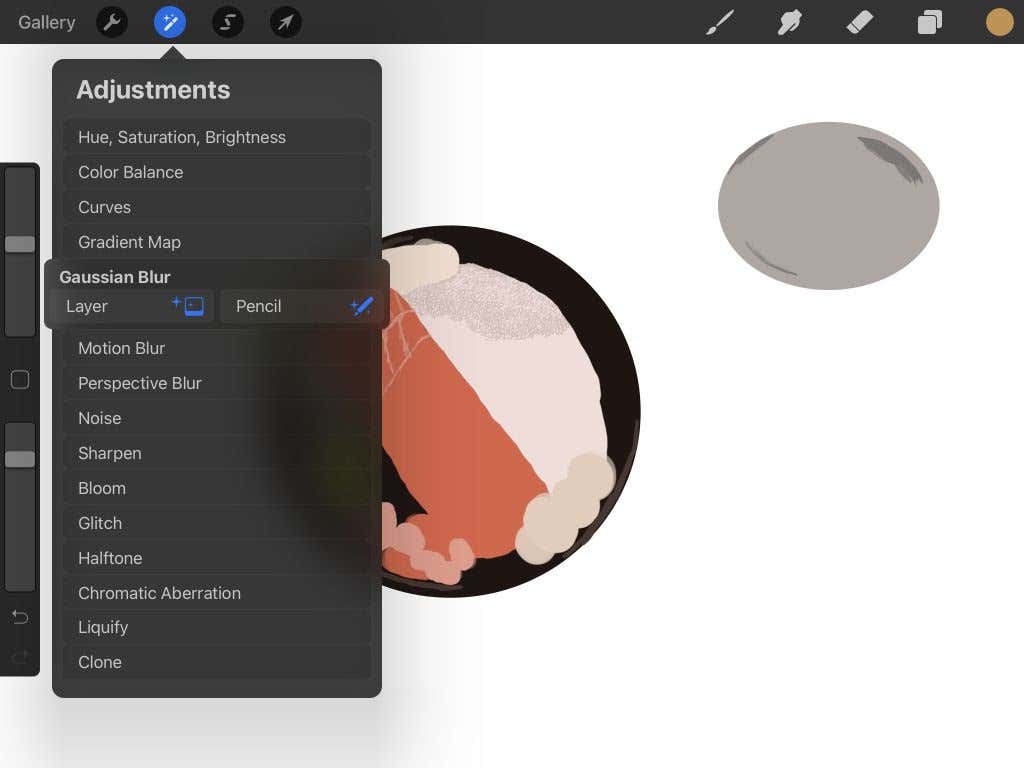
Another blending option is the Gaussian blur tool. With this tool, you can choose to blur an entire layer or only where you draw with your pencil, which makes this useful for various situations.
- In the top-left corner of the screen, tap on the magic wand icon to open the Adjustments window.
- Under Gaussian blur, select Layer to blur an entire layer or Pencil to blend where you draw.
- If you choose Layer, you’ll select a layer that will be blended. Then, with the Pencil, draw within the area you want blended together.
- If you want to make the blur more or less noticeable, you can change this by swiping up or down with your finger on the screen. Going up will increase the visibility percentage of the blur and vice versa.
Gaussian blur can provide a simple blend, and changing the intensity with just a swipe can be useful.
Blending With Brushes
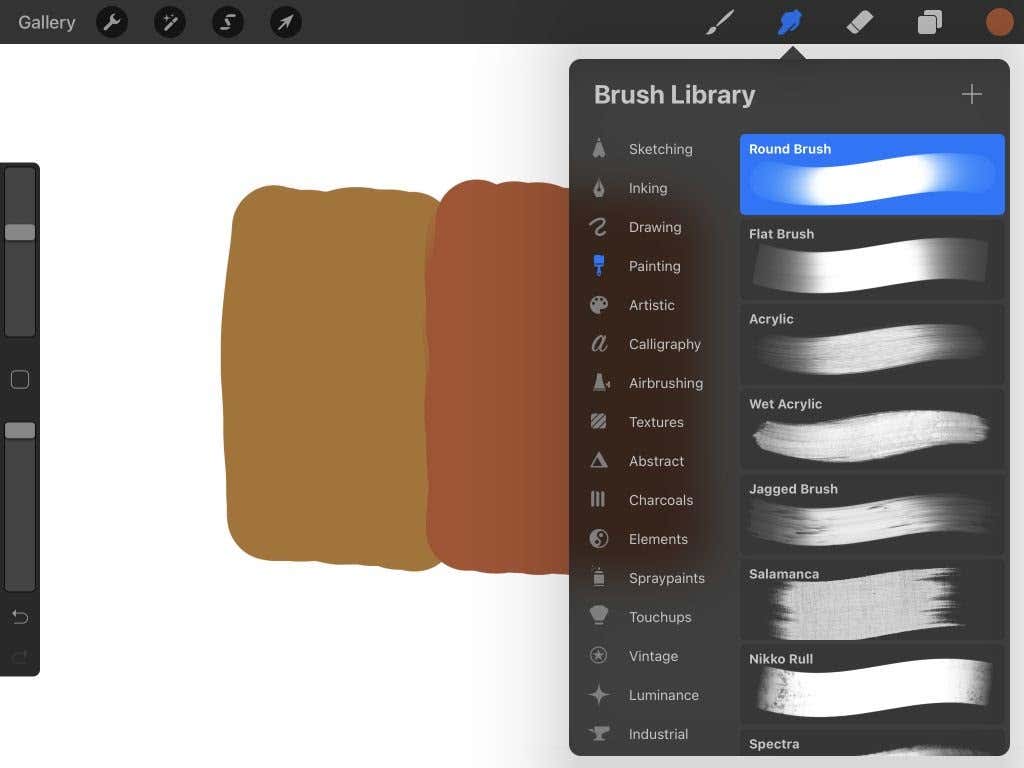
Maybe you want even more control over how your blend looks. Did you know you can actually achieve a great, controlled blend just by using brushes? This method is ripe for experimentation, so give it a try next time you have some blending to do.
- Select the brush you want to blend with.
- Set the bottom Opacity slider in the left-hand bar with the sliders to low.
- Choose the color you want to use as your blending color, and lightly draw from that color in the direction you wish to blend.
Using brushes to blend leaves less room for mistakes, and it also allows you to make the blend look precisely how you want. Also, you can change your brush’s settings for a variety of effects.
Tips for Blending in Procreate
If you want to get the most out of your blending and lessen the number of mistakes made, you’ll want to try following some of the tips below. Feel free to choose what works best for you and your project.
Using Pressure
When using an Apple pencil to draw, the more you press down, the more pressure will be applied in your brush strokes. This also goes for when you’re blending. So, try using lighter strokes and work up the blend until you achieve your desired effect.
Use a Clipping Mask
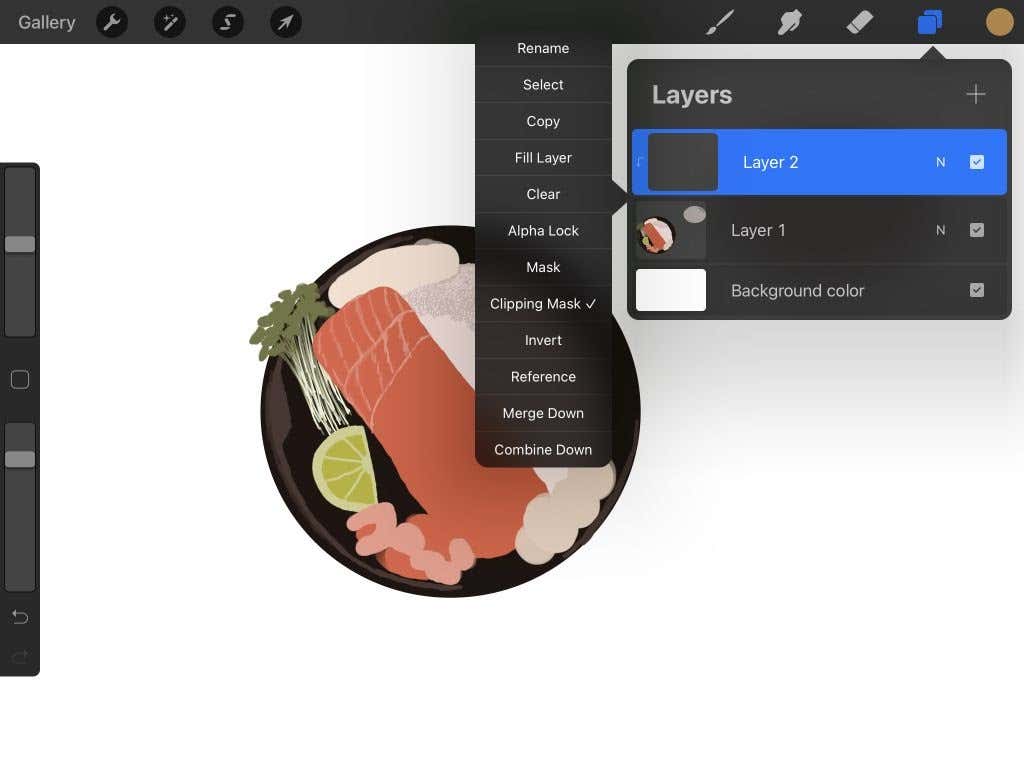
Clipping masks are a great way to keep your original drawing untouched while you do your blending. Go to the Layers tab and add a layer above the one you wish to blend. While keeping this top layer selected, continue with your blending.
A clipping mask affects the layer beneath it only and allows you to make changes to it without altering the original drawing. It’s a great way to make blending mistakes easier to handle.
Brush Types
When using the smudge tool or blending with a brush, the type of brush you’re using will change the texture of your blend. Look through the brush options before blending to figure out what you want your blend to look like. For example, for softer shadow-like blends, try out some of the brushes under the Airbrushing section.
Alternatively, you can always create or add custom brushes in Procreate if you can’t find exactly what you’re looking for.
Brush Size
To get good-looking blends, you’ll want to vary the size of your brush in coordination with what you’re blending. For example, for larger areas where you want a smooth blend, a larger brush would be ideal.
Using a smaller brush size works best for the edges of your art or for more detailed blending. It’s easy to change the brush size by going to the top-most slider on the left-hand sidebar and moving it up or down.
Blending on Procreate
Blending is an important technique for any artist to learn to elevate their work. It can be used for many different effects, including shadows, gradients, and textures. Experiment with the methods above in your own pieces to find what really works for you.
If you’re looking for more art apps on the iPad, check out our article on the best apps for artists.
