The Procreate app has tools for artists, beginners, and experts who want to draw or paint digitally. There are paintbrushes, drawing tools, and every color on the color wheel. With so many color choices, many artists use palettes to keep things consistent.
Procreate has designed coloring to be efficient, so you don’t need to spend time locating specific colors you want to use to do high-quality art projects. There are many tools in Procreate, and in this tutorial, we’ll show you how to make creating art easier.
The Basics of Coloring in Procreate
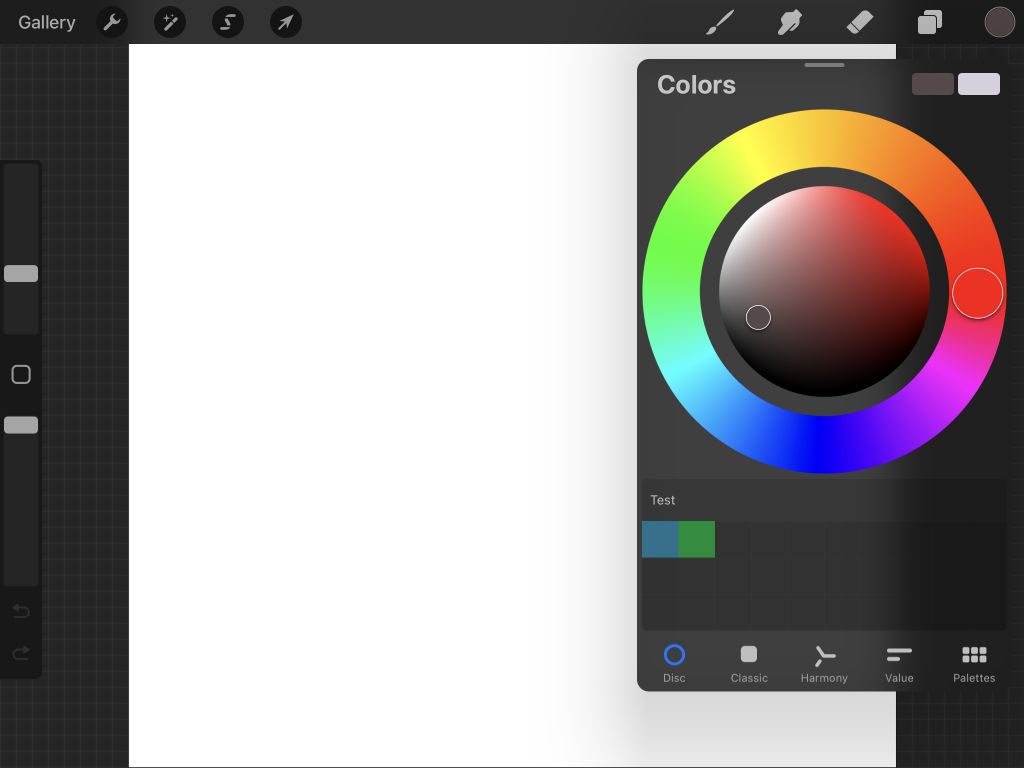
Go to the Colors panel to get started with coloring. Select the circle on the top-right corner of the screen. This circle shows you what color you are currently working with.
You’ll see two color swatches in the top-right of the Colors panel. You can tap on these to quickly switch between two different colors and change them as you wish using the color wheel.
The color wheel shows up in the Disc tab of the Colors panel. On the Disc tab, you can use the outermost ring to select a hue and the inner circle to choose an exact shade.
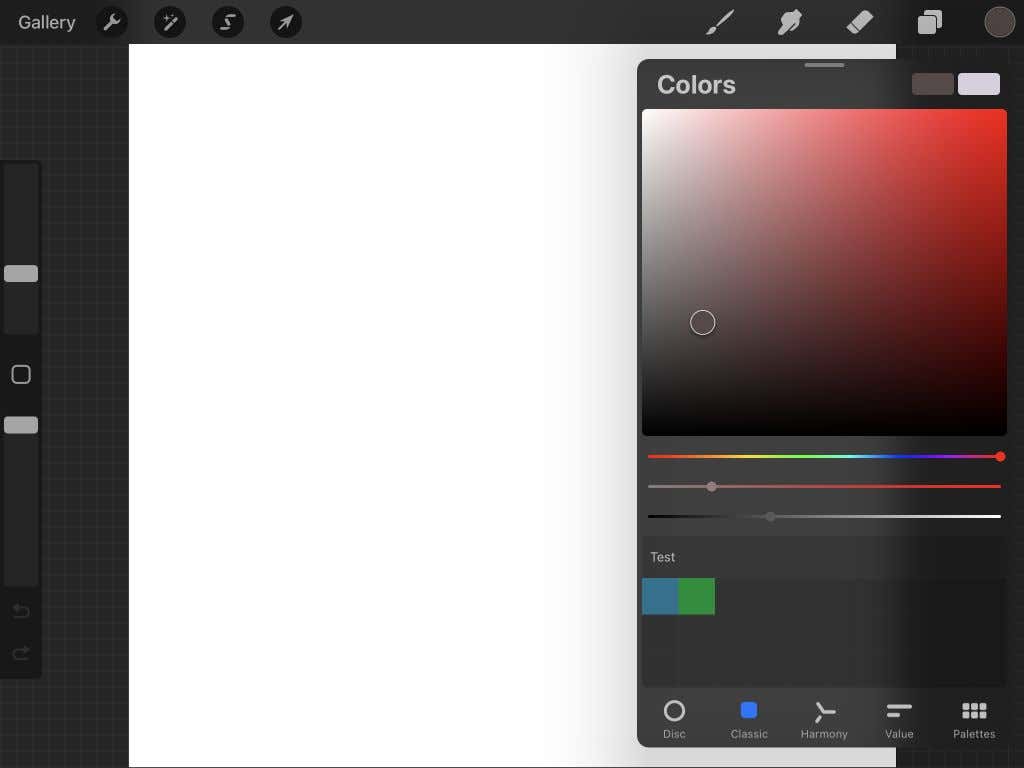
Next, there is the Classic tab. Here, you can use the square to select the shade of your color and the bottom sliders to choose the hue, shade, and tint.
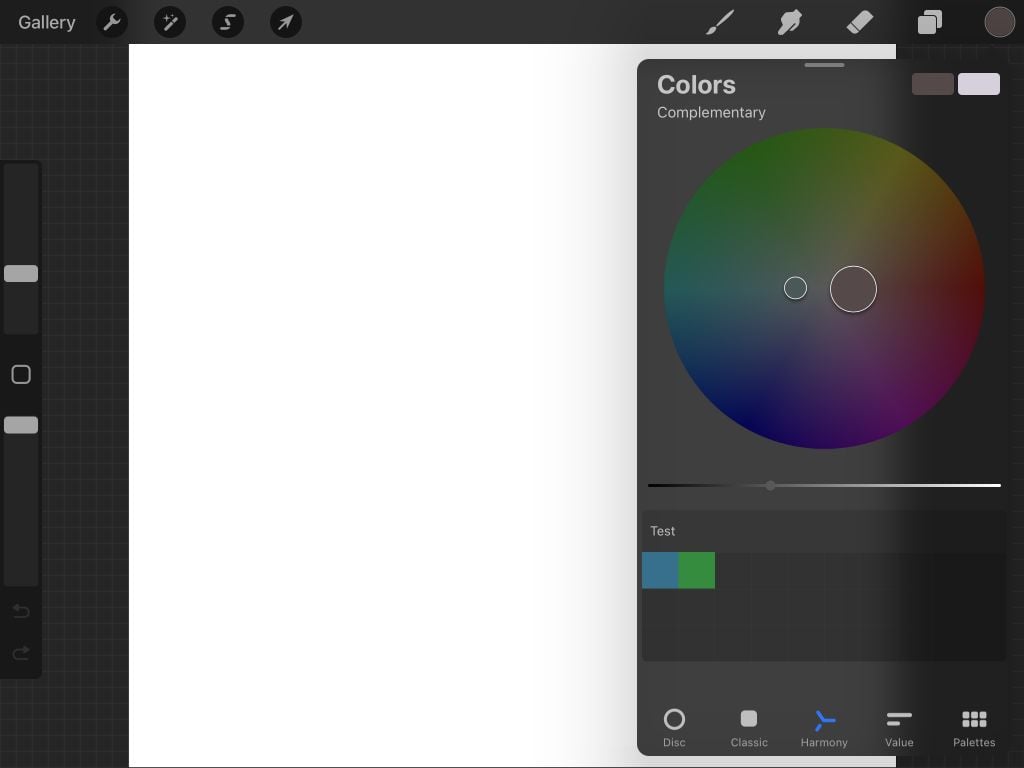
The Harmony tab and the wheel are best for finding complementary colors. You can move around either circle to find a color, and the opposite circle will be its complement. You can also change the tint of the colors using the slider underneath.
Next is the Value tab. You can use the sliders here to change Hue, Saturation, Brightness, and RGB values. You’ll also see that you can enter a specific hexadecimal number underneath the sliders to get that color.
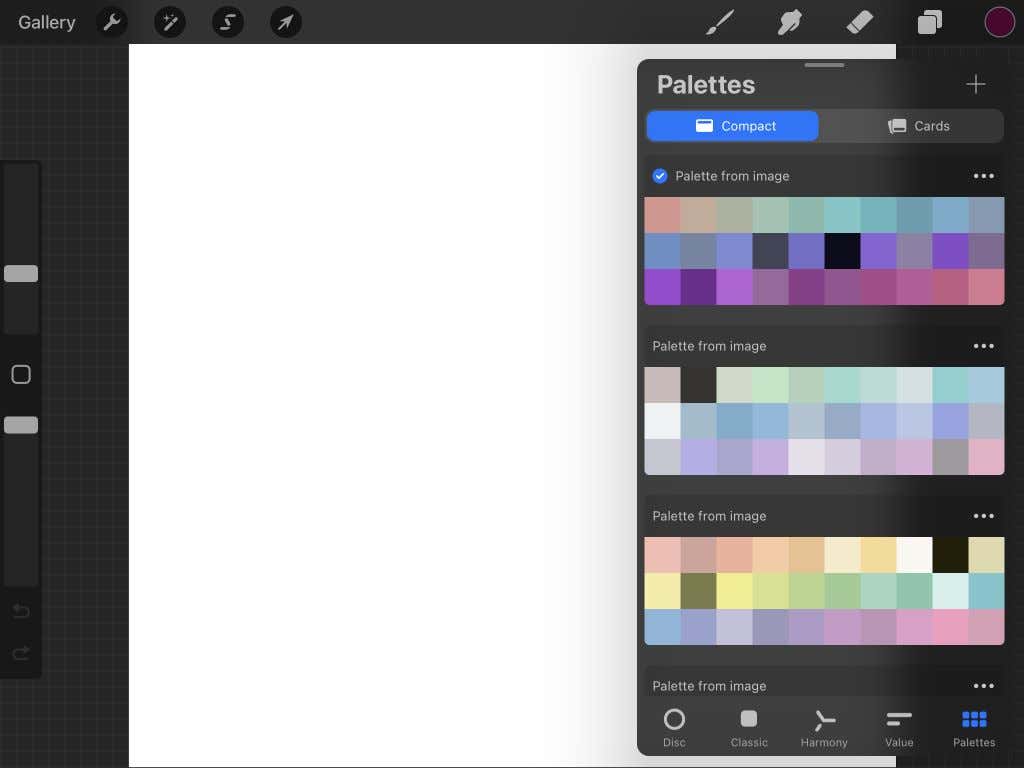
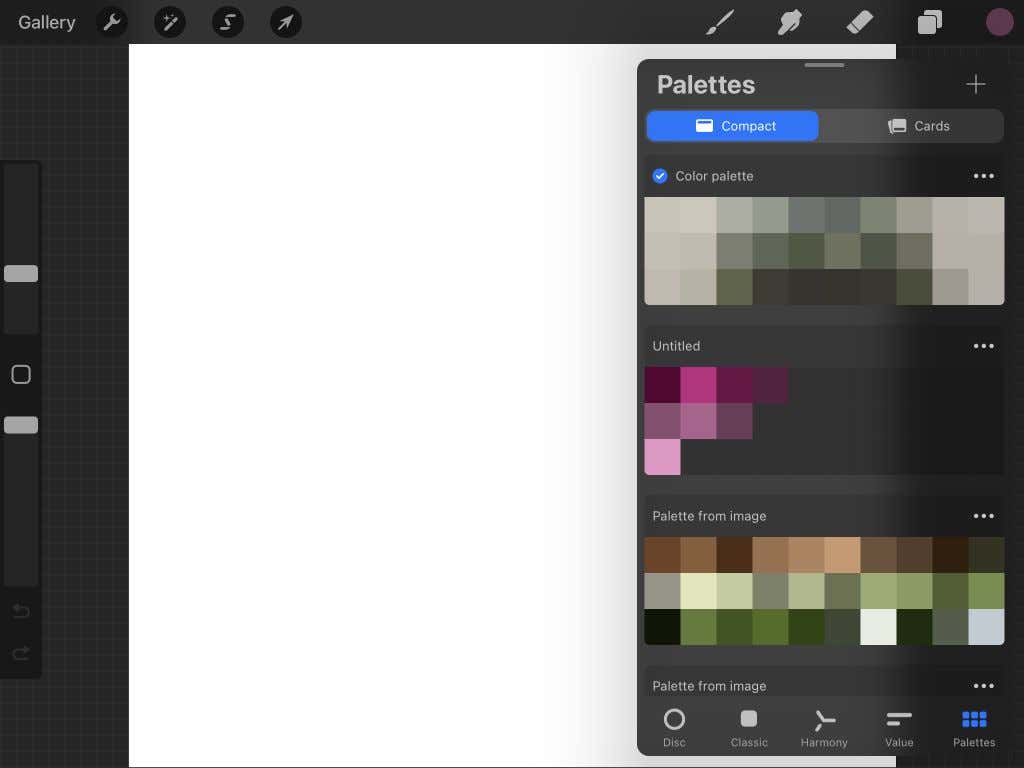
Finally, there is the Palettes tab. You can add new palettes of colors here in a few different ways, such as the camera, selecting colors yourself, from a file, or a saved photo. You can choose from your different palettes here as well.
How to Use Palettes in Procreate
The Palettes feature is handy for creating color schemes for your art as you won’t have to worry about finding specific colors. The steps below outline how to create a color palette in the four different ways Procreate provides.
Creating a Palette on Your Own
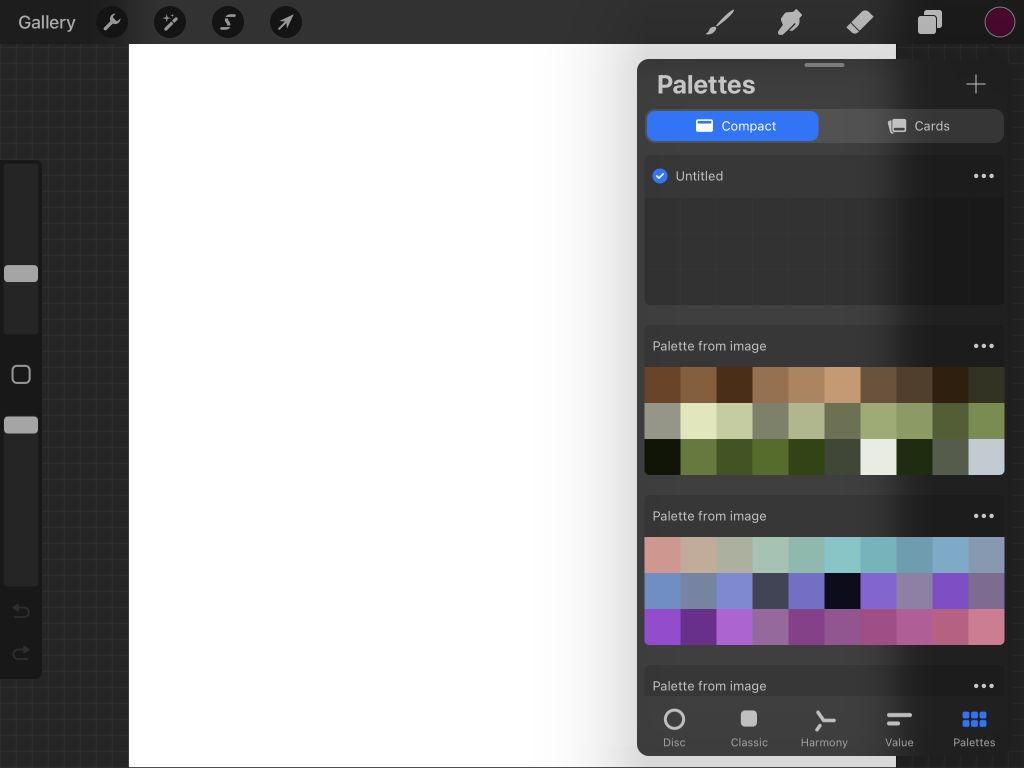
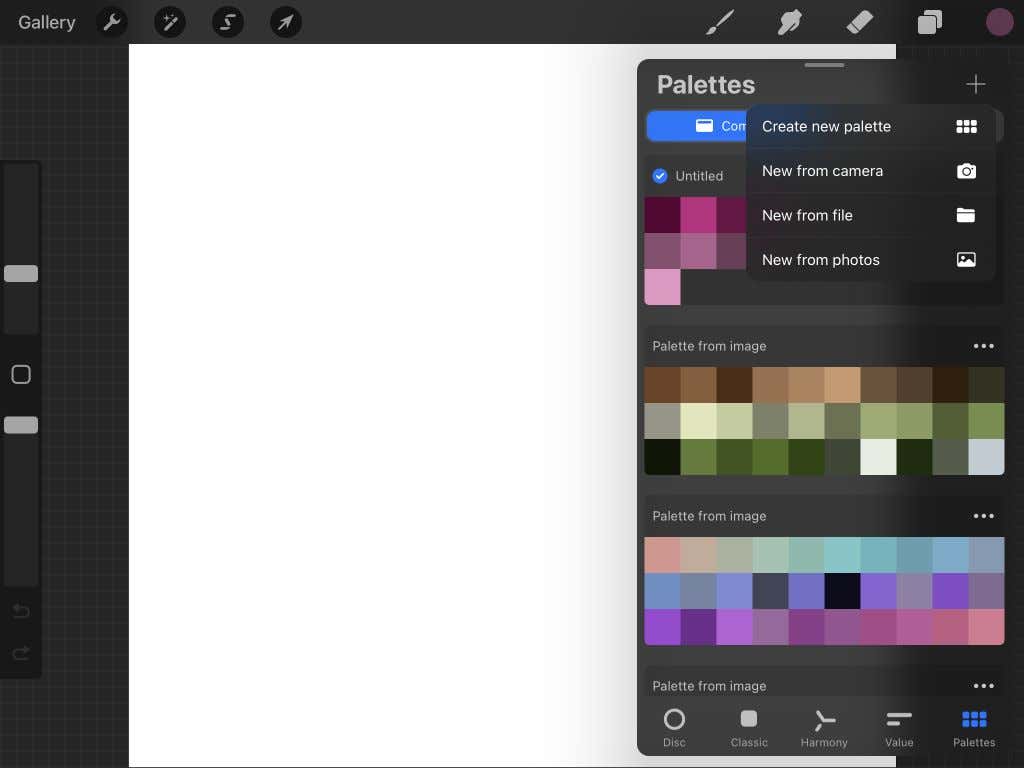
- Tap on the plus icon in the Palettes tab (on the top right) and select Create new palette.
- A palette box will show up at the top of the panel. You can tap on the title to rename it.
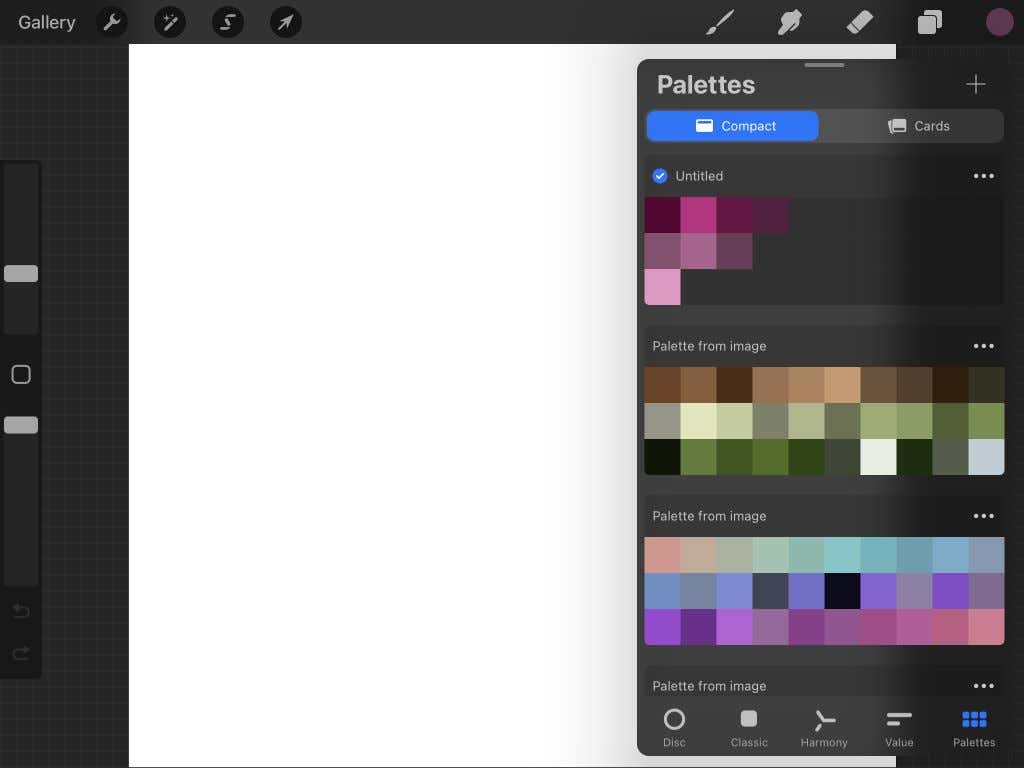
- Now, go to the color wheel and select a color you want to add to your palette. Once selected, go back to the Palettes tab.
- Tap on one of the empty squares to add your chosen color to the palette. Repeat this for as many colors as you want to add.
Creating a Palette From Your Camera
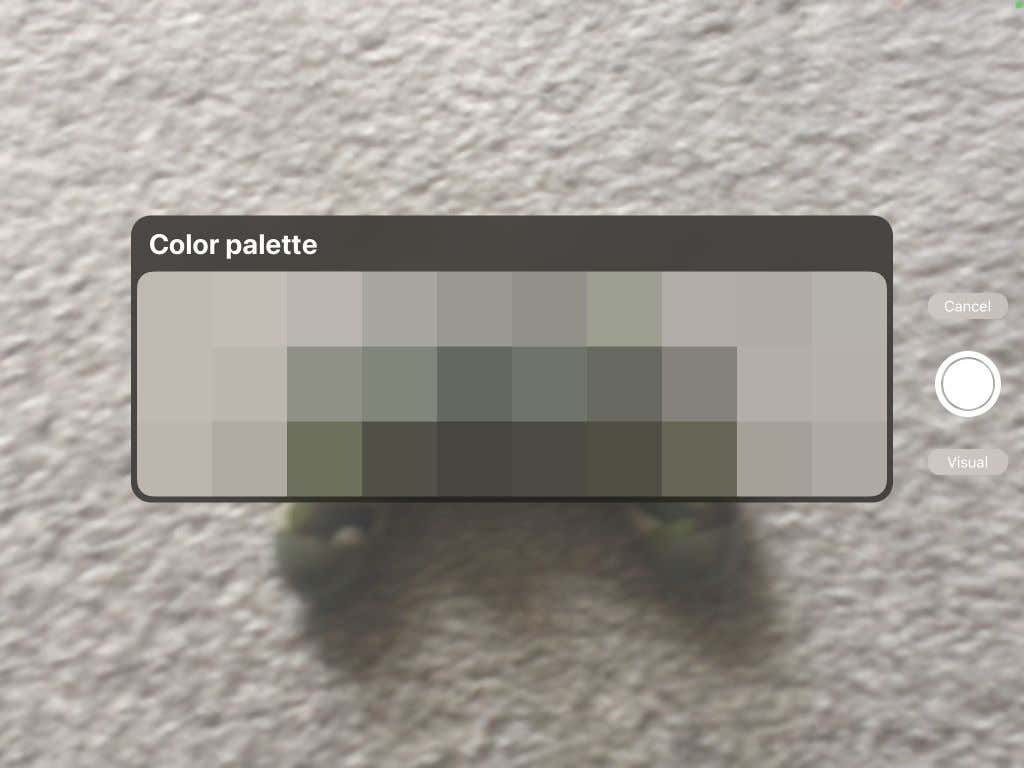
- Tap on the plus icon in the Palettes tab and select New from camera.
- You can now use your device’s camera to aim it at an object or scenery and get a color palette.
- Once you get the colors you like, tap on the white circle to the right to save the palette.
- The palette will show up under the Palettes tab, and you can select any color to start using it.
Creating a Palette From a File
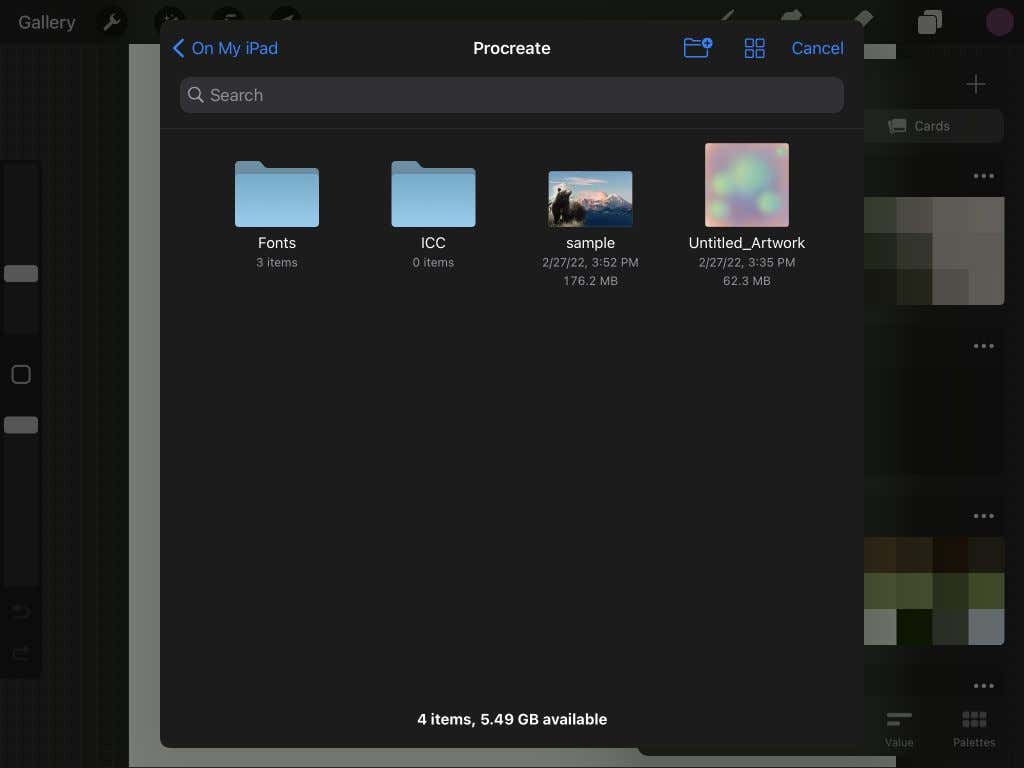
- Tap on the plus icon in the Palettes tab and select New from file.
- If you’ve downloaded any palettes online onto your iPad, you can select them from your Files app. Choose the file you want to use, and the palette will show up in the panel.
- Select any color to begin using it.
Creating a Palette From a Photo
- Tap on the plus icon in the Palettes tab and select New from photos.
- Your camera roll will appear, and you can find the photo you want Procreate to pull colors from.
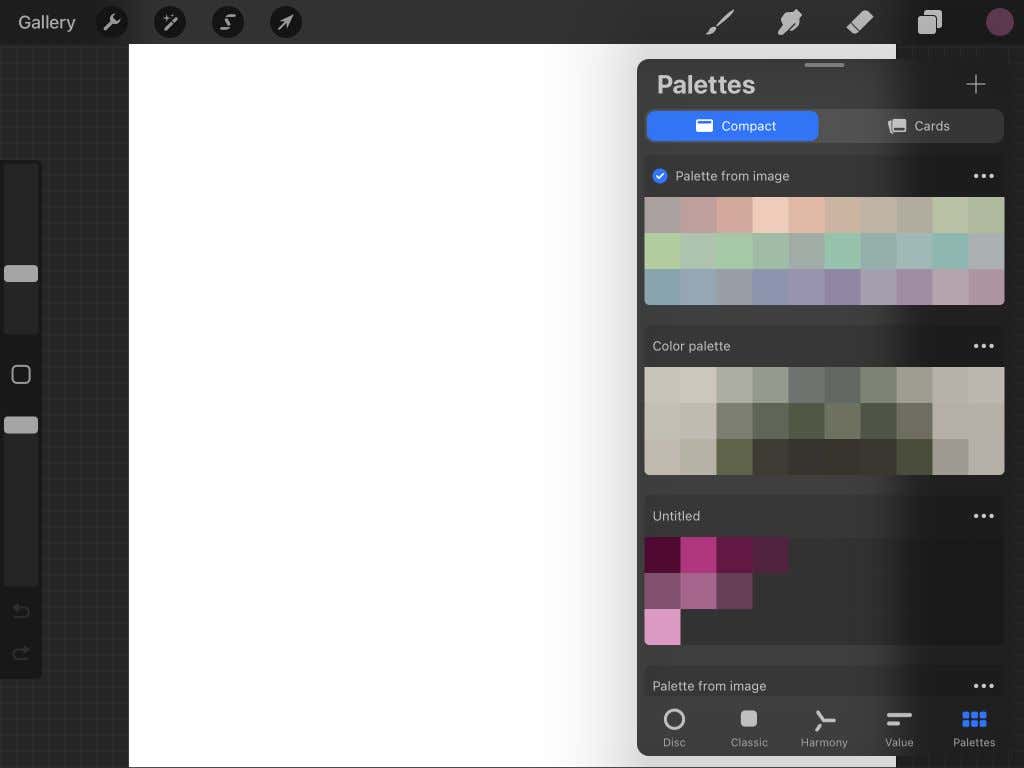
- Once you tap on a photo, a new palette will appear in the panel. Select any color to begin using it.
If you want to share, duplicate, or delete any of your palettes, simply tap the ellipses icon in the top-right corner of the palette and select which action you’d like to take.
On the top of the Palettes panel, you can also choose between Compact or Cards view, with Cards having a much larger view of each color.
Tips on Using Color in Procreate
There are also a few small Procreate tips you should know that can come in handy while coloring in the app.
First, you can tap and hold on the Color icon to switch to the previous color you were using. If you changed colors, this could be helpful when you want your last color back. Otherwise, it can be hard to find that exact color again.
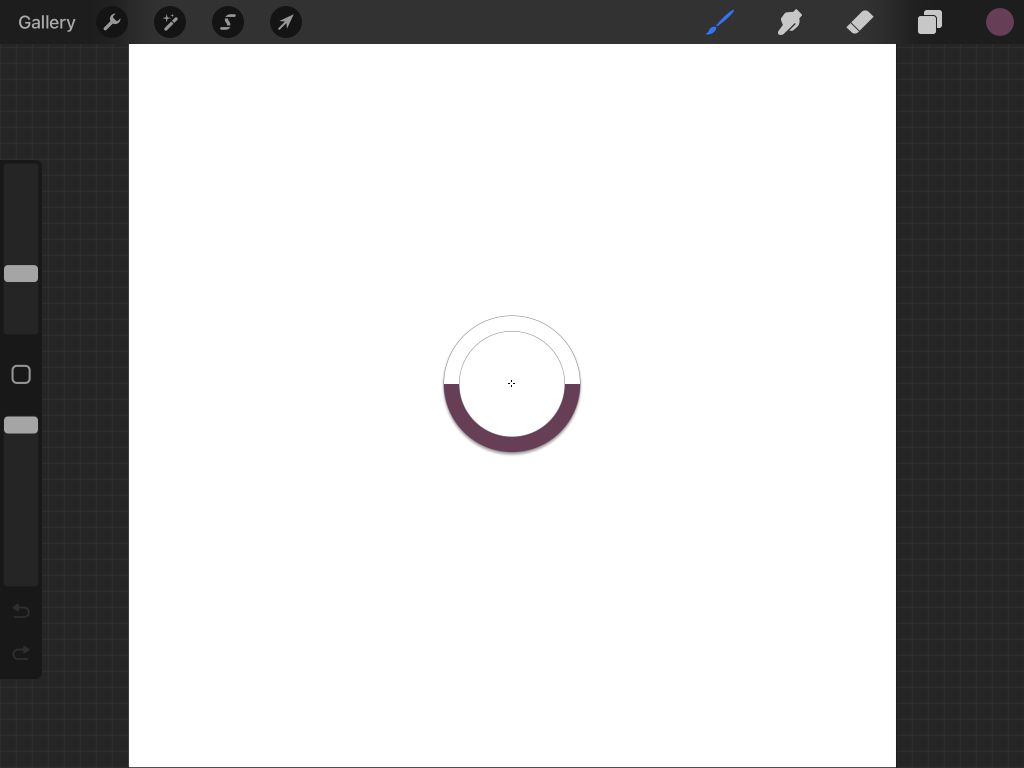
The eyedropper/color picker allows you to select any color in your art and use it again. To use the eyedropper, tap and hold on the color in your art. Once the eyedropper tool appears, you can drag it around to select the exact color. You can also tap on the square icon on the left-hand sidebar above the opacity slider to get the eyedropper tool.
You can be more productive with a default palette. This default palette will show up in every tab under the Colors panel for easy access.
To set up this palette, go to the Palettes tab and tap the ellipses icon on a palette you want to use as a default. Select Set as default. A blue check will appear on your new default palette, showing up in each tab.
Make Eye-Catching Art by Using Color Correctly in Procreate
Making digital art is easy with Procreate, and all the tools they have available make coloring not only efficient but also enjoyable. The iPad is an excellent device for making art and graphic design, and hopefully, this tutorial has helped you learn the ins and outs of coloring your work in Procreate.
