If you’re in the market for smart lights, you’ve probably realized that Philips Hue lights are some of the best and most versatile smart lights that you can add to your smart home.
Philips Hue smart lights come in many varieties. Starter kits are the best value, with four white bulbs and the Hue bridge starting at $59.99, or four white and colored lights with the Hue bridge starting at $199.99. You can also purchase other Hue products like smart lightstrips from the Philips website or buy them from Amazon.
Whichever product you start with, the installation and setup process is roughly the same. You’ll need to install the new Hue smart light bulbs, physically connect the bridge to your router, set up Philips Hue software on your Android or iPhone and/or your computer, and configure the smart bulbs. In this guide, we’ll step you through the entire process.
Connect Philips Hue Lights Hardware
Before you can set up the Philips Hue apps and start controlling the new lights via your Wi-Fi network, you’ll need to connect the Hue system, including the Philips Hue Bridge and the Philips Hue light bulbs.
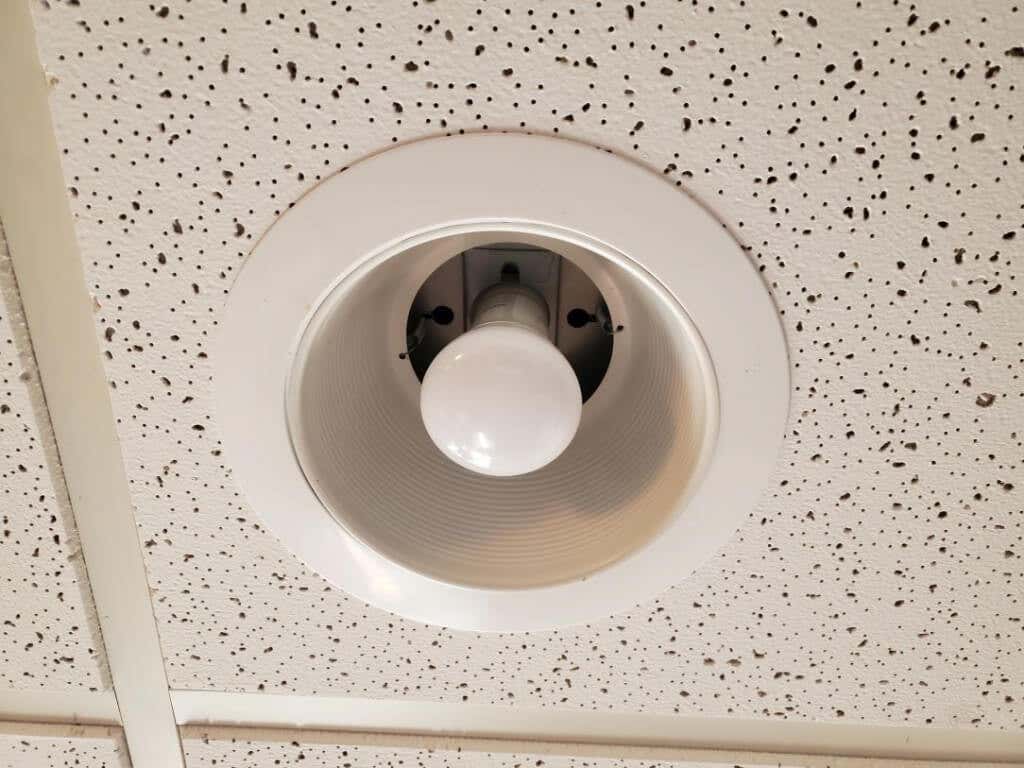
The first thing you’ll want to do is take the bulbs from the box and install them into the light fixtures where you’d like to use them.
Once installed, turn on the light switch to power the bulbs. Keep in mind that if your lighting system is controlled by a dimmer switch, you’ll need to place the dimmer in the full on position for the lights to work properly.
The Philips Hue bulbs may or may not light up immediately, but you don’t have to worry about that right now.
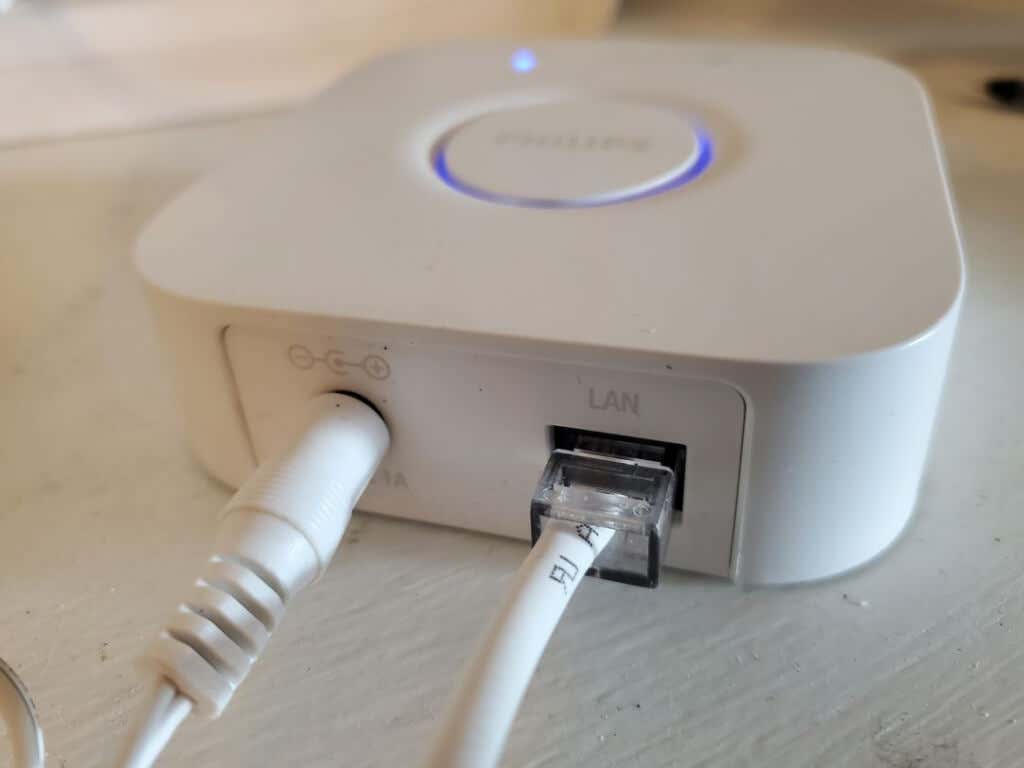
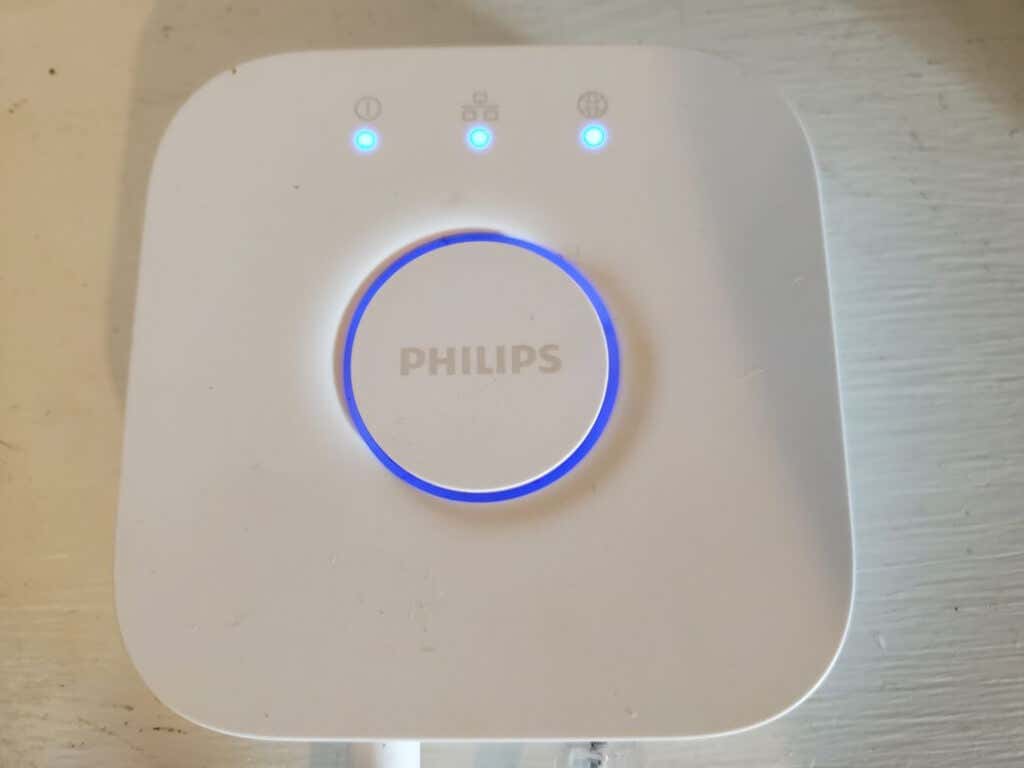
Remove the Philips Hue bridge from the box and place it next to your internet router. There are two connections on the back of the bridge, the power port, and the ethernet port.
Plug the included power adapter into the power port and install the plug into an outlet or power strip.
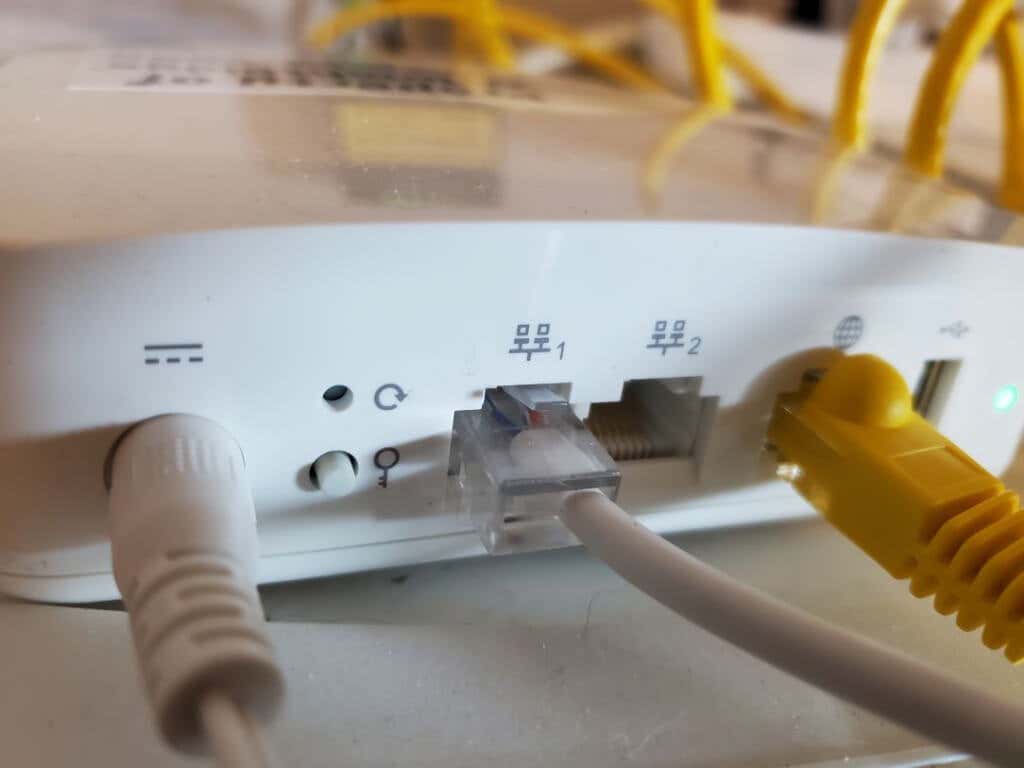
Second, install one end of the included ethernet cable into the LAN port of the bridge, and plug the other end into an available LAN port on the back of your internet router.
Make sure to install it into one of the numbered LAN ports, not in the internet port (usually, this has a globe icon to identify it). That port is your main internet connection coming from your cable, fiber, or DSL modem.
The Philips Hue bridge should now have all lights active in a dark or light blue color. If any of these are not lit up or a different color, unplug the bridge and plug it back in again.
With both your Philips Hue bulbs and Philips Hue bridge powered up, and the bridge connected to your home internet, you’re ready to install the apps and start using your smart lights.
Setting Up the Philips Hue App
You can download the Philips Hue app for Android from the Google Play Store or for iOS from the Apple app store.
When you first launch the Philips Hue app, you’ll need to add your lights to a “room” in your house. A room, in the app, is a designated area of your home where the lights are installed.
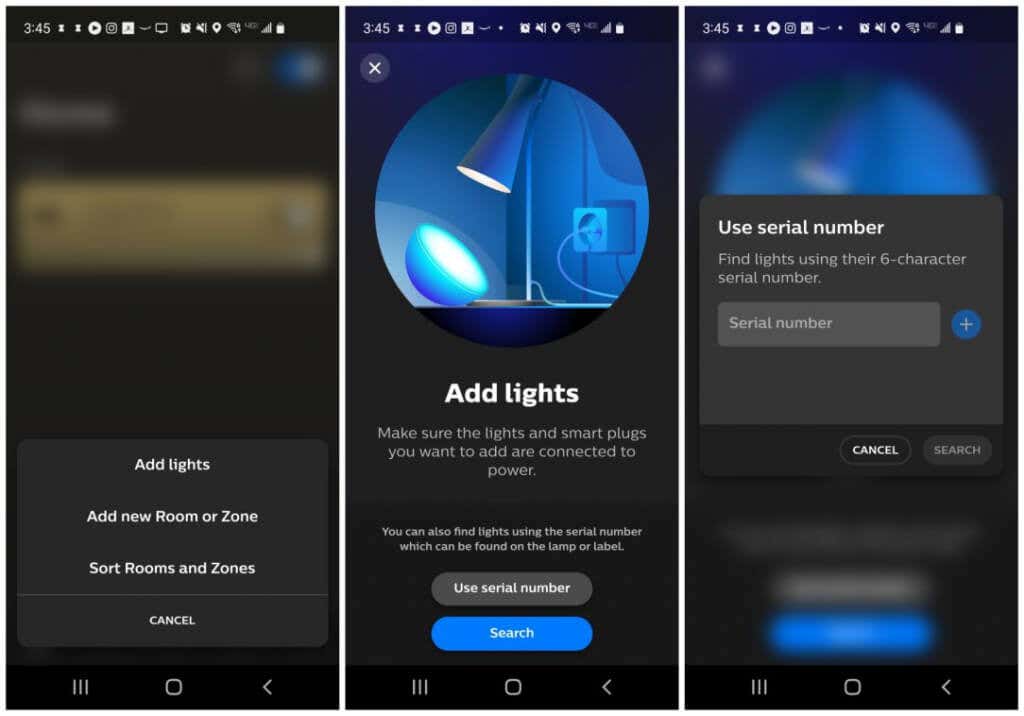
To do this, select the three dots at the top right corner of the app window, and select Add lights.
When you tap that, it’ll open the Add lights wizard. You can either add lights by typing in the serial number from each bulb or using the Search button.
The Search button enables the bridge to scan your local area for the presence of the bulbs and automatically identify them. If the bridge can locate the bulbs (maybe because they’re too far away from the Philips Hue bridge, just add them by serial number instead.
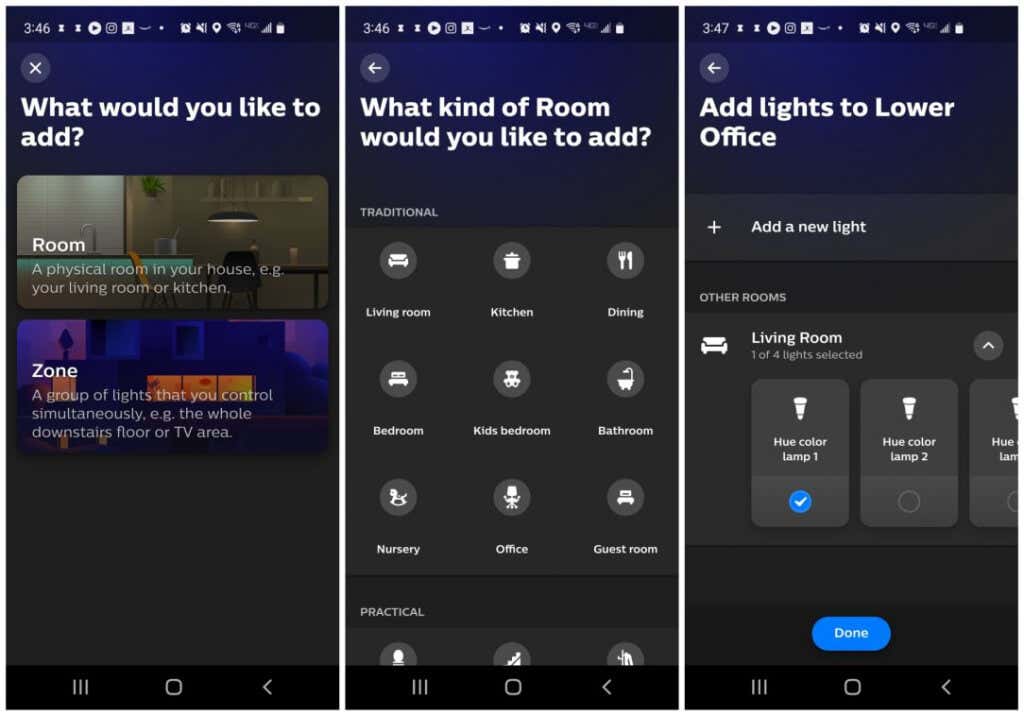
Once you’ve added the bulbs, you’ll need to add a new room to the app. To do this, select the three dots at the top right corner again, and this time select Add new Room or Zone.
This will open a new wizard for this. Select Room, and on the next screen you can select the type or room you’re adding, like Living Room or Office. On the final page, you’ll need to select the lights you want to assign to that room.
Once you select Done, your Philips Hue app is set up, and you’re ready to start controlling your Philips Hue lights!
Using the Philips Hue App
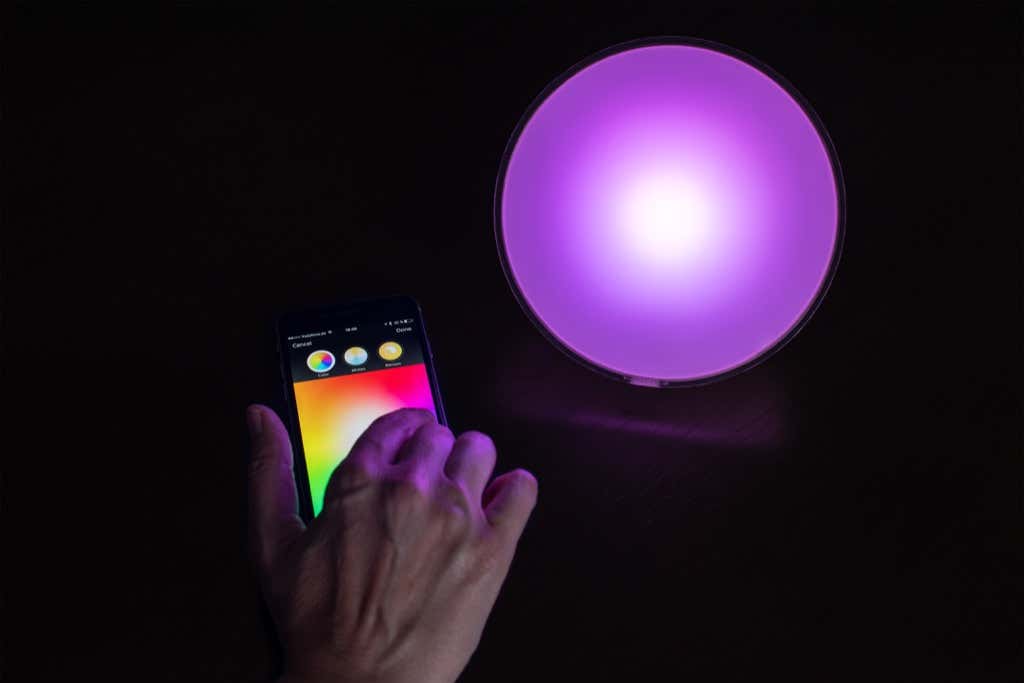
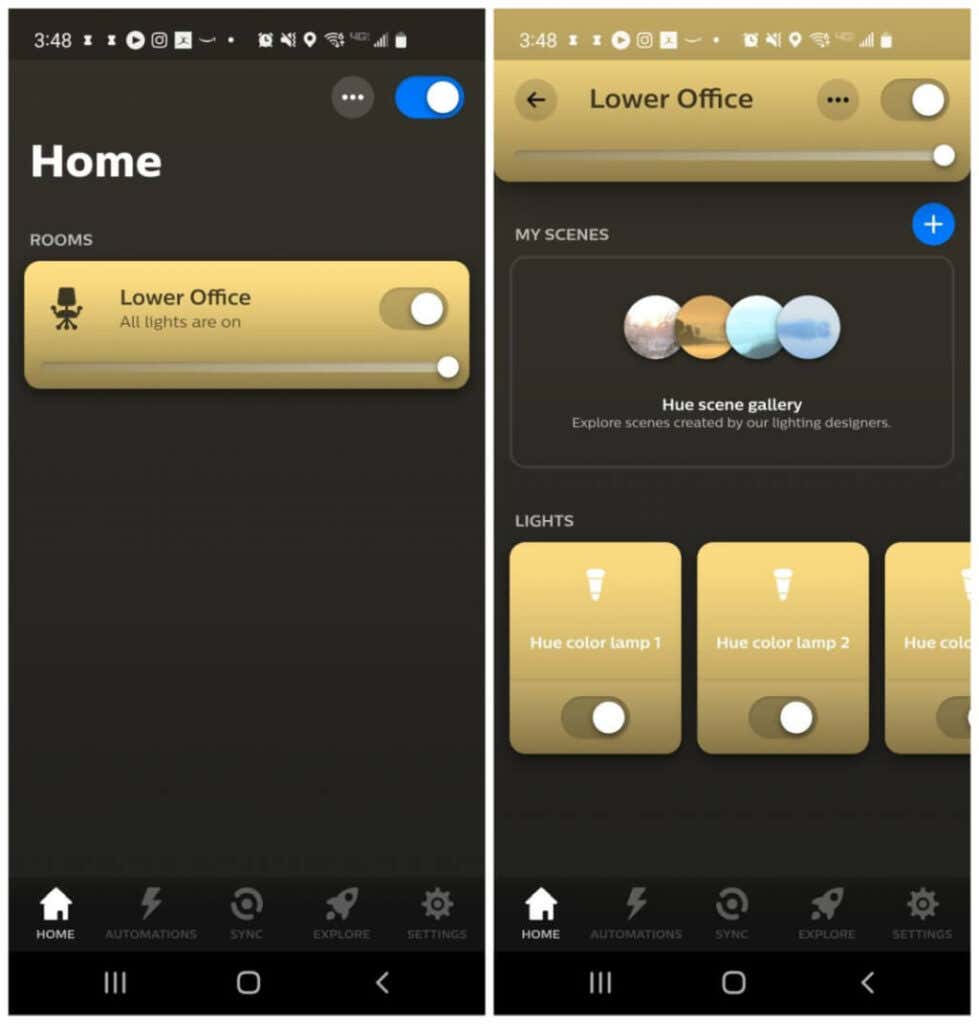
Now, whenever you open the Hue app on your mobile device, you’ll see the rooms available to control. When you select a room, you can control individual bulbs (brightness or color) or select a “scene”, which is a pre-programmed color combination that sets a certain mood or ambiance in the room.
You can also use the single switch at the top of the Room window to control all of the bulbs assigned to that room at once.
There are several additional very cool features and functionality available in the Philips Hue app.
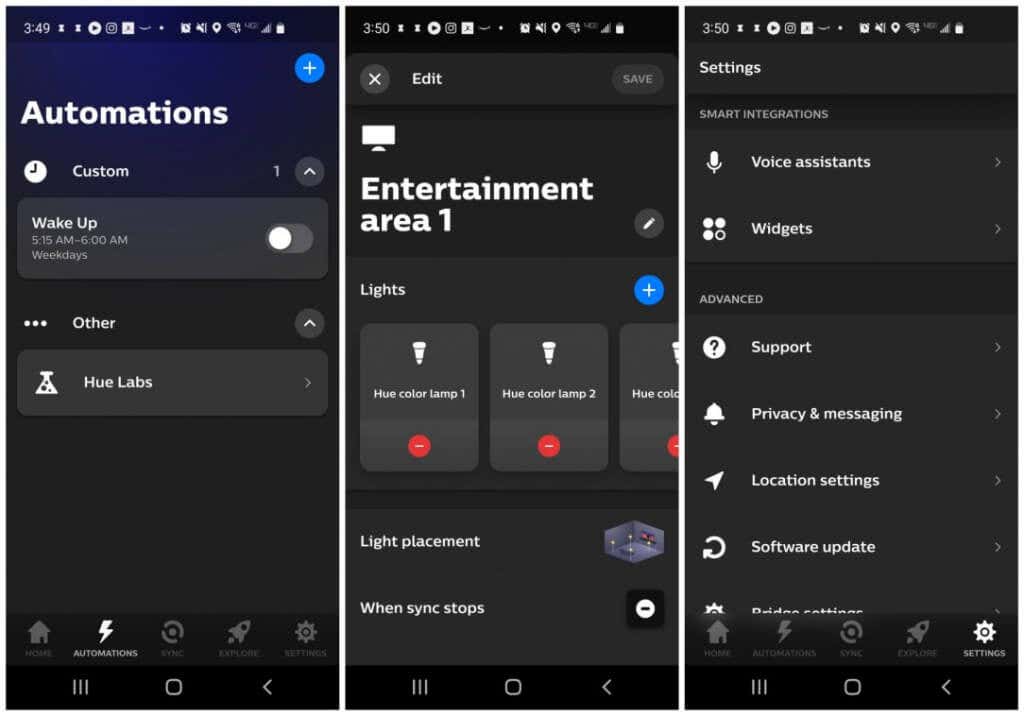
- Automations: Choose from creative ways to automate your lights, like turning them on or off to a timer or having them turn on or off when you arrive or leave home.
- Entertainment Areas: Assign specific bulbs to entertainment “areas” in a room in your house so that you can sync them with media or music playing in that room via your computer (see below).
- Voice Assistants: Connect with Google Assistant or Amazon Alexa so that you can control your lights via voice command. This also lets you control your lights via the Assistant app, your Google Home app, the Amazon Alexa app, or your Amazon Echo.
- Widgets: Customize a widget for your mobile device’s home screen. Before this works in the app, you’ll need to long-press the home screen and add the Philips Hue widget from there. Then, go back to the app to customize it.
How to Sync Philips Hue Lights With In-Room Media
There are three ways that you can have your lights automatically change color to match movies, music, or other media you’re enjoying in that room.
- Connect the app with your Spotify account.
- Purchase the Philips Hue Play HDMI sync box.
- Download and install the Philips Hue Sync software for Windows or Mac.
For the most control at the lowest cost, the Philips Hue Sync desktop app is the way to go.
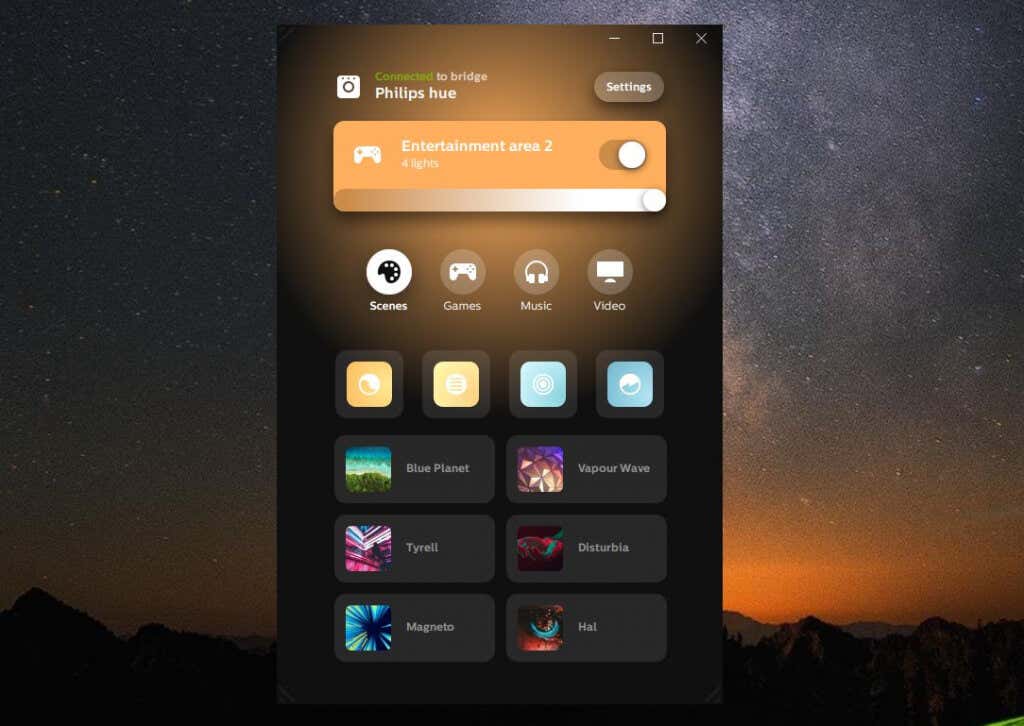
So long as you’ve created Entertainment Areas with the Philips Hue mobile app, you’ll see those listed in the desktop Philips Hue Sync application.
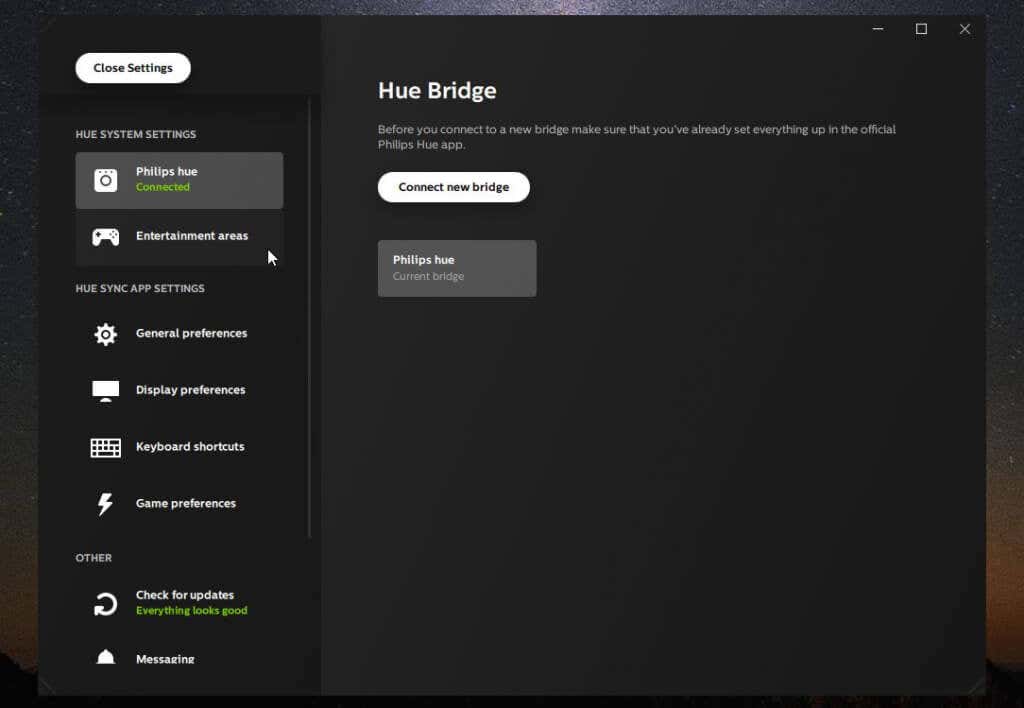
Before you can do this though, you’ll need to select Settings and then select Philips hue from the left menu. Select Connect new bridge if you haven’t connected the app to your bridge yet.
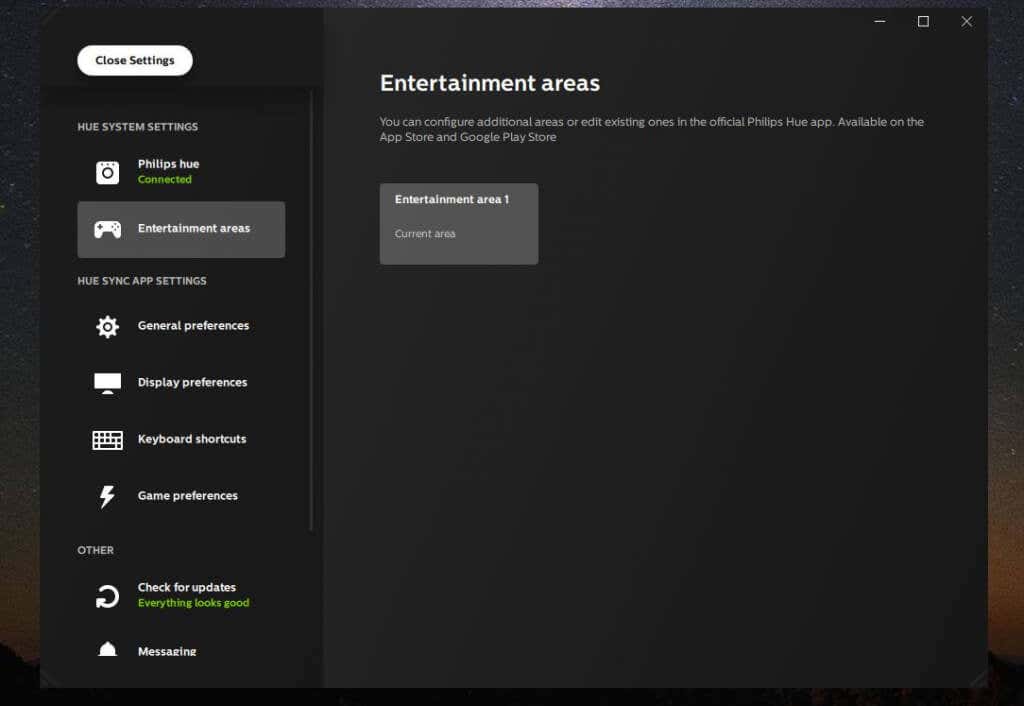
You can also select Entertainment areas from the left menu to see what areas are available for you to control.
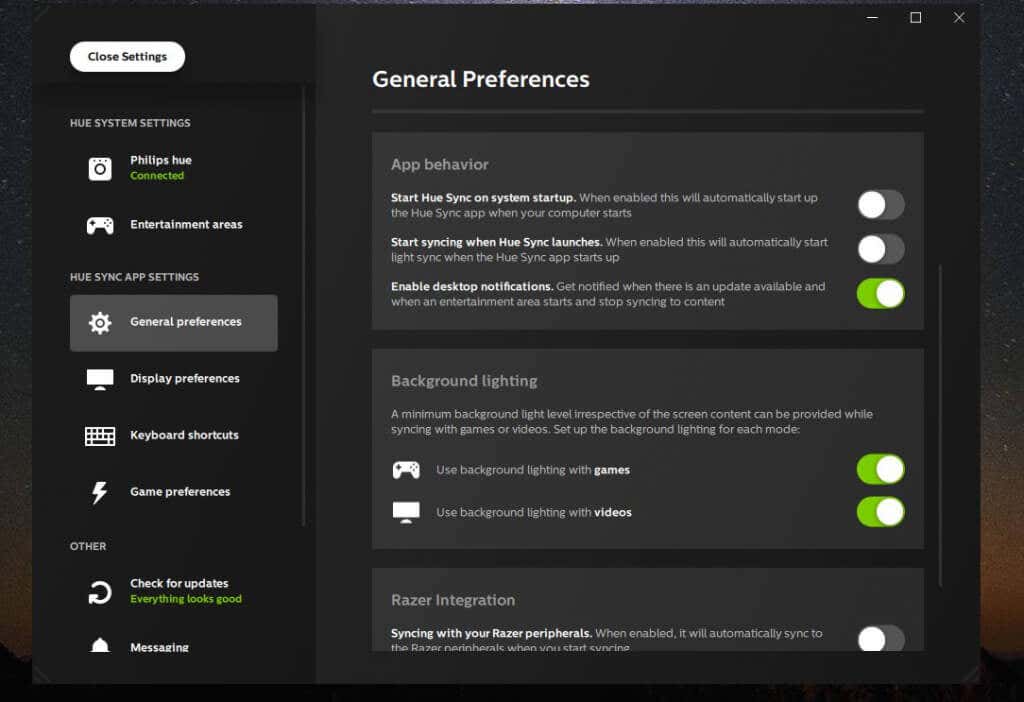
Select General preferences from the left menu to configure exactly how syncing behaves when launching the app.
You can configure:
- Whether the Sync program starts on system startup
- Start Syncing automatically with media you play whenever the Sync app launches
- Enable “background” lighting, which will ensure you’re never left in the dark even if the movie you’re watching goes completely black.
When you’re ready to watch the media and have your lights sync with it, just select the Start light sync button at the bottom and enjoy the immersive show!
