Adobe Illustrator is the premier application for creating and editing vector graphics like logos which can be scaled up or down without losing detail. A defining characteristic of Illustrator is that there are many ways of achieving the same goal. So, when you want to learn how to cut out a shape in Illustrator, there are multiple ways to go about it.
In this article, we’ll review several ways to cut out a shape in Illustrator. This tutorial was written using Adobe Illustrator CC 2020, but these instructions should work no matter which version of Illustrator you have, as long as you’re using vector elements and not a raster image.
How to Use a Shape as a Cookie Cutter
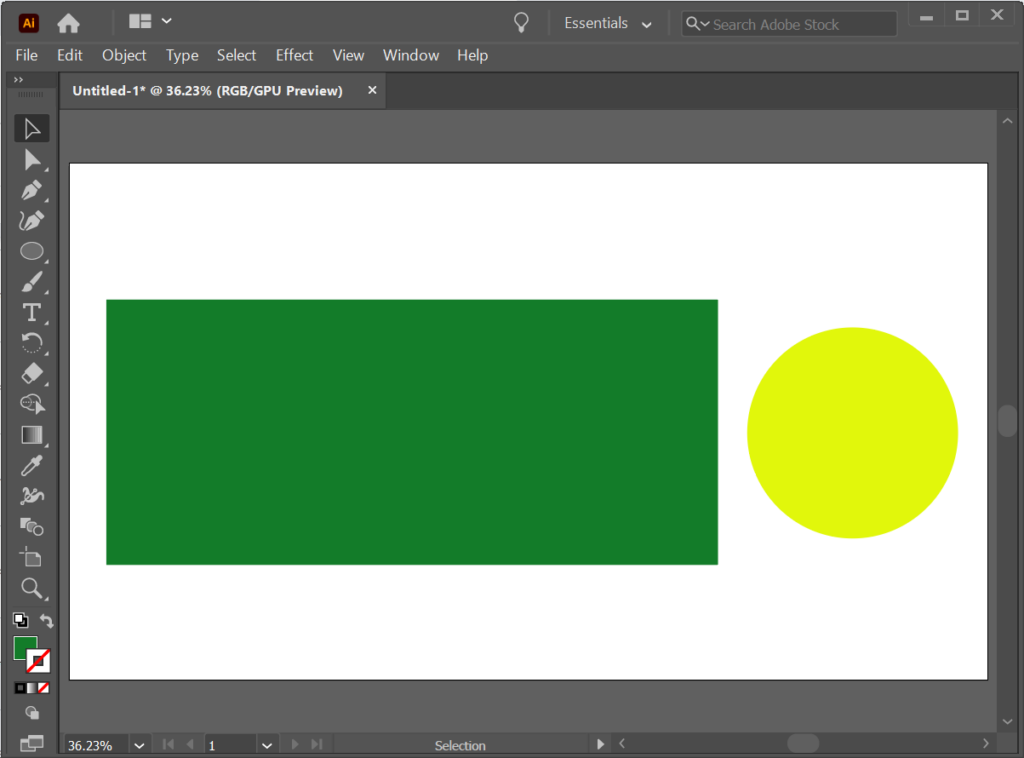
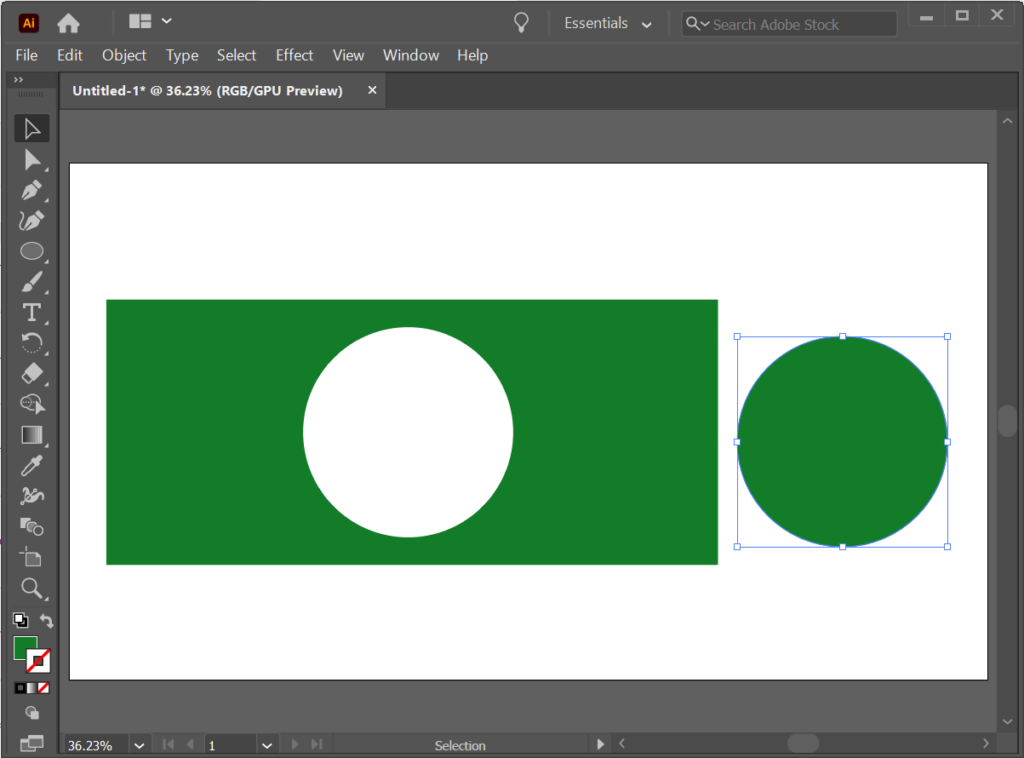
Imagine you have two shapes on the artboard in Illustrator–a rectangle and a circle. If you use the Divide Object Below command, you can use one shape like a cookie-cutter, creating a cutout through the other shape and deleting the shape you used as the cookie cutter. This is a great method for beginners because it’s so simple.
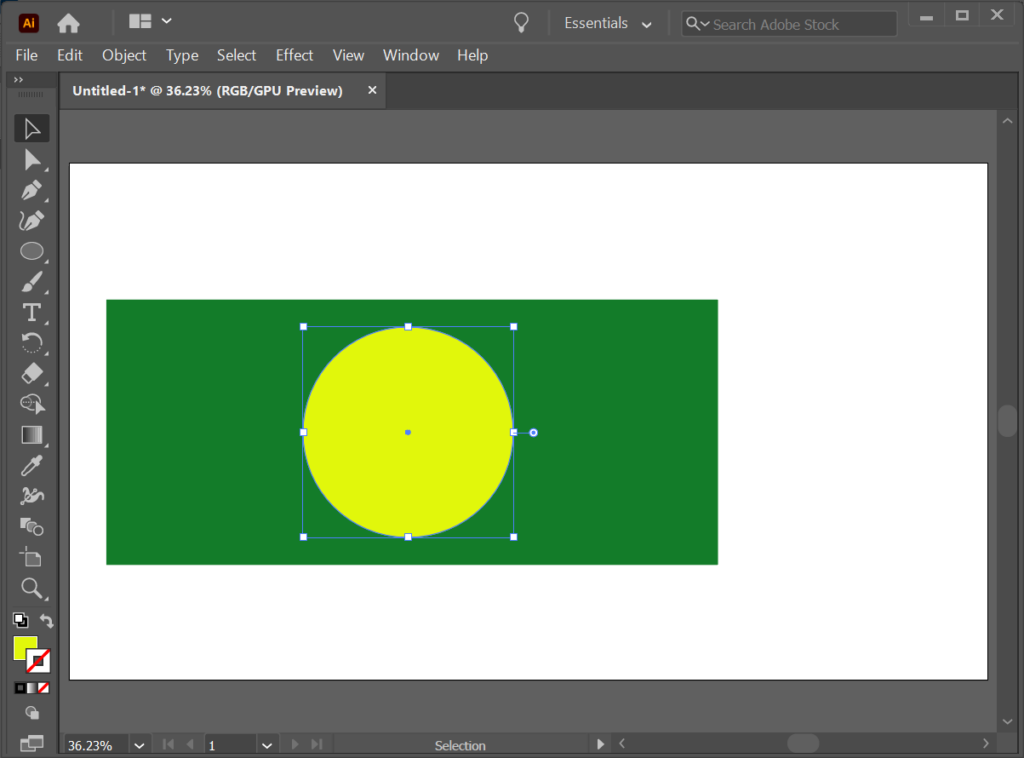
- Use the Selection tool to move the circle on top of the rectangle. Note: To quickly activate the Selection tool, use the keyboard shortcut V.
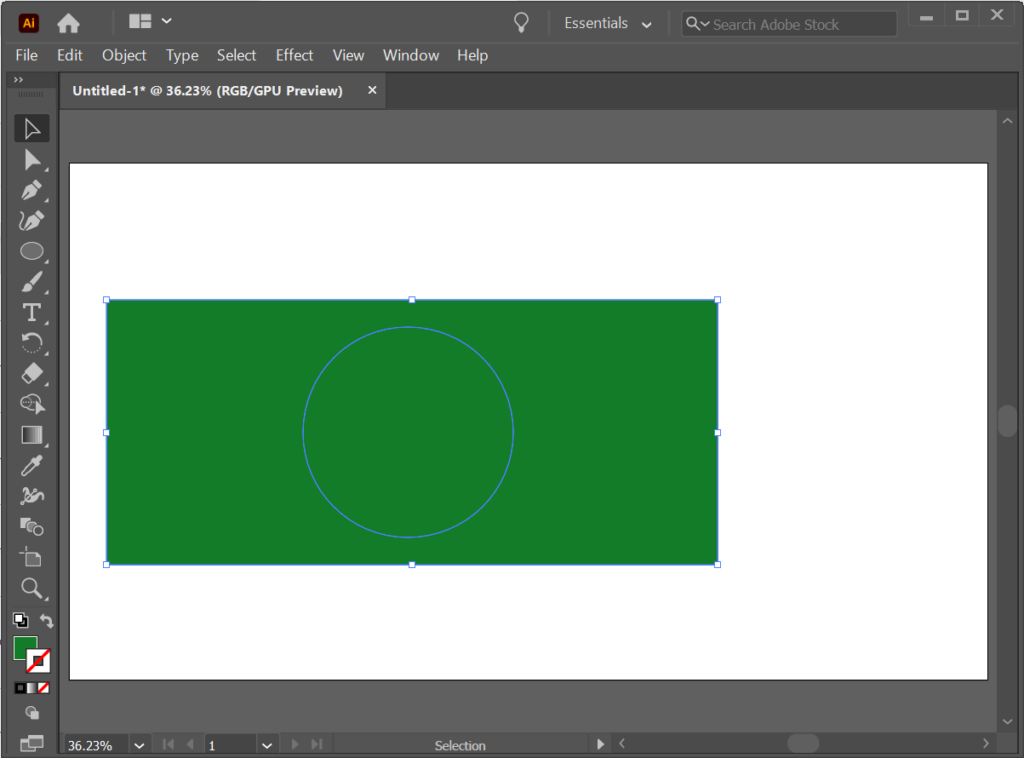
- With the circle still selected, select Object > Path > Divide Objects Below. The yellow circle will disappear, leaving a circular path on the rectangle.
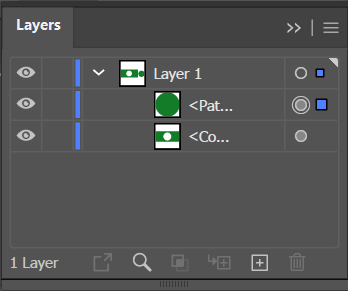
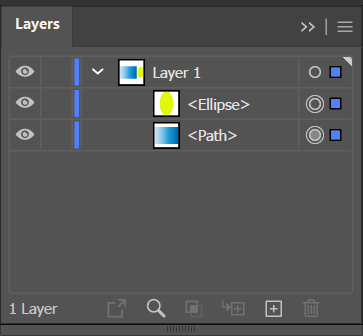
- In the Layers panel, select the circle path.
- Then use the Selection tool to move the circle layer off the rectangle.
How to Cut Out a Shape Using the Knife Tool
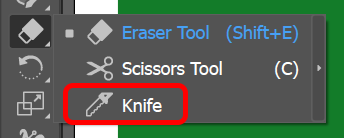
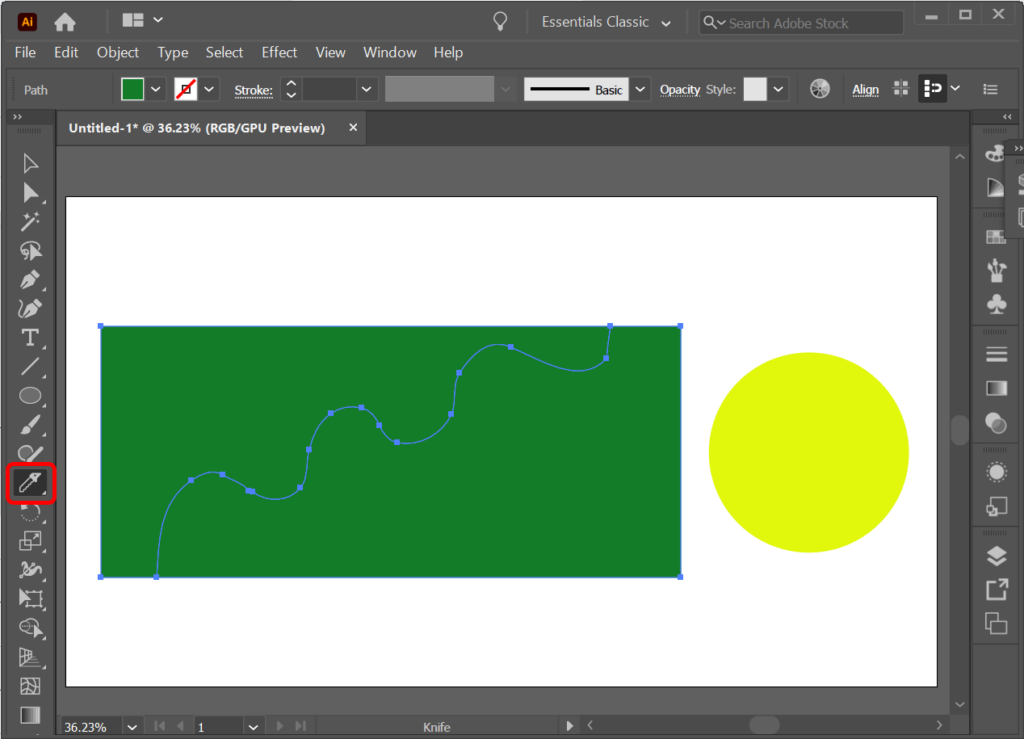
- Locate the Eraser tool on the toolbar and notice the tiny arrow in the corner indicating the button contains more tools in a submenu when you hold down or right-click the button. Holding down the button reveals the Scissors tool and the Knife tool. Select the Knife tool.
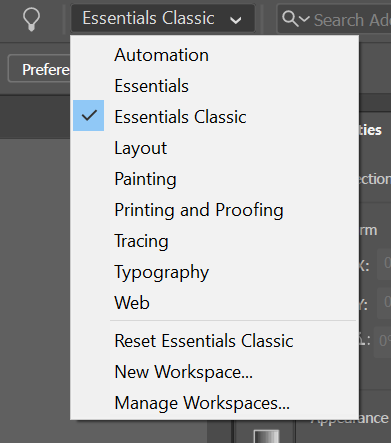
- If the knife tool is missing, it’s probably because you’re using the Essentials workspace. Switch to Essentials Classic or another workspace in the upper-right corner of the Illustrator window, and the knife tool will be restored.
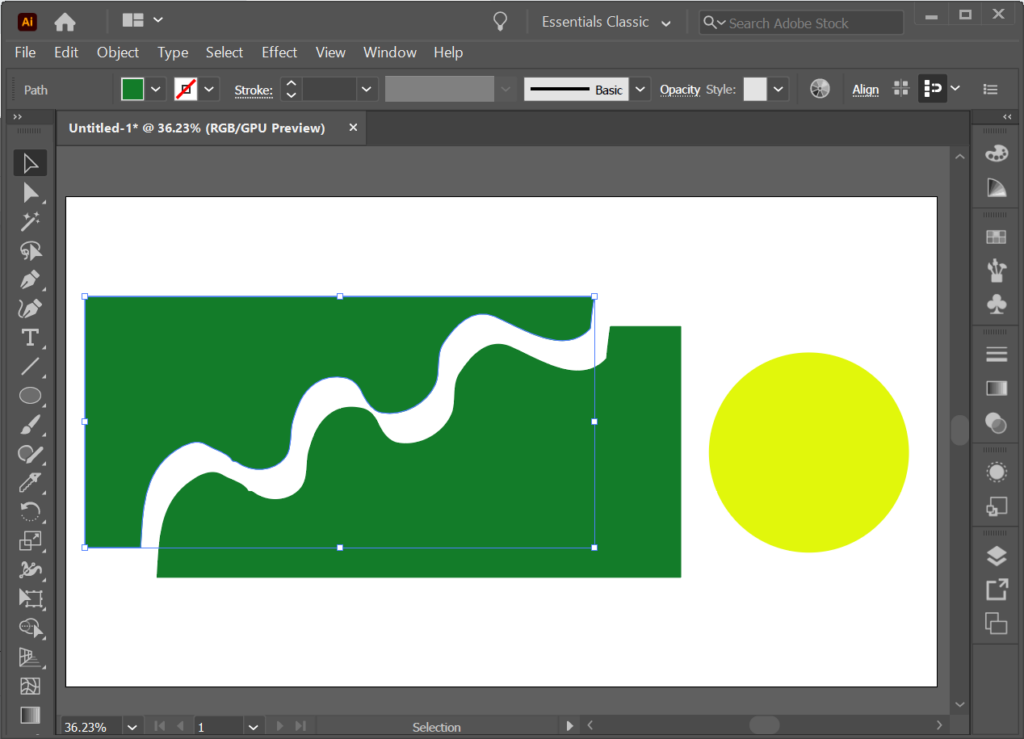
- Use the Knife tool to cut out a shape just like you’d use an Exacto knife on a physical piece of paper or cardboard.
- In the Layers panel, select one of the layers you created by cutting the shape with the Knife.
- Using the Selection tool, move the layer you just selected away from the rest of the shape.
You can use the Knife tool to slice multiple shapes. The Knife tool will cut it as long as a layer or shape isn’t locked.
How to Cut Out a Shape With the Scissors Tool
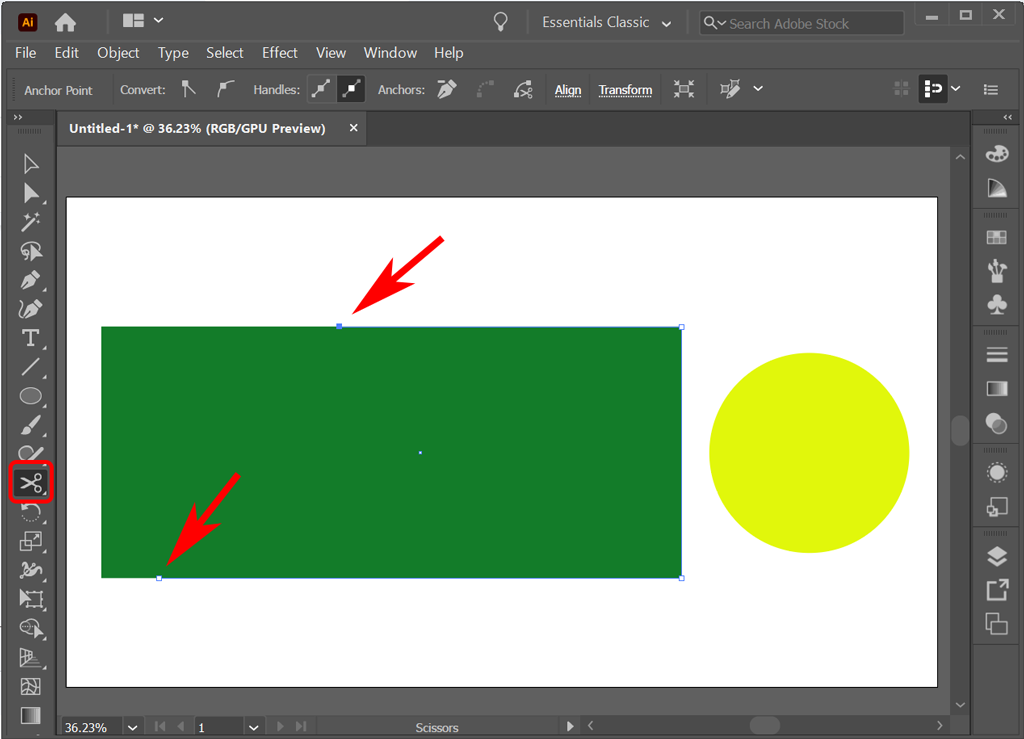
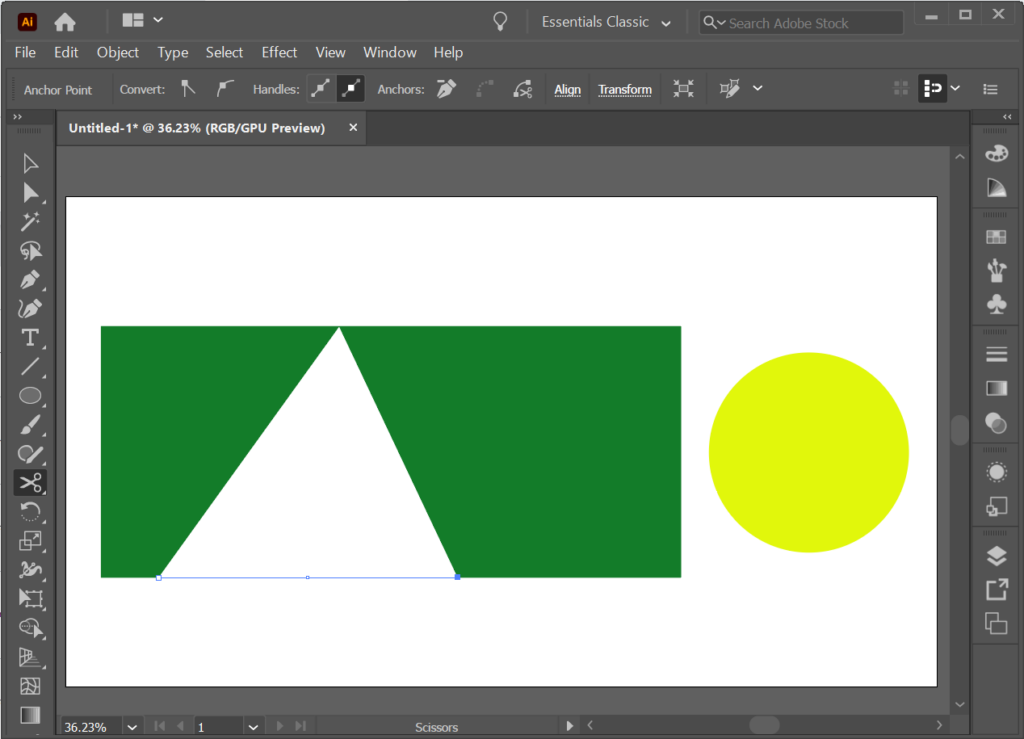
We’ve already taught you how to find the Scissors tool (it’s hidden in the submenu beneath the Eraser tool in the Tools panel). You can also use the keyboard shortcut C to activate the Scissors tool.
- With the Scissors tool selected, click on the edge of a shape to create an anchor point.
- Create a second anchor point by clicking on the edge of another area of the same shape.
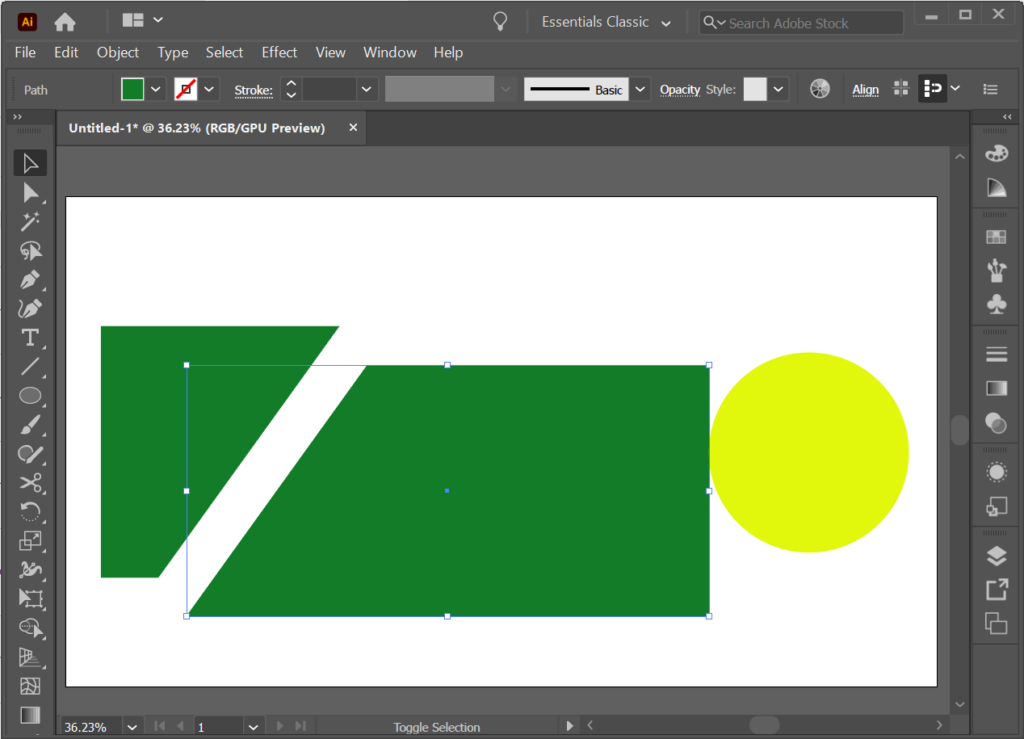
- At this point, you can use the Selection tool to drag one part of the shape away from the rest.
- You can add a third anchor point with the Scissors tool, and Illustrator will make two cuts.
How to Cut Out a Shape With the Crop Tool
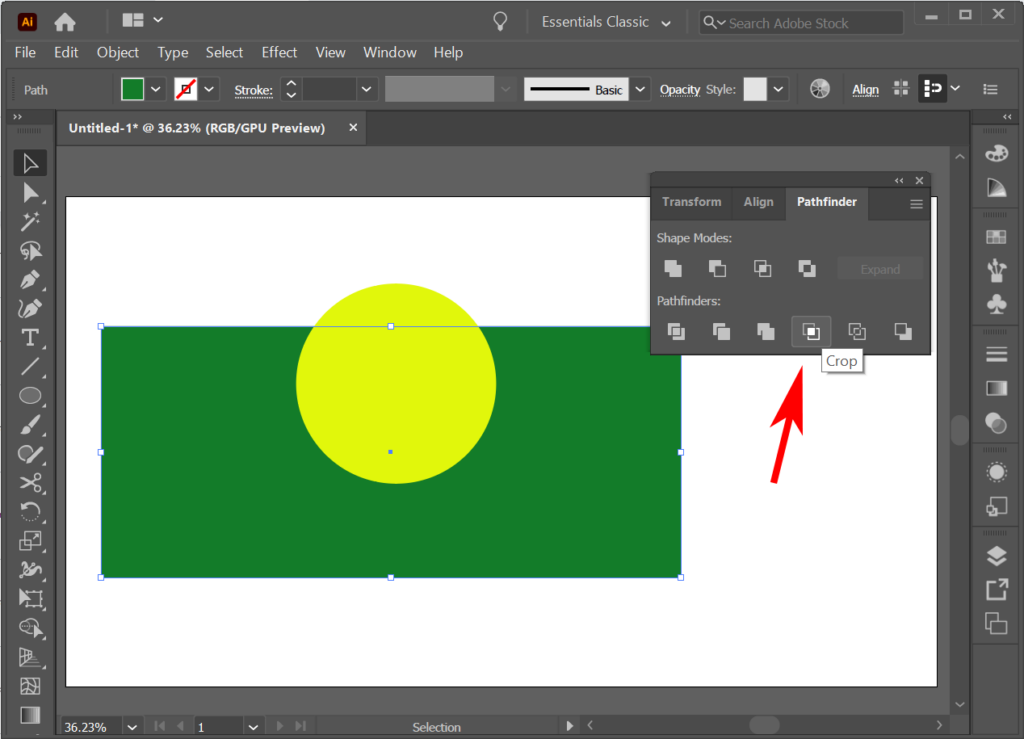
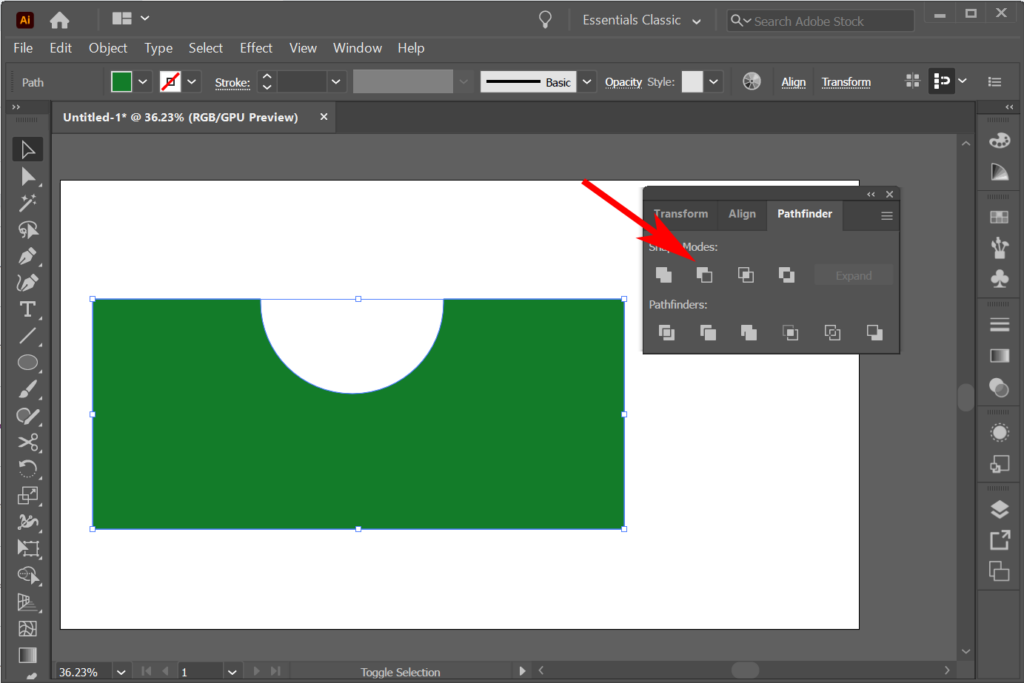
In Illustrator, the Crop tool isn’t on the regular toolbar. Instead, you can find it on the Pathfinder panel. Display the Pathfinder panel by selecting Windows > Pathfinder or using the keyboard shortcut Shift + Ctrl + F9 or Shift + Command + F9 on a Mac.
Using the Pathfinder tool, you can put a shape on top of another object and tell Illustrator what part of the object you want to keep or eliminate.
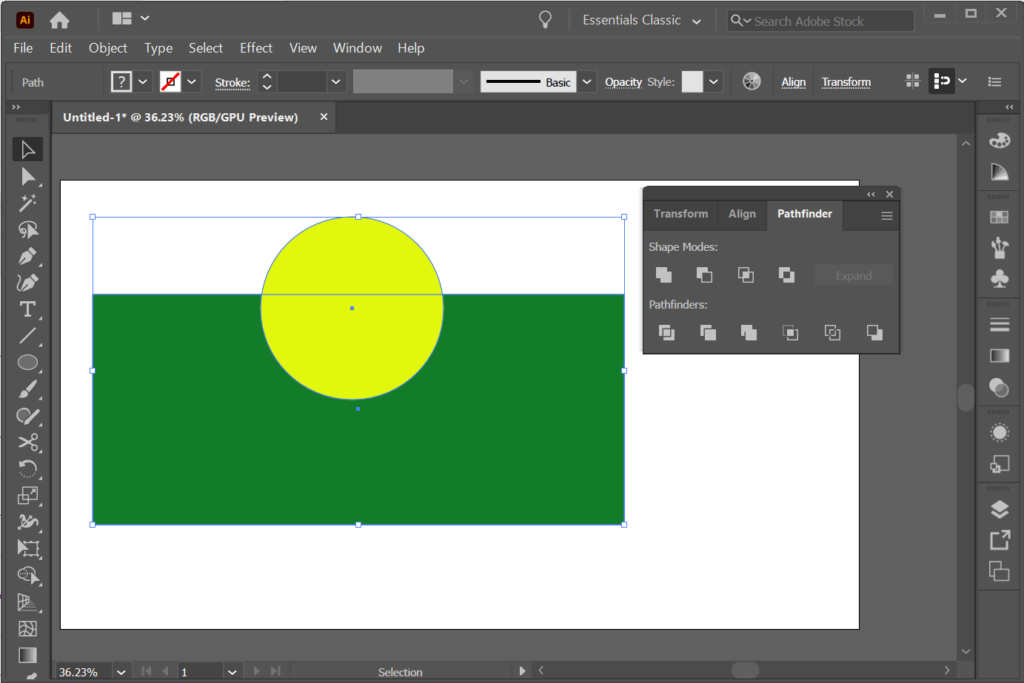
Let’s put the circle on top of the rectangle and use the Crop tool to create a new shape.
- Place a shape on top of another object you want to crop.
- Select both shapes.
- In the Pathfinder panel, select the Crop tool.
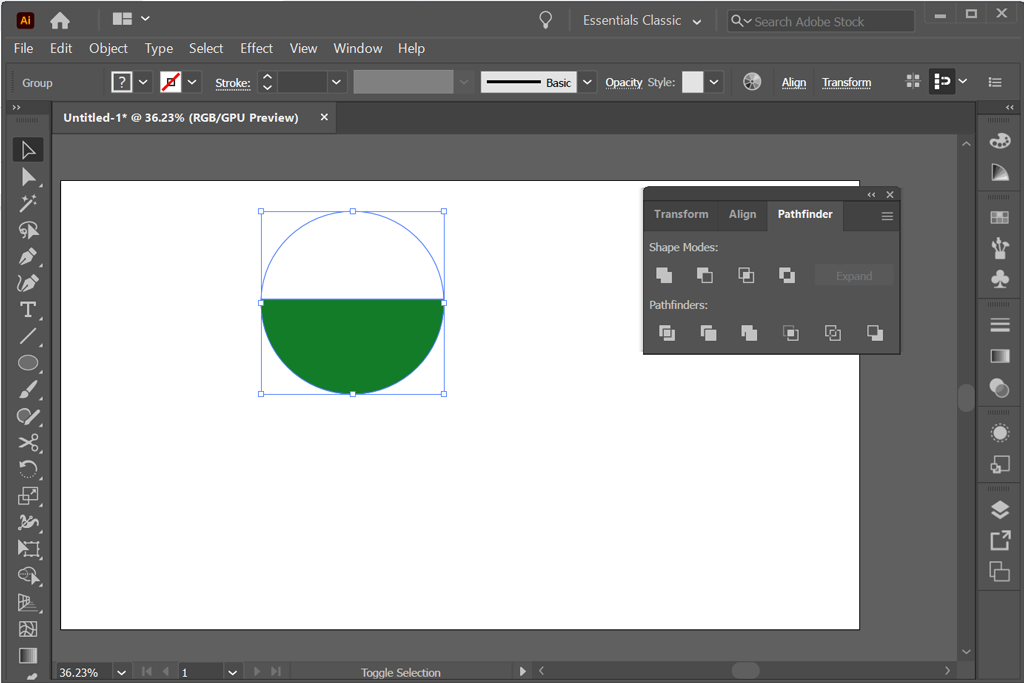
- The object will be cropped as soon as you select the Crop tool.
- Try the other options on the Pathfinder panel to achieve different effects. For example, selecting Minus Front will subtract the object in front from the object behind it.
You may find that instead of cutting out a shape, it might be easier to build a shape using the Shape Builder tool. We’ll cover that in a future tutorial.
How to Use a Clipping Mask to Cut Out a Shape
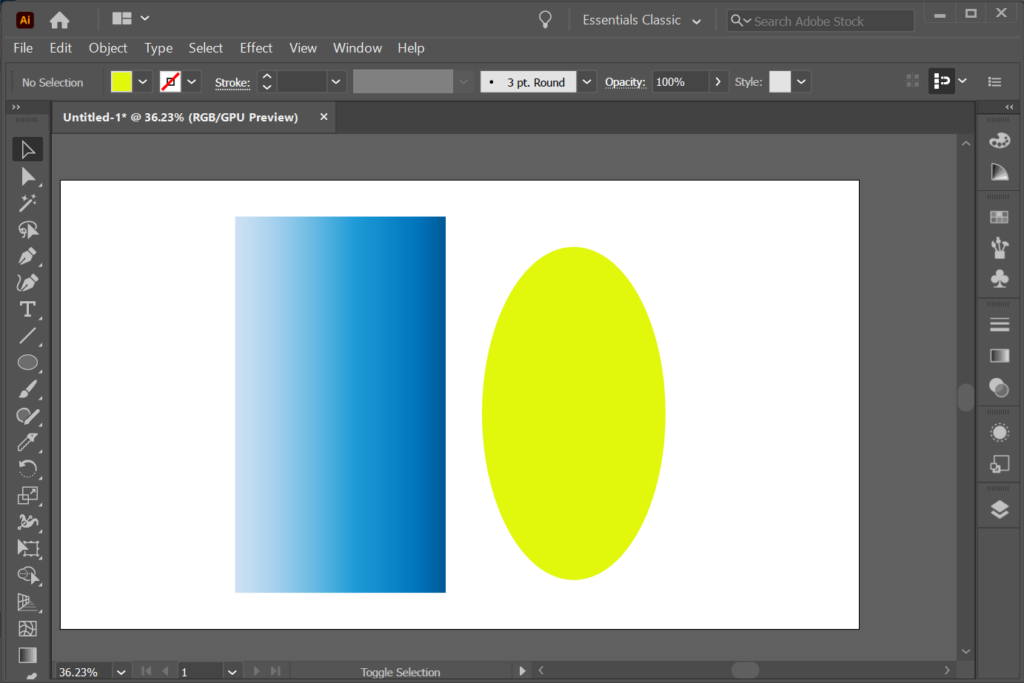
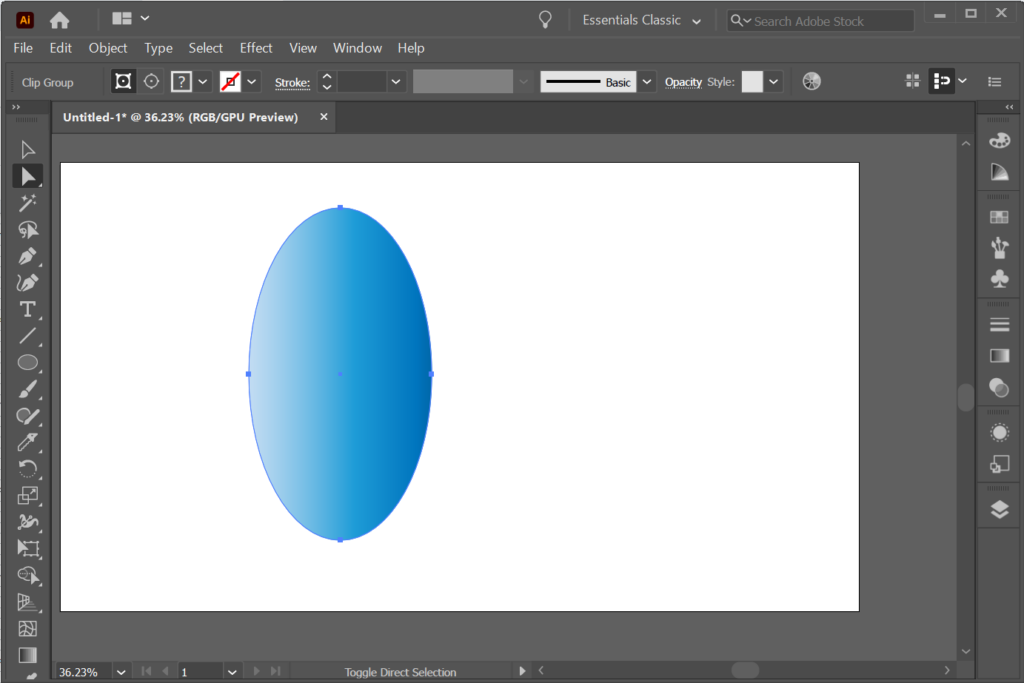
If you already know how to add a mask in Photoshop, this will be very familiar. In this example, let’s imagine we have a shape colored with a gradient. We can use another shape as a clipping mask so that only areas inside the second shape are visible. In other words, you can use clipping masks to hide parts of shapes.
- Create the object you’ll use as the mask. In our example above, we used the Ellipse tool (keyboard shortcut L) to create the oval which we’ll now use as the mask. The object you use as the mask is called the clipping path.
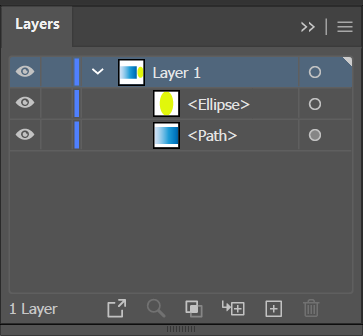
- In the Layers panel’s stacking order, move the clipping path above the object you want to mask.
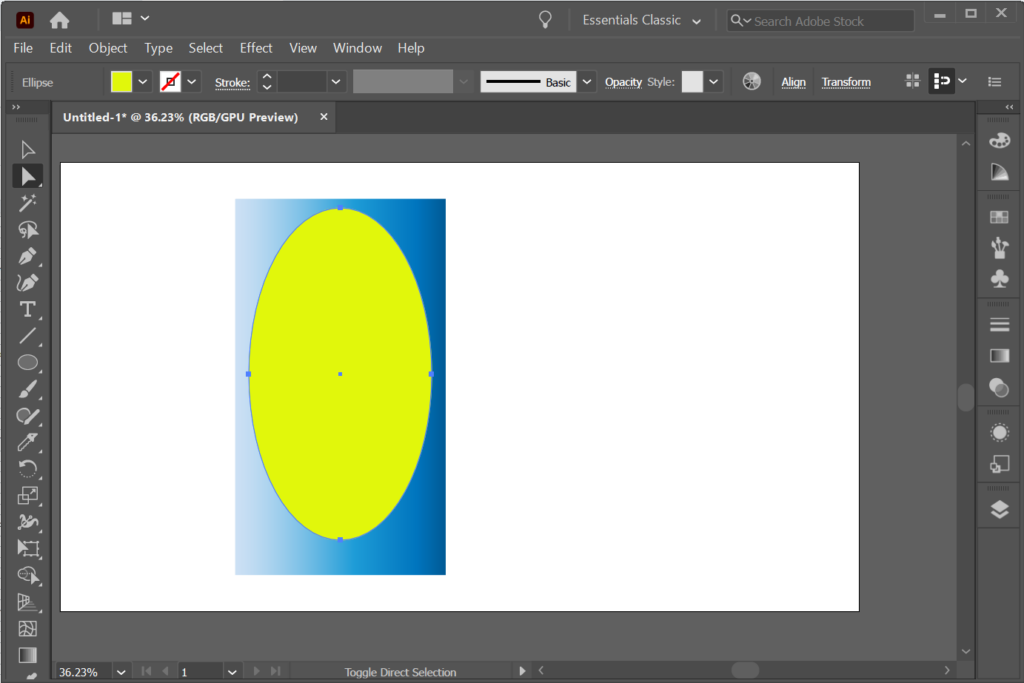
- With the Direct Selection Tool, move the clipping path on top of the object you want to mask.
- In the Layers panel, select the clipping path and the object you want to mask.
- From the menu, select Object > Clipping Mask > Make.
Many Options With Adobe
All the Adobe Creative Cloud apps offer multiple ways of achieving the same effect. So, check our Illustrator tutorials and articles about Adobe Photoshop and InDesign. With practice, your graphic designs will be pixel-perfect!
