Minecraft is the best-selling game of all time. Part of its popularity comes from the nearly unlimited things you can do in the game. Mods expand Minecraft’s scope even more, and several mods include hundreds of hours of extra gameplay.
This guide will show you how to download and install Minecraft mods on PC, Mac, iPhone, Android, and console.
What are Minecraft Mods?
Mods are expansions that either add content to the game, alter it, or both. There are hundreds of community-made mods, many of which have been combined into incredibly complicated mod packs that can add hundreds of hours of gameplay.
For example, some of the most popular mod packs turn Minecraft into an adventure game, while others expand the crafting potential, allowing players to develop massive factories and automate crafting.
Other mods like OptiFine have been developed to improve and optimize the graphical quality of Minecraft to increase performance in-game. You can easily install mods like OptiFine without using any third-party applications.
We recommend getting your hands on the Java edition because Mojang has refused to support community mods on the Bedrock edition.
How to Install Mods in Minecraft: Java Edition
Minecraft: Java Edition has many available mods and is the easiest version to mod. The downside is it’s only available on PC, Mac, and Linux.
The most popular method for modding on Java Edition is to use the third-party modding program Forge. We’ll cover how you can manually install individual mods, but installing mod packs via Forge takes all of the work out of the process and means that each mod has been painstakingly optimized to each other so that you know they are compatible.
How to Install Mods on a Windows PC
Forge is an Application Programming Interface (API) that allows mods to interact with Minecraft. For most mods, Minecraft Forge is necessary to get them to work.
- Download the recommended version of Forge from the official website and complete the installation.
- Download the mods you want from a reliable source. The best location is CurseForge, a repository of mods and mod packs. The two best alternatives are At Launcher, which also has many mods, and Technic, which still has many packs for older Minecraft versions.
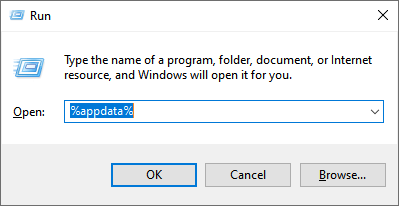
- Press Windows key + R to open Run.
- Type %appdata% and hit enter.
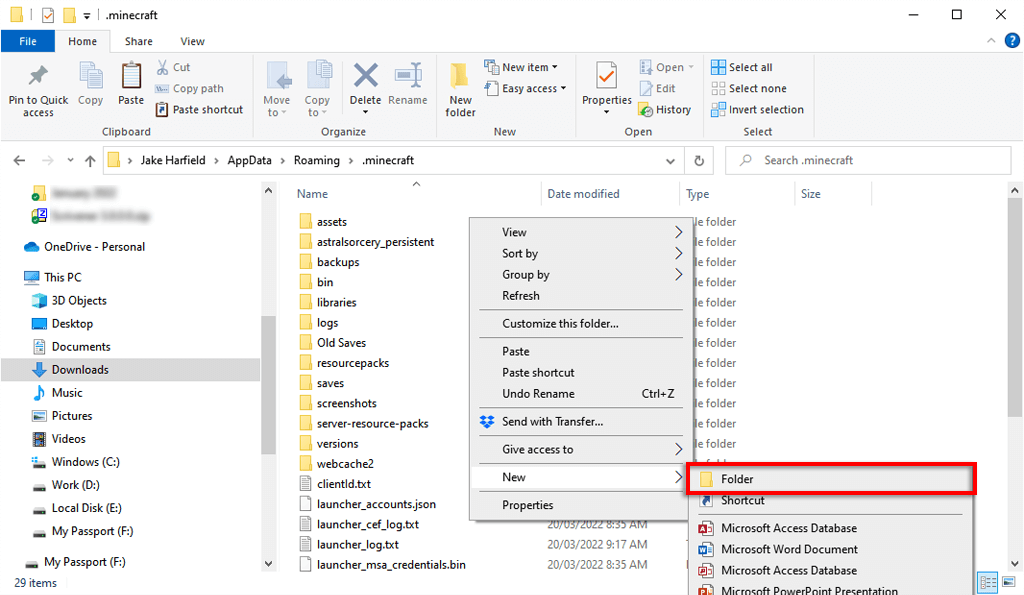
- Double-click the .minecraft folder.
- Right-click anywhere in the folder and select New > Folder. Name it mods.
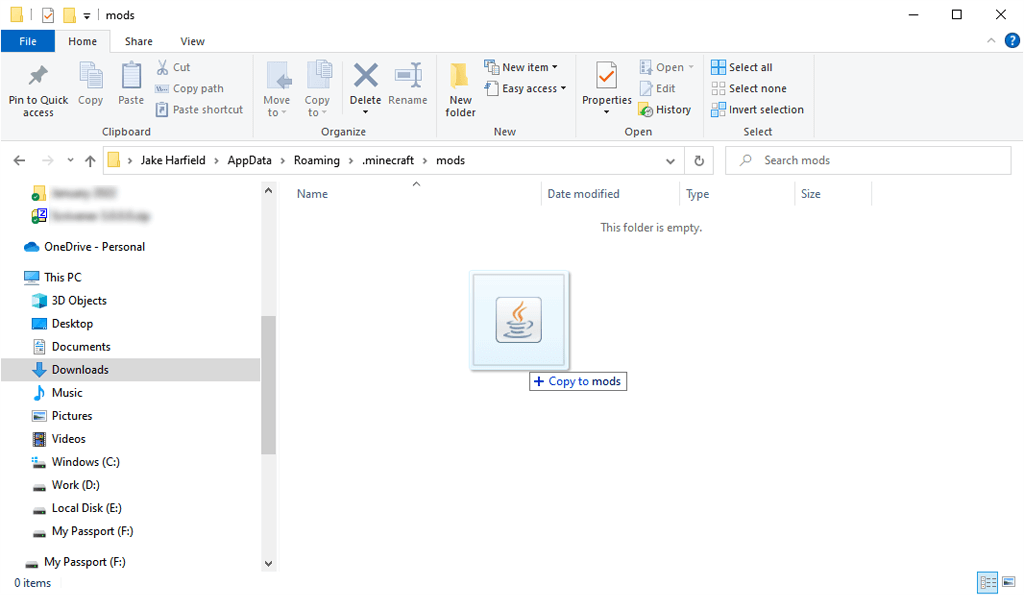
- Move your downloaded mod into the mods folder.
How to Install Mod Packs Using the CurseForge Launcher
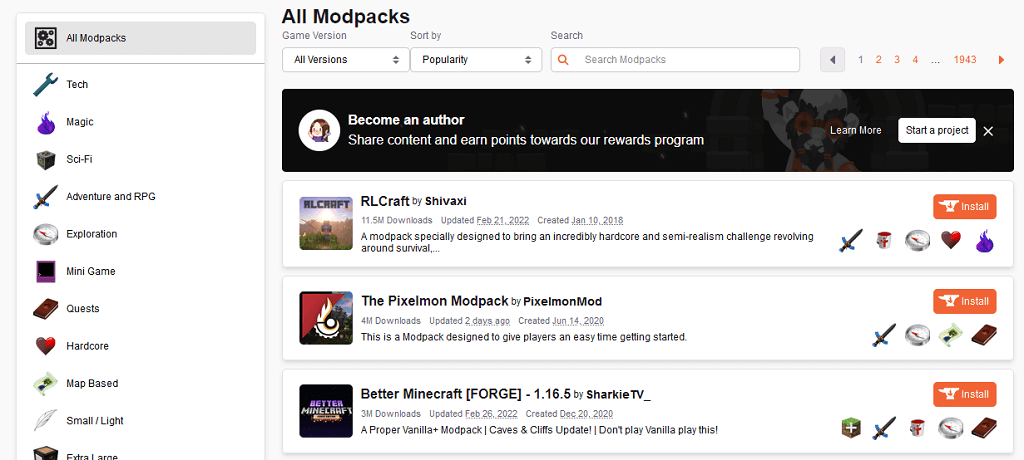
CurseForge has its own version of the Minecraft launcher. If you use the CurseForge launcher, you won’t need to install Forge separately, as it will handle the process. You can use the CurseForge launcher to browse for and install the best Minecraft mods and mod packs.
The CurseForge launcher is available on both Windows and macOS and is the easiest way to manage Forge mod packs on Minecraft.
To use the CurseForge launcher:
- Download the launcher from the official website and install it.
- Open the CurseForge launcher.
- Select the Browse Modpacks tab.
- Click Install next to the mod pack you want to install.
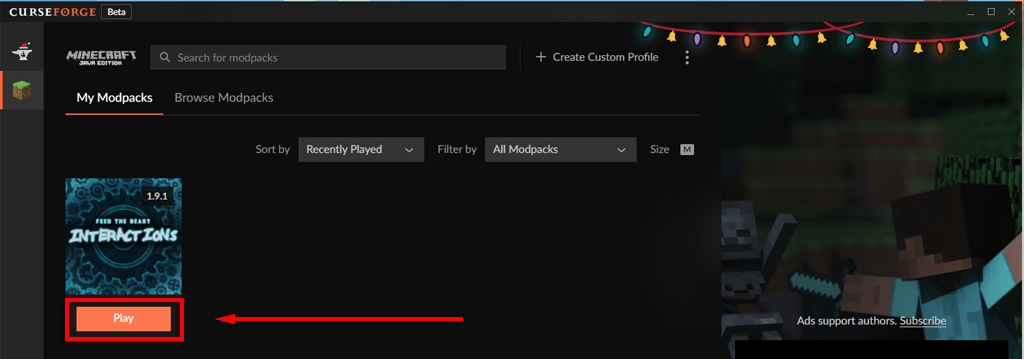
- Select the My Modpacks tab when it’s finished installing and click Play.
How to Install Mods on Mac
The easiest way to download Minecraft mods on a Mac is to use the CurseForge launcher as above. To manually install mods, the process is identical to that for Windows, except the mods folder needs to be created at:
~/Library/Application Support/minecraft
You can quickly access this folder by pressing Command + Shift + G.
How to Install Mods on Console
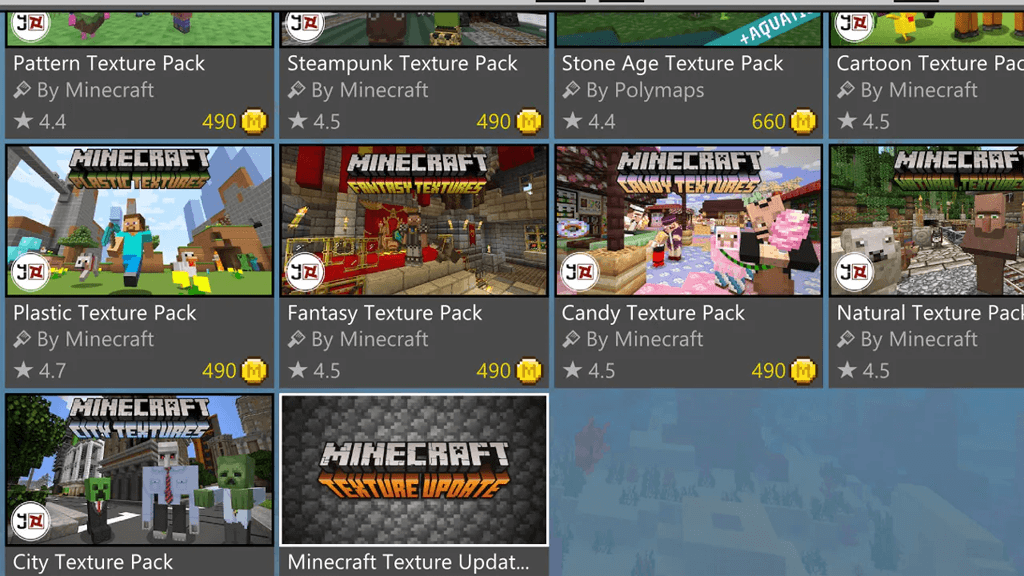
Unfortunately, mods don’t exist for the console version of Minecraft (Minecraft: Bedrock Edition). Instead, console players can access add-ons from the marketplace. These add-ons are not free and are limited to skin and texture packs that let you change how things look in-game.
To download add-ons:
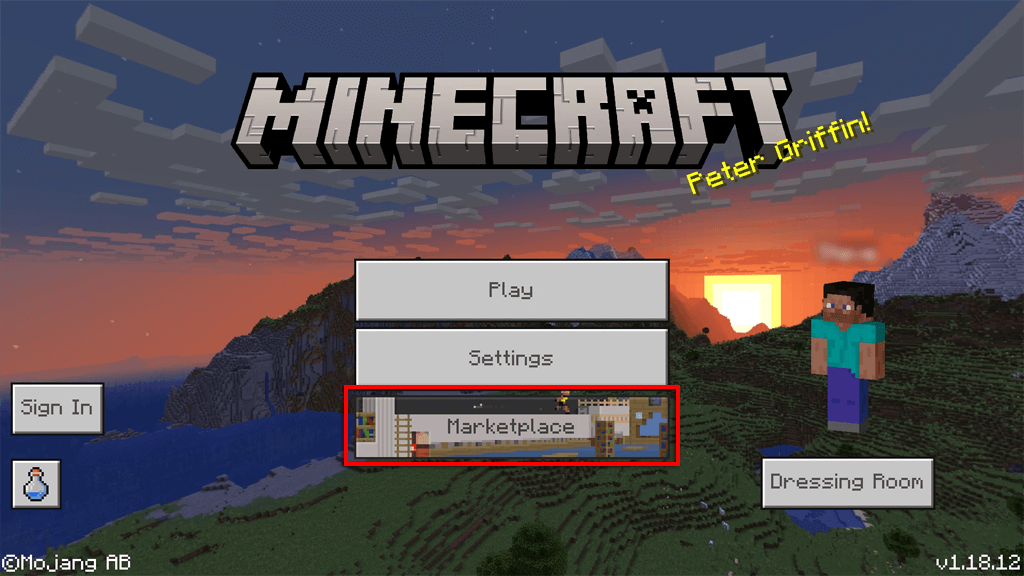
- Launch Minecraft and select Marketplace from the main menu.
- Choose the Skin Pack, Mash-up Pack, World, or Texture Pack you’d like.
- Purchase it with Minecoins or a credit card.
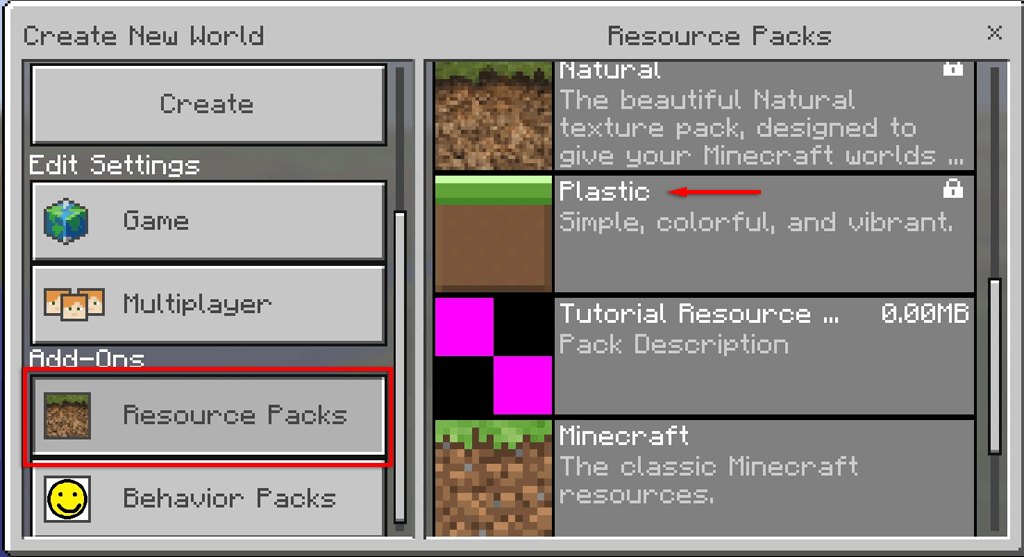
- To apply the add-on to a world, open the World Settings and select Behavior Pack or Resource Pack and toggle on your add-on.
Note: There are older methods to add community-made mods to the Xbox One version of Minecraft. However, Microsoft is consistently patching these methods so that they no longer work.
How to Install Mods on Android or iPhone
Installing mods on Android or iPhone is relatively simple nowadays. However, you must use a third-party mod installer, there are very few mods, and those that exist are highly restricted. Minecraft PE includes a Marketplace with several add-ons similar to the console version.
Note: To install third-party mods using a mod installer, you’ll need to have the latest version of Minecraft installed.
To download mods on Android:
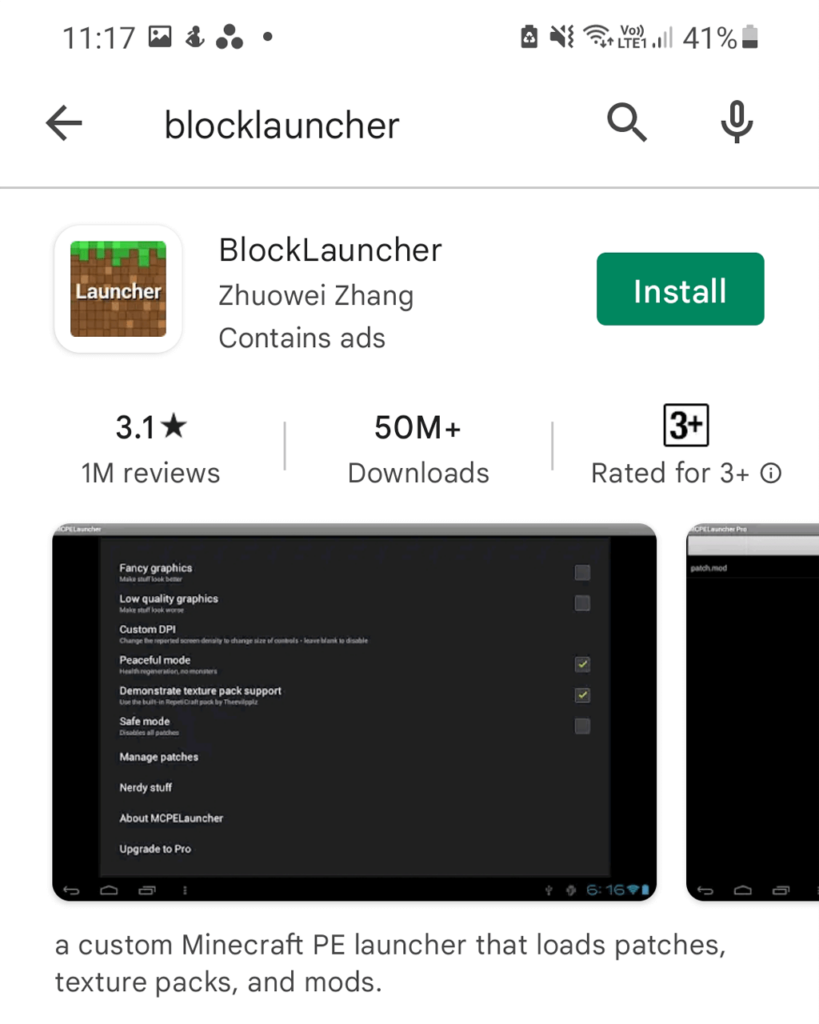
- Open the Google Play Store and download BlockLauncher. This is similar to Forge for the Java Edition and helps integrate mods into Minecraft: PE.
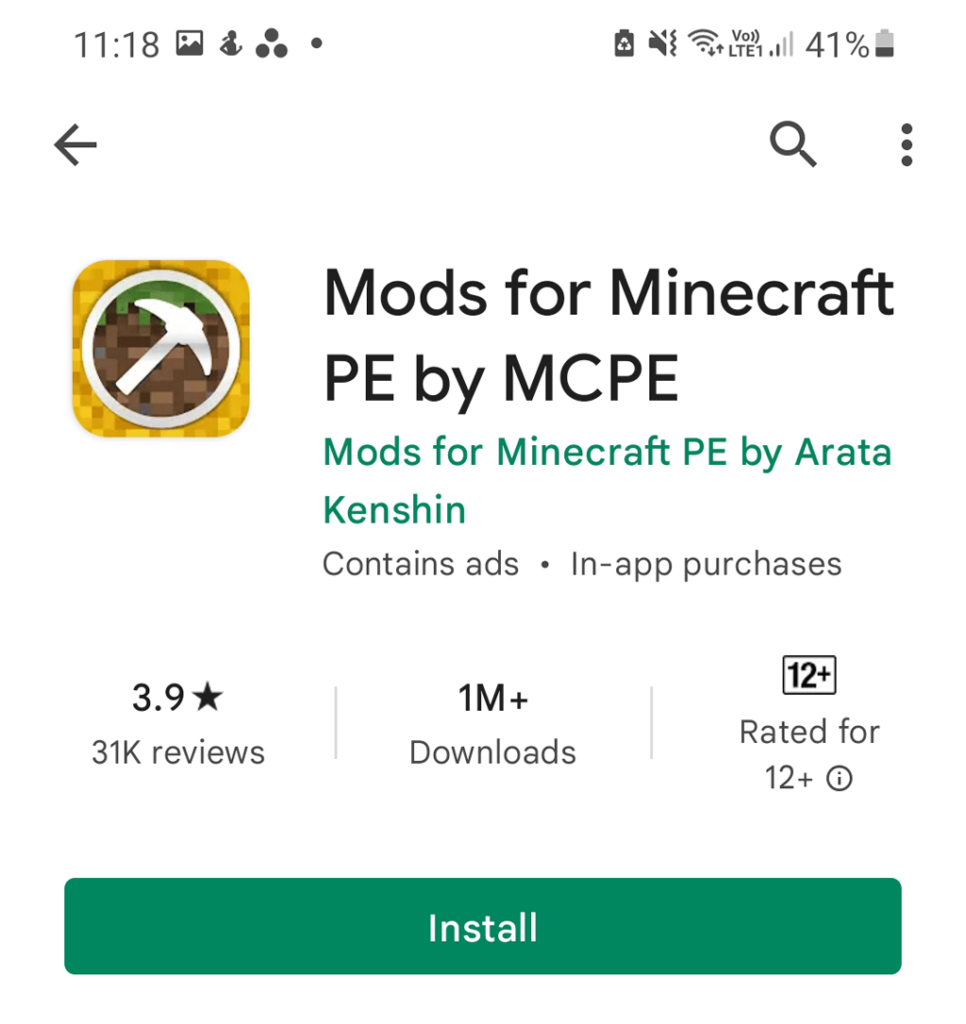
- Head back to the Google Play Store and install Mods for Minecraft PE. This app allows you to browse and install various mods.
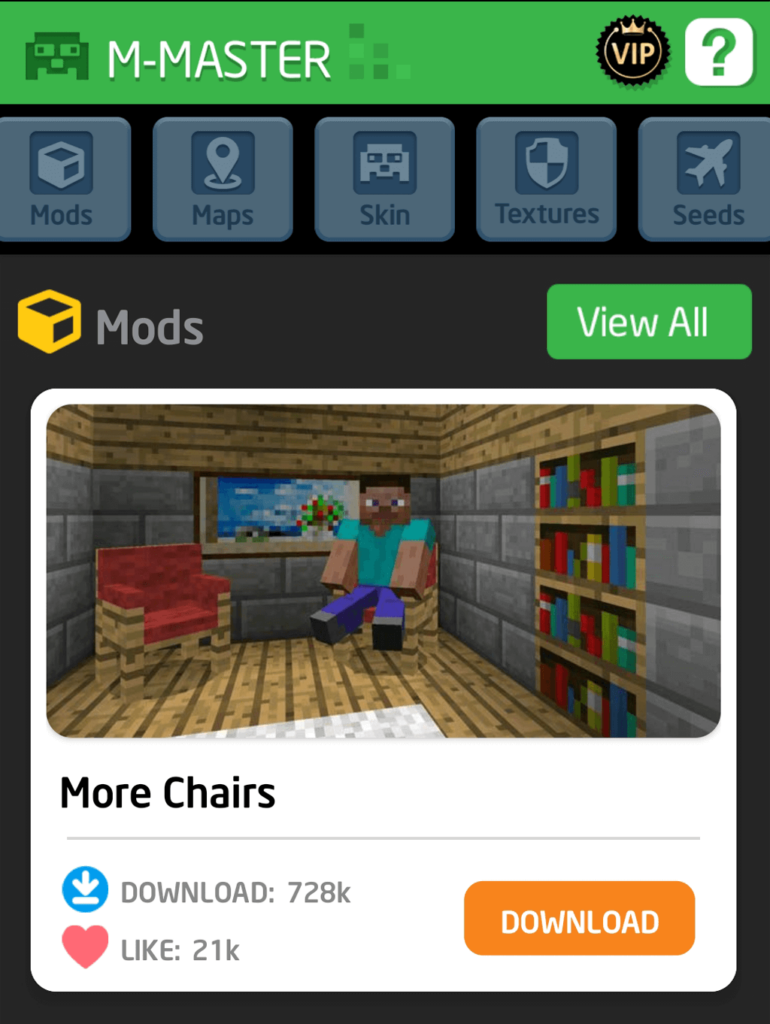
- Open Mods for Minecraft PE, then download the mod you’d like to play.
Next, all you have to do is use BlockLauncher to import the mod into Minecraft. To do so:
- Open Minecraft.
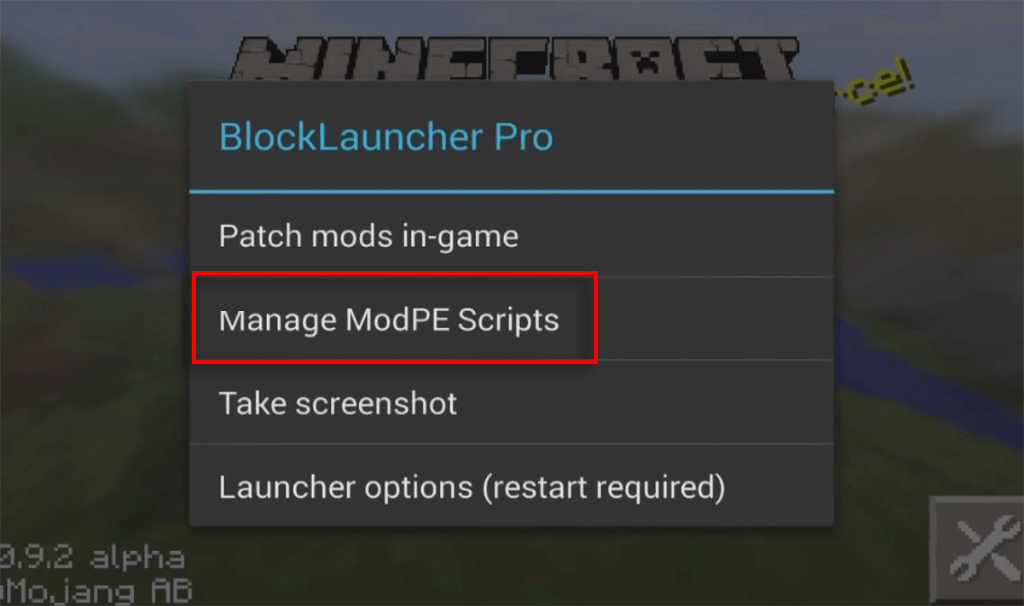
- Select Manage ModPE Scripts from the BlockLauncher menu.
- Select Import.
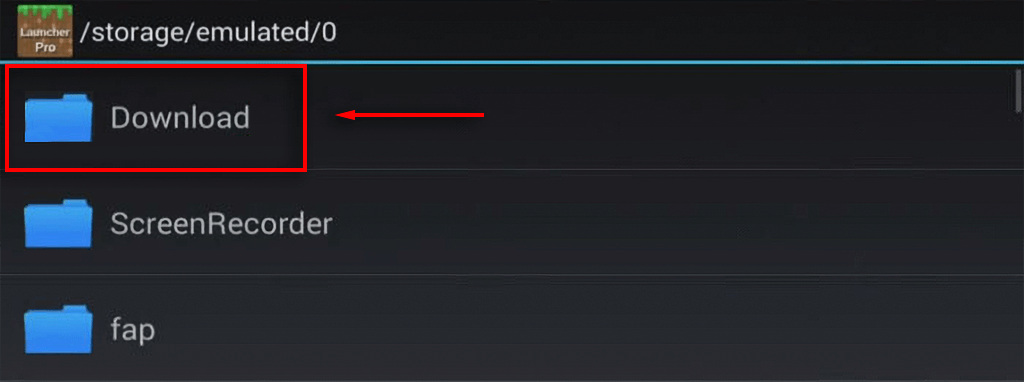
- Tap Local storage > Download.
- Select your mod and tap Import.
The mod should now be applied to your Minecraft app.
To download mods on iOS:
- Open the iOS App Store and download Mods for Minecraft PE.
- Browse the app for the mod you’d like to play and select Install.
Note: Remember that as these mods are community-made and Minecraft is constantly being patched, many may no longer work or cease to function after installing them.
Time to Get Modding
With this tutorial, you’ll be able to download and install mods for any platform that allows Minecraft mods to work. New mods and mod packs come out every year, so keep your eye out. The hardest thing will be working out which mod packs to install!
