Adobe Illustrator is a great graphic design program to use when you want to create editable vector graphics. A vector graphic can be scaled up without losing any detail, so you can make an illustration, including typography, that will look as good on a billboard as a business card.
Imagine creating a round badge or logo, and you want to type text around a circular path. You might want the text at the bottom of the circle to flip to the opposite side of the path, so it’s easily legible. In this Illustrator tutorial, we’ll teach you how to flip text on a path in Illustrator, so the text isn’t upside down.
How to Flip Type on a Path in Illustrator
Whether using Adobe Illustrator CC or an earlier version of Illustrator, a path is simply one (or more!) straight or curved lines. A path can be open or closed, depending on whether the endpoints are joined together.
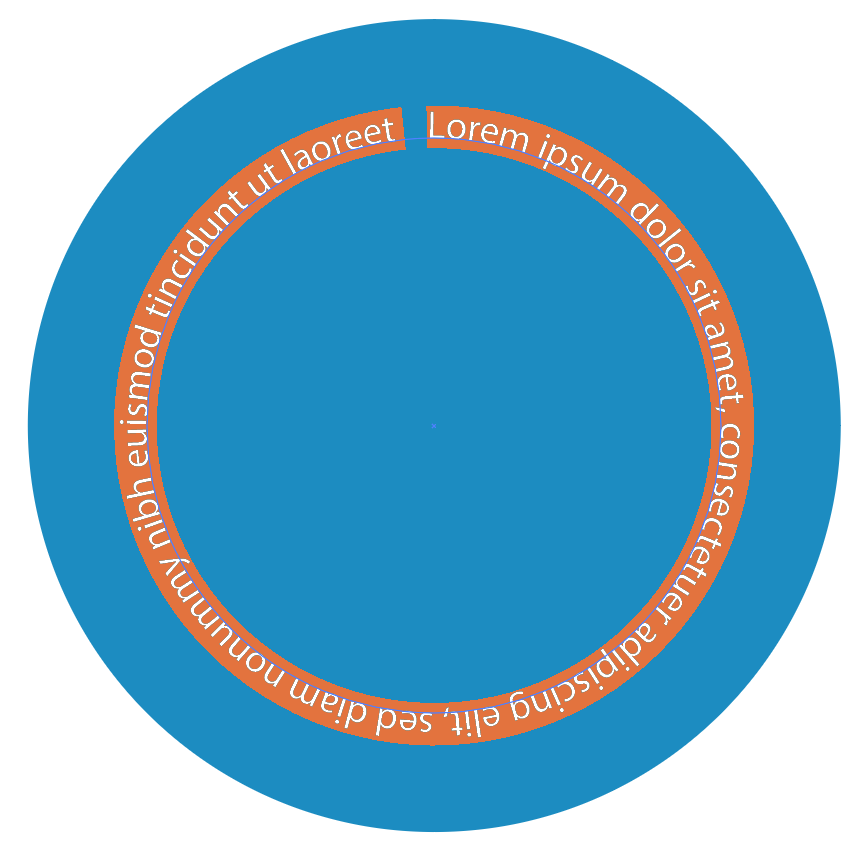
We’ll start with a simple circle design. We’ll create a circular path, and then we’ll use the type tool to type text along that path. Finally, we’ll flip some of the text, so it appears right side up along the bottom of the circle.
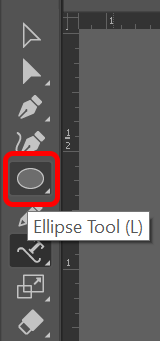
- Select the Ellipse tool.
- Hold down the Shift key and draw a circle on the canvas. Holding the Shift key will force the ellipse you create into a perfect circle. Any stroke or fill color will disappear once you add text.
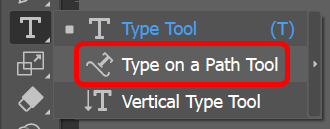
- In the Type Tool flyout menu, choose the Type on a Path Tool.
- In the Window menu, select Type > Paragraph > Center to center the text you’re about to type. The Windows shortcut for the Paragraph panel is Ctrl + Alt + T. Mac users can use Option + Command + T.
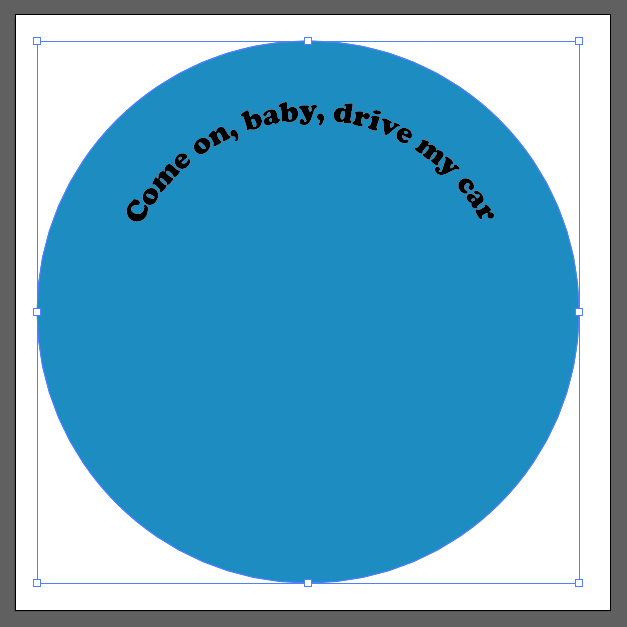
- With the Type on a Path tool still selected, click the top of the circle you created in step 2. Illustrator will add lorem ipsum text parallel to the baseline path of the circle.
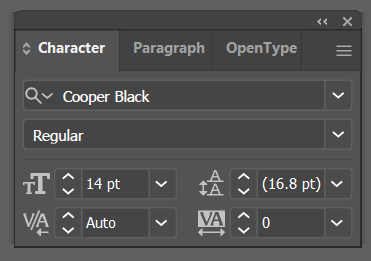
- Select the font and character size in the Character tab on the Type panel or display the character panel by selecting Windows > Type > Character.
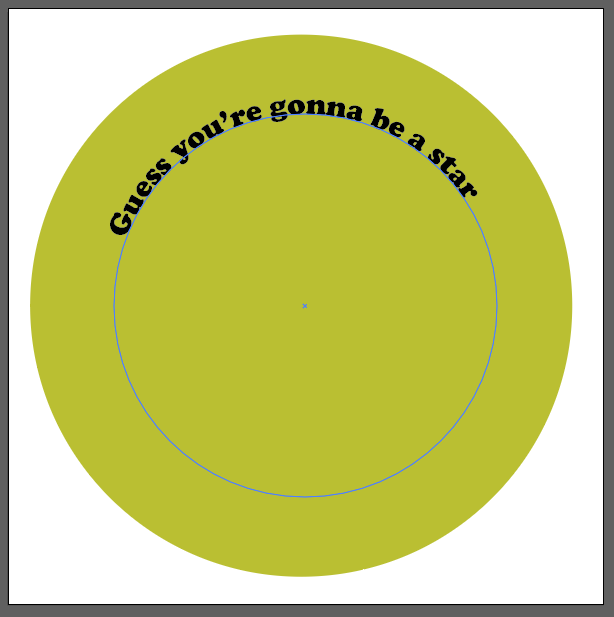
- Enter the text you want at the top of the circle.
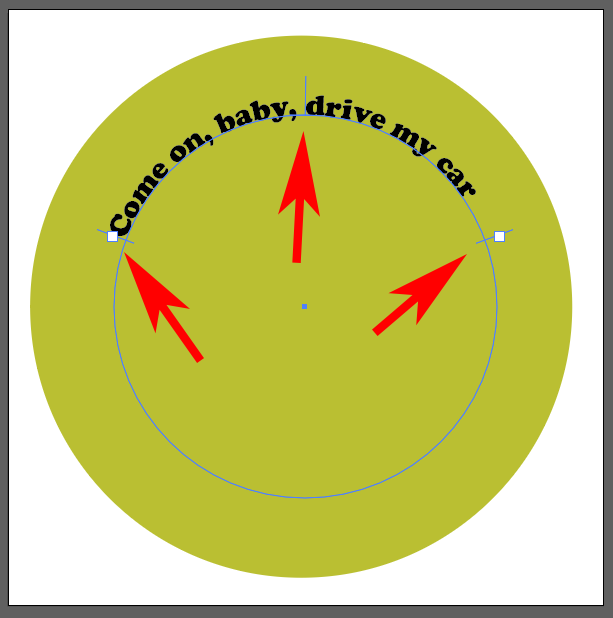
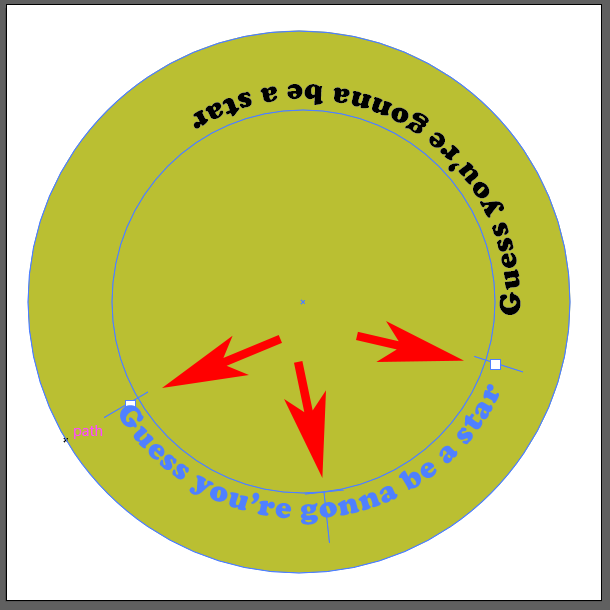
- You’ll see three handles (also called alignment brackets) near the text: one to the left, one in the middle, and one on the right. Use these handles to rotate the text around the circle until it’s right where you want it.
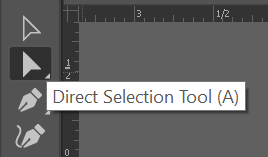
- Next, we’ll copy what we have so far and duplicate it. Using the Direct Selection tool on the toolbar, select the circle and then choose Edit > Copy or use the keyboard shortcut Ctrl + C.
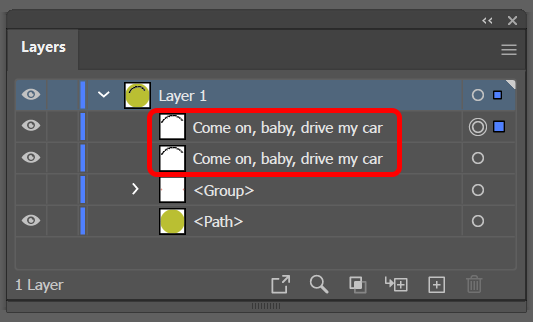
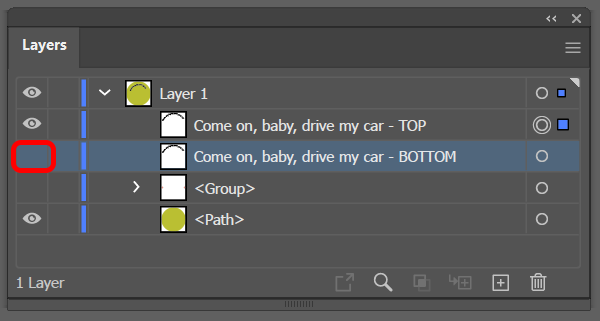
- Next, paste what we copied in front of what’s already on the artboard. Do that by selecting Edit > Paste in Front. Depending on what font you used, you might notice that the text looks slightly darker since there are now two stacked copies of it on the text path. An easier way to confirm that you have two copies of the text is to look in the Layers panel. You should see two entries for your text. If you want, you can rename one to indicate it’s the copy in front.
- In the Layers panel, turn off the visibility of the bottom layer.
- Select the Type Tool, select the text on the path, and type the new text—the text you’ll move to the bottom of the circle path.
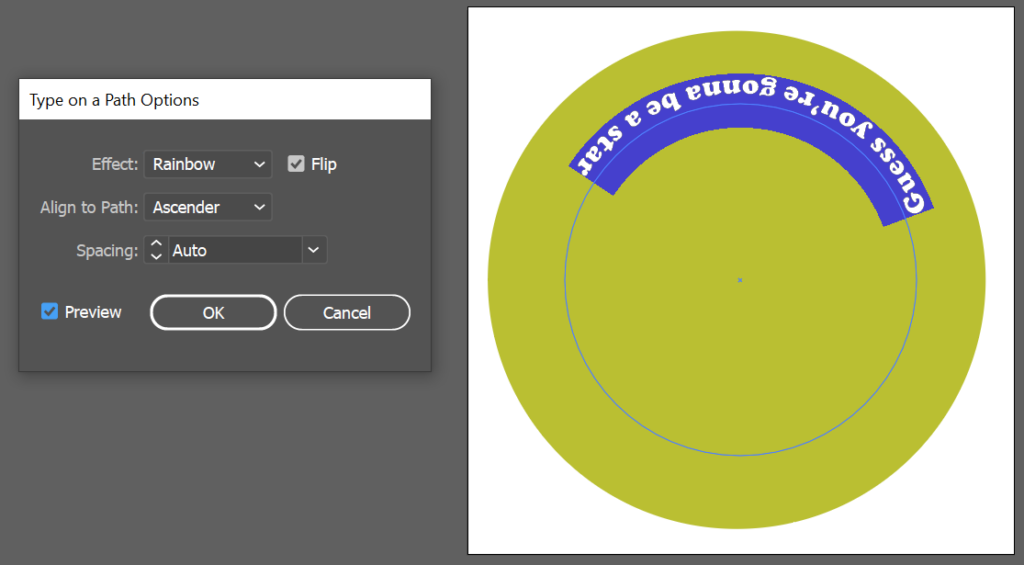
- Now comes the fun part. Open the Path Options dialog box by selecting Type > Type on a Path > Type on a Path Options. For the text effect, choose Rainbow, and in the Align to Path dropdown, select Ascender. Also, check the Flip box, and select the OK button. (Check the Preview box to get an advanced look.)
Note: For the Align to Path options, choosing Baseline will put the text right on the path. Ascender puts the text on the outside of the circle. Descender will locate the text on the inside of the circle. Lastly, Center will place the text right at the center of the path.
- Click anywhere outside the text to deselect it, and, once again, use the handles to adjust the spacing and move the text along the path to the bottom of the circle.
- Next, turn the visibility of the top layer of text back on.
That’s how you add and flip text on a path in Adobe Illustrator.
Insert a Symbol in Your Design
An easy way to add an extra element or two to a design in Adobe Illustrator is to insert something from the Symbols panel. Follow the steps below to add a symbol to your design.
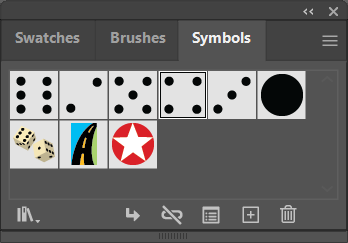
- View the Symbols panel by selecting Window > Symbols.
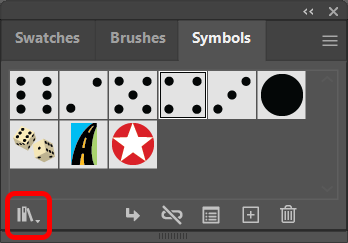
- Use the Symbols Library dropdown arrow to view a list of all the libraries installed on your computer. Select one of them to launch a panel where you can use navigation arrows to page through each Symbols library.
- When you find a symbol you want to use, drag and drop it into your design.
- Use the Selection Tool to resize the symbol to fit your design.
Adobe apps have all kinds of hidden features like Symbols that you can only take advantage of if you know they’re there. We’ve got tutorials on how to achieve many effects in Adobe Photoshop, like how to use masks to hide layers.
