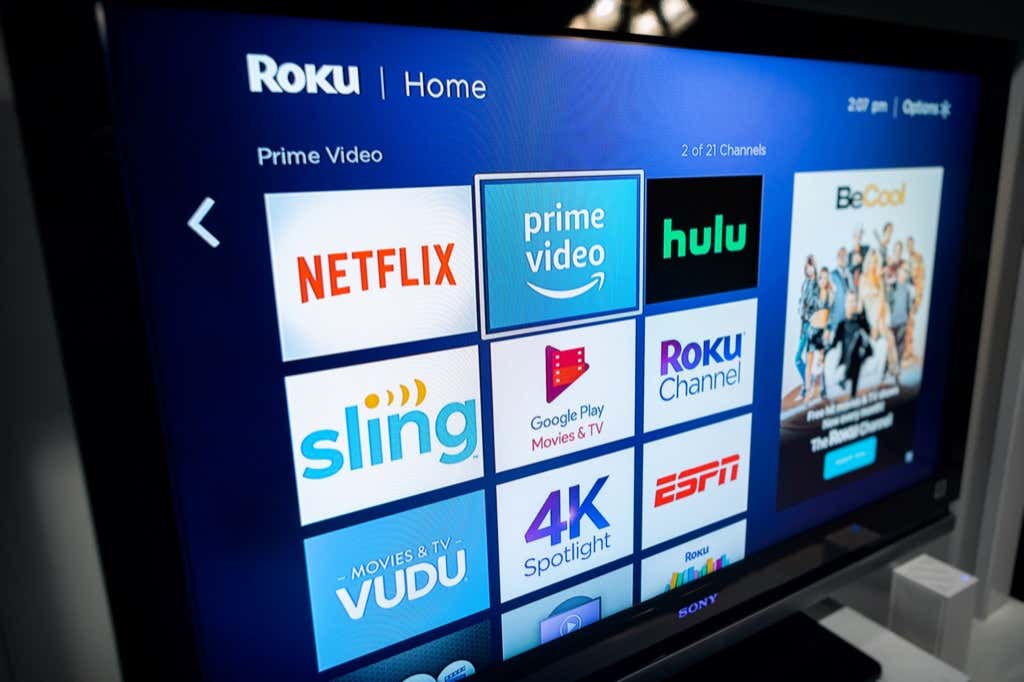
If you don’t watch an installed channel on your Roku anymore, you can remove the channel from your device. This declutters your channels list and makes it easy to find the channels that you actually want to watch.
There are multiple ways to remove channels from Roku. You can use the Roku device itself or the Roku mobile app to remove a channel. Later, you can re-add the same removed channel if you want.
Step 1: Check and Cancel Roku Channel Subscriptions
You can’t remove a channel if you have an active subscription to that channel. You must first cancel that subscription and then get rid of the channel. You can manage all your active subscriptions on Roku’s website.
In case you’ve subscribed to a channel from a source other than Roku, but from within that channel, you don’t have to end your subscription to delete the channel.
Here’s how to check your active Roku channel subscriptions:
- Launch a web browser on your device and open the Roku site. Sign in to your Roku account.
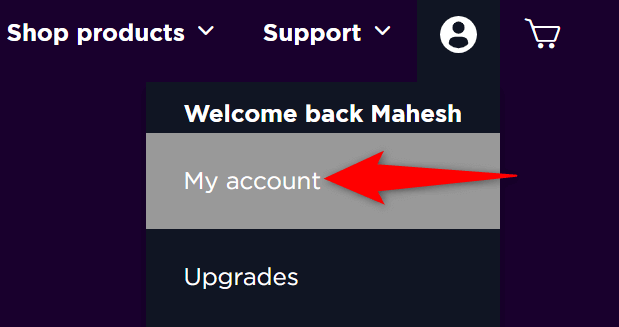
- Select the user icon at the top-right corner of the site and choose My account from the menu.
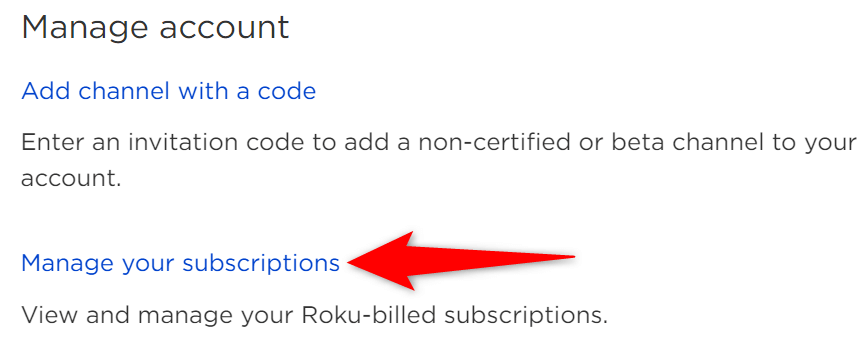
- Select Manage your subscriptions in the Manage account section on the account page.
- Under Active Subscriptions, you’ll see all your channel subscriptions. Cancel the subscription for the channel that you want to remove.
If the channel you want to remove isn’t listed on that page, you can go to the next section of this guide to remove that channel. Note that you can continue to enjoy the subscription benefits until the end of your current billing cycle.
Step 2: Remove Roku Channels
Now that you’ve confirmed you no longer have an active subscription with the channel you want to remove, here are a few ways to get rid of that channel from your Roku device.
Remove a Channel From the Roku Channels List
One easy way to remove a channel from your Roku is to find and delete the channel from the channels list. Here’s how:
- Press the Home button on your Roku remote to access Roku’s main interface.
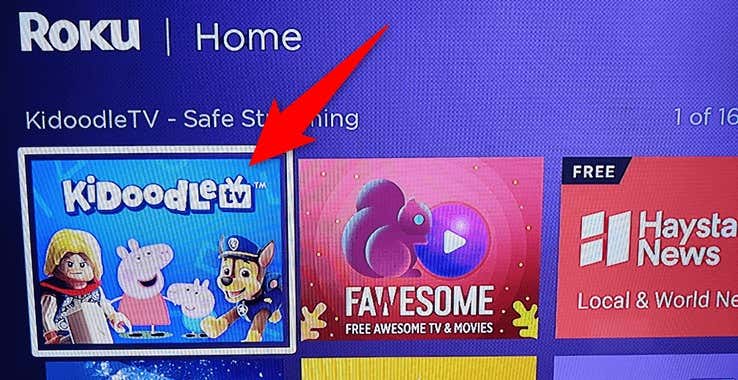
- Highlight the channel you wish to remove on the right of your screen. Use the arrow buttons on your Roku remote to do so.
- While your channel is highlighted, press the Star button on your Roku remote. This opens a menu.
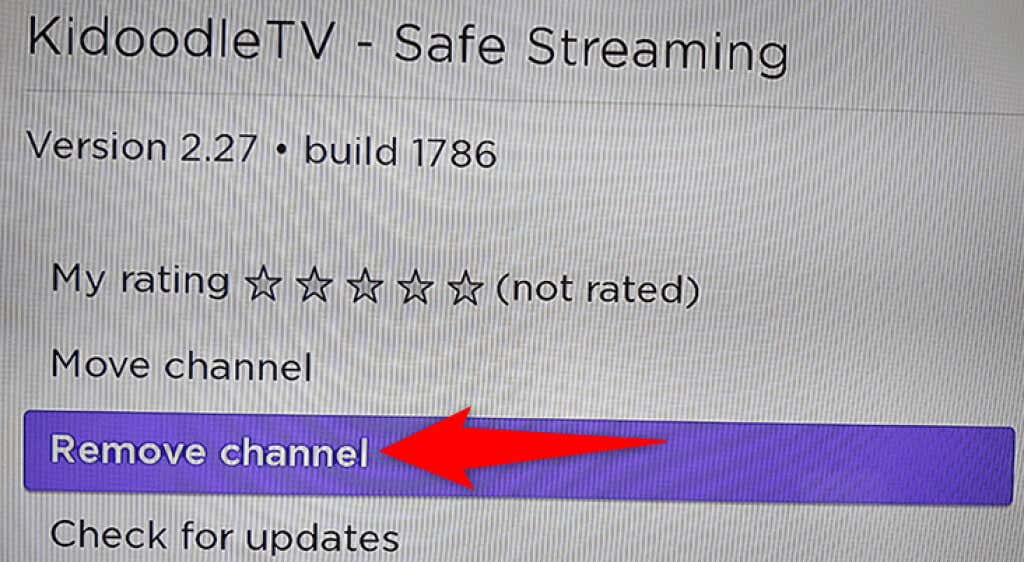
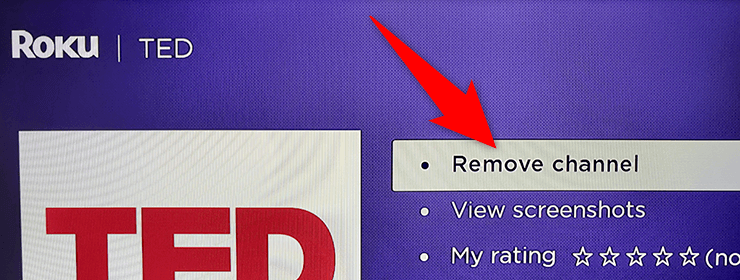
- Choose Remove channel in the menu that opens.
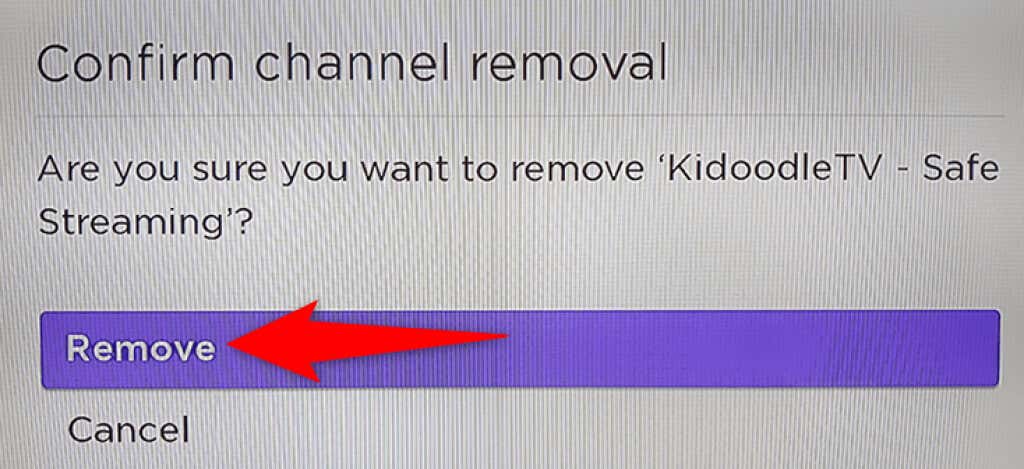
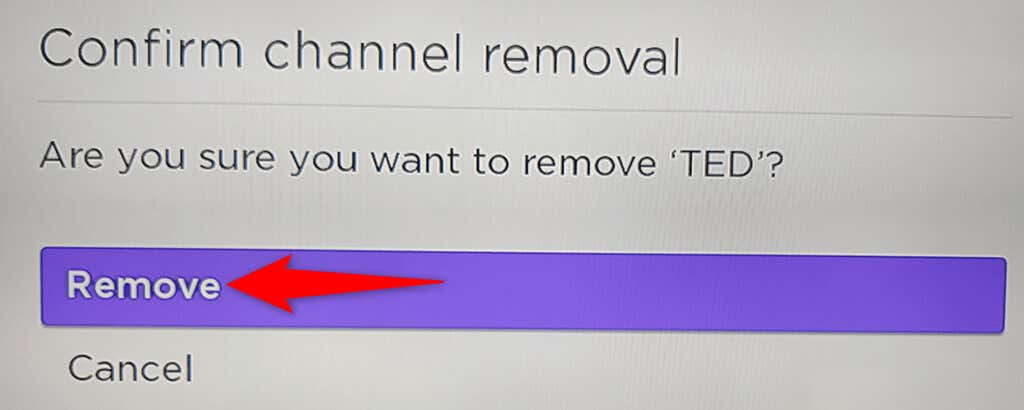
- Select Remove in the prompt to confirm your channel deletion choice.
Roku will remove the selected channel from your device. If you’d like to add that or any other channel to your device, learn how to add channels to Roku.
Remove a Channel From the Roku Channel Store
Another way to remove channels is to use the Roku Channel Store on your Roku device. The Store lists both installed as well as non-installed Roku channels.
- Access Roku’s main page by pressing the Home button on the Roku remote.
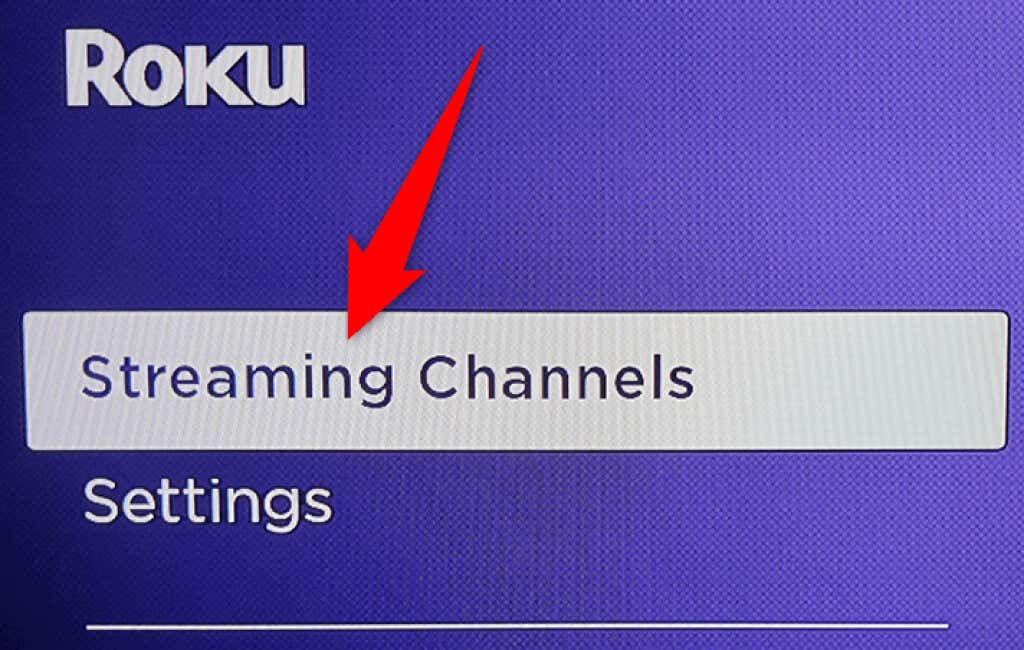
- Select Streaming Channels on the main page to launch the Roku Channel Store.
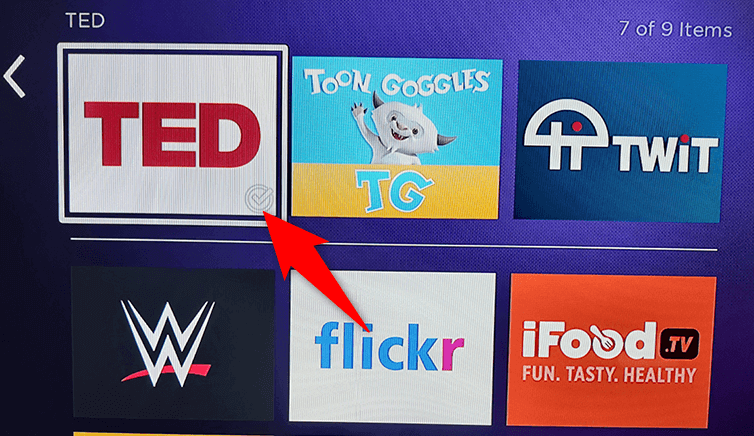
- Find the channel to remove in the Store. All your installed channels have a checkmark in their thumbnail’s bottom-right corner.
- Select the channel to remove.
- Choose Remove channel on the channel page.
- Select Remove in the warning prompt to confirm your choice.
Roku will delete the chosen channel on your device.
Remove a Channel From the Roku Mobile App
Roku’s mobile app allows you to perform various actions on your Roku device, including uninstalling installed channels. You can use this app on both your iOS and Android phones.
If you have the app installed on your phone, and you’ve paired the app with your Roku device, here’s how to use the app to remove your channels:
- Launch the Roku app on your phone.
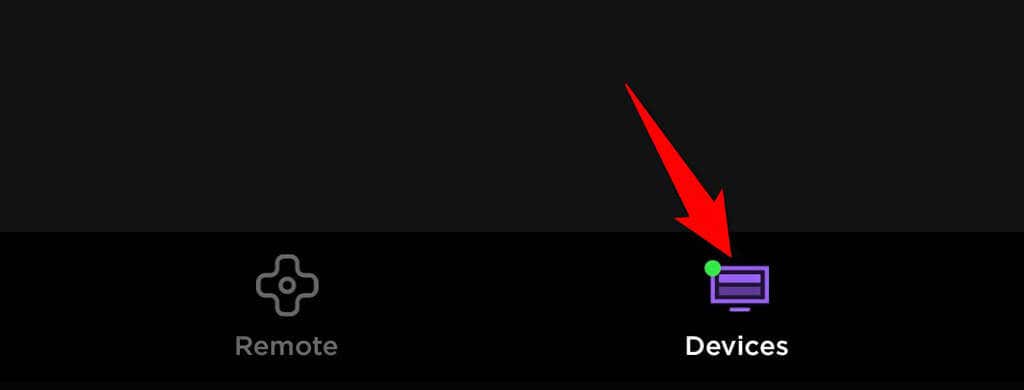
- Select Devices at the bottom of the app to view your Roku device.
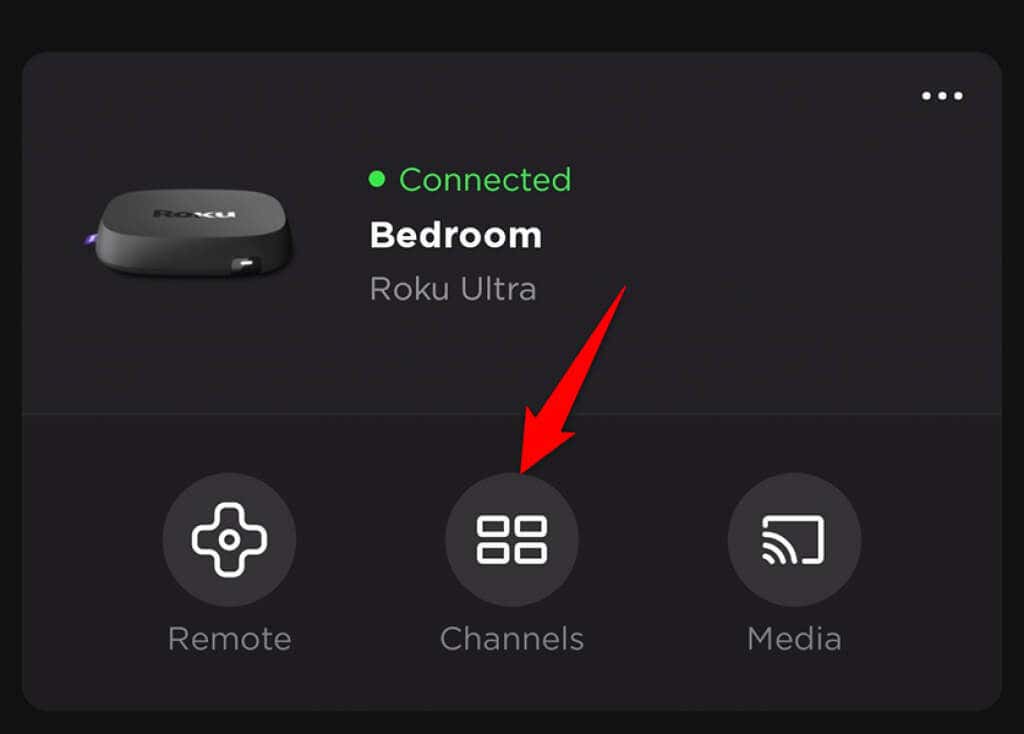
- Tap your device in the list and choose Channels.
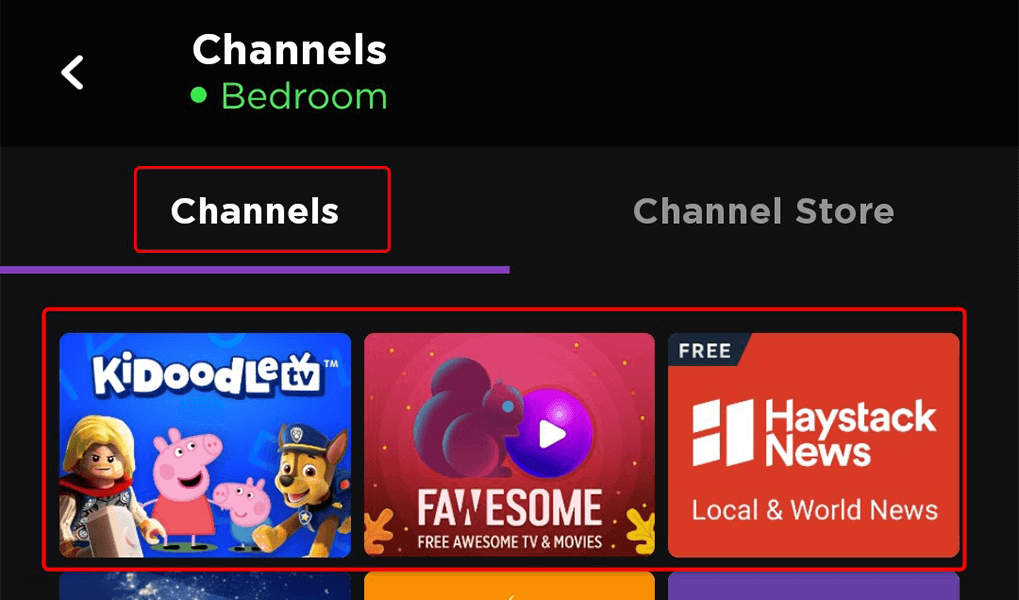
- Select the Channels tab at the top to view all your installed channels.
- Tap and hold on the channel you’d like to remove. Do not just tap a channel, as this will cause your Roku device to launch it.
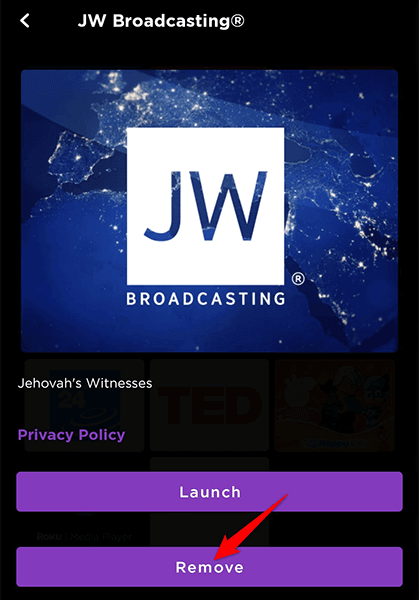
- Select Remove on the page that opens.
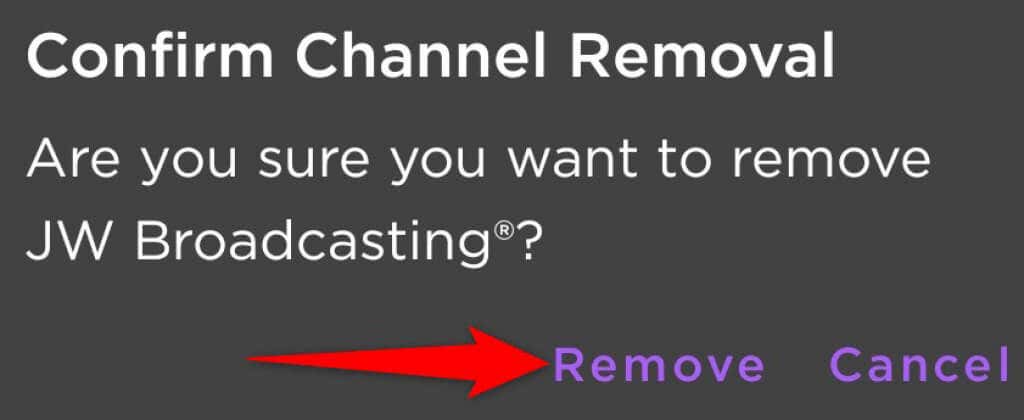
- Choose Remove from the Confirm Channel Removal prompt.
Your channel is now removed, and you’ll no longer see it on your Roku device.
What to Do if You Can’t Remove a Channel From Your Roku Device?
If you’re experiencing issues removing channels from your Roku, something might be wrong with your system. In this case, there are a few procedures you can follow to potentially fix the issue.
Update Your Roku’s Software
It goes without saying that you should keep your Roku’s software up to date. This ensures that you have the most bug-free version of the software. This also fixes any issues you might be experiencing with your Roku.
To update Roku:
- Press the Home button on your Roku remote to access Roku’s homepage.
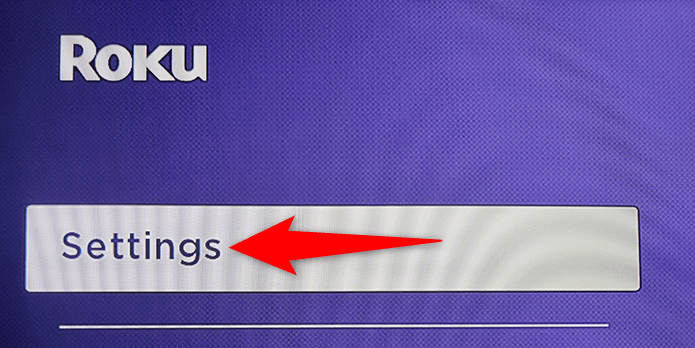
- Select Settings on the homepage.
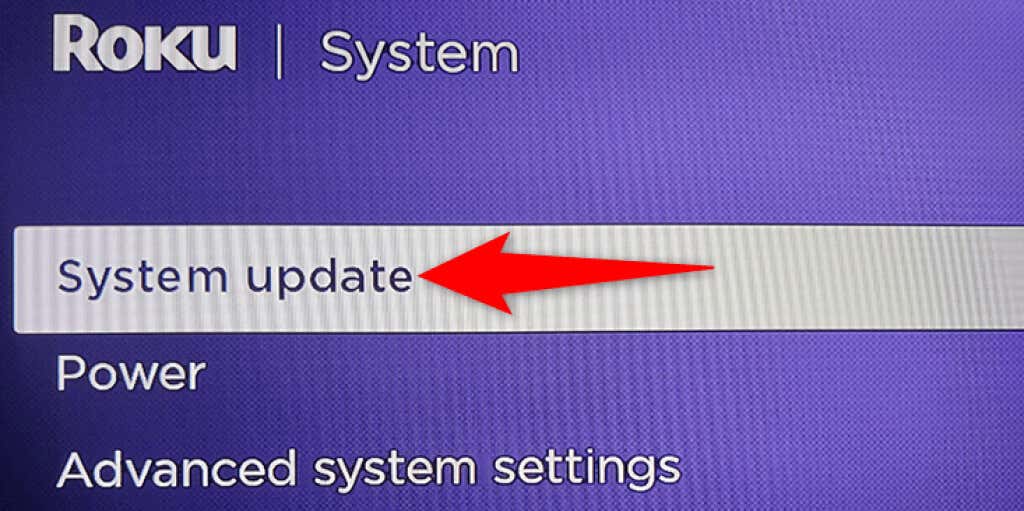
- Navigate to System > System update in the Settings menu.
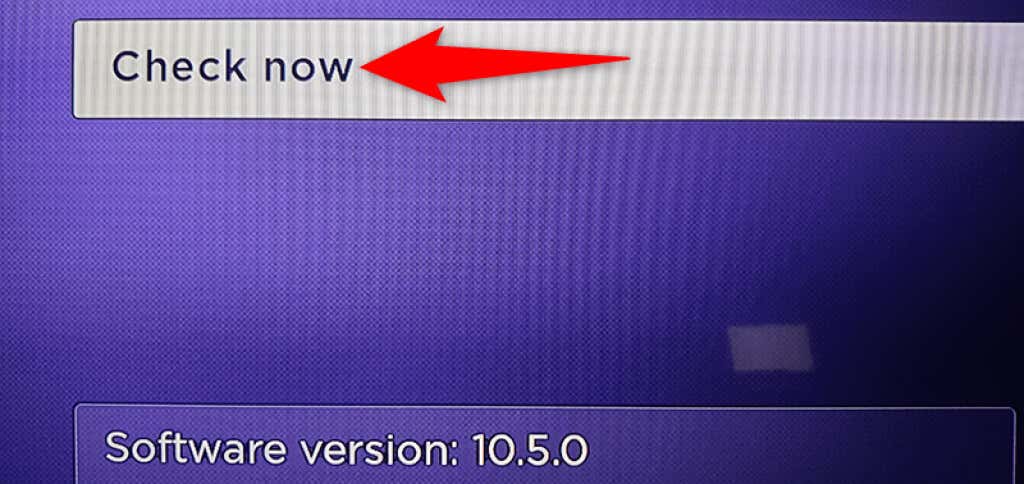
- Select Check now to check for Roku software updates.
- Wait while your Roku finds updates.
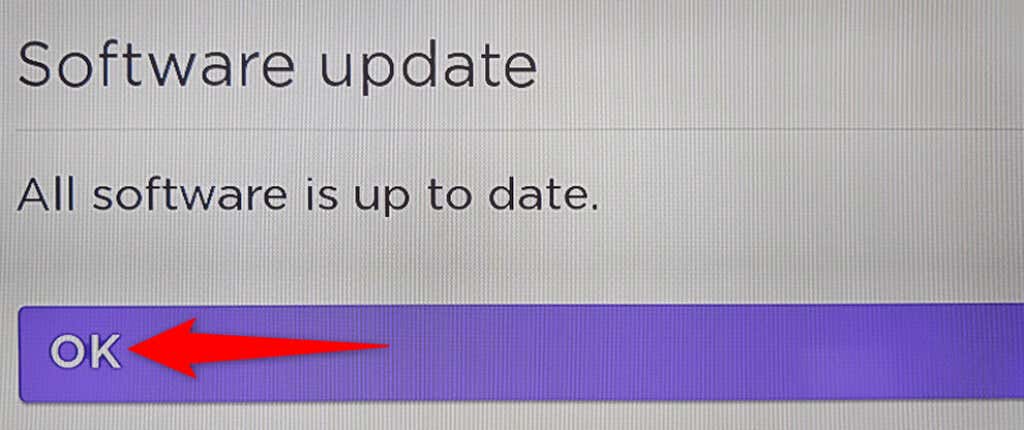
- If an update is available, install it. Otherwise, select OK in the prompt that opens.
Restart Your Roku
It’s worth rebooting your Roku device to see if that fixes your channel uninstallation issues.
- Select Settings on Roku’s homepage.
- Head to System > Power > System restart in the Settings.
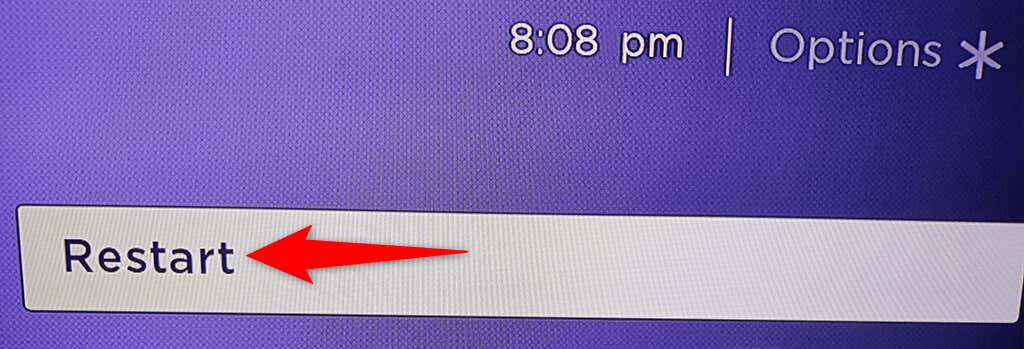
- Choose the Restart option to reboot your Roku device.
- When your Roku restarts, follow one of the above methods to remove a channel from your device.
Removing Roku Channels Is Easier Than You Think
Roku makes it easy to get rid of the channels that you don’t use on your device. You can choose your preferred method to do that. And, if you ever want a deleted channel back, it’s easy to re-add channels to your Roku device. Enjoy!
