There are many advantages to rooting a Nexus 5, 5X, 6, 6P, and 7 devices. Some of the benefits of rooting include getting access to exclusive root-only apps, having the ability to flash any customized version of the OS, and even overclock the CPU using a custom kernel.
Root lets you make changes to the very core system of your device making it a truly customizable phone you’ve ever had. There are certain procedures you need to follow to gain root on your devices.

Root a Nexus 5 & Install a Custom Recovery On It
- Download CF-Root for Nexus 5 and extract it to your computer.
- Turn off your phone.
- Press and hold down Volume Down and Power buttons at the same time to reboot into the bootloader mode.
- Double-click on root-windows.bat in the CF-Root folder and it’ll root your device.
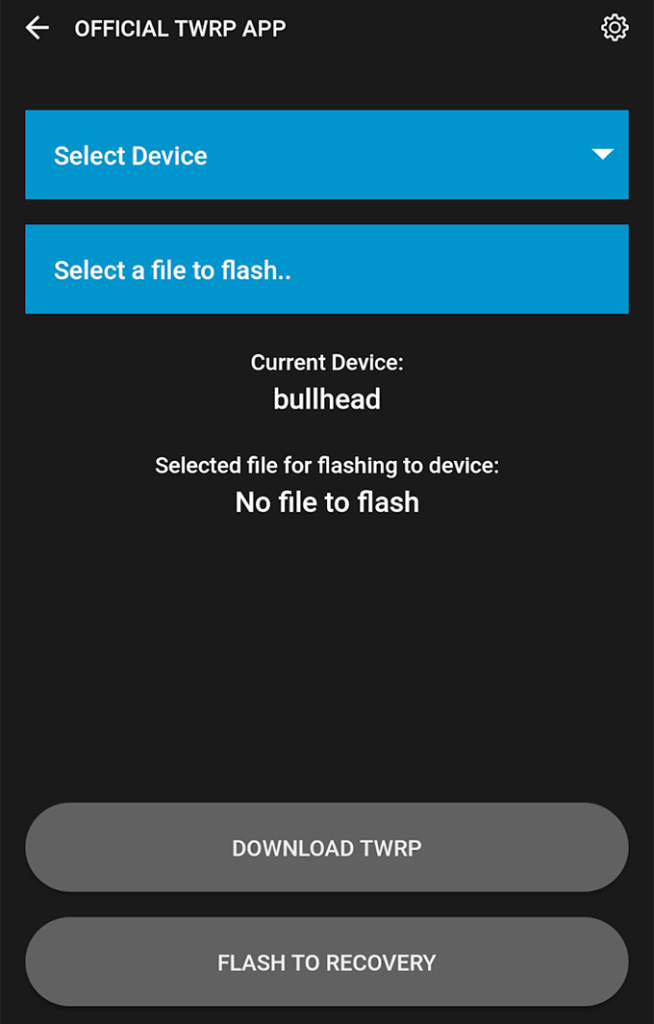
- Once your device is rooted, head over to the Google Play Store and download and install TWRP Recovery app on your phone.
- Tap on TWRP Flash on the main interface.

- Select your device and TWRP file. Then tap on Flash to Recovery.
- Reboot your device when the recovery is flashed.
You’re now rooted and have a custom recovery installed on your Nexus 5.
Root a Nexus 5X
Unlock Bootloader:
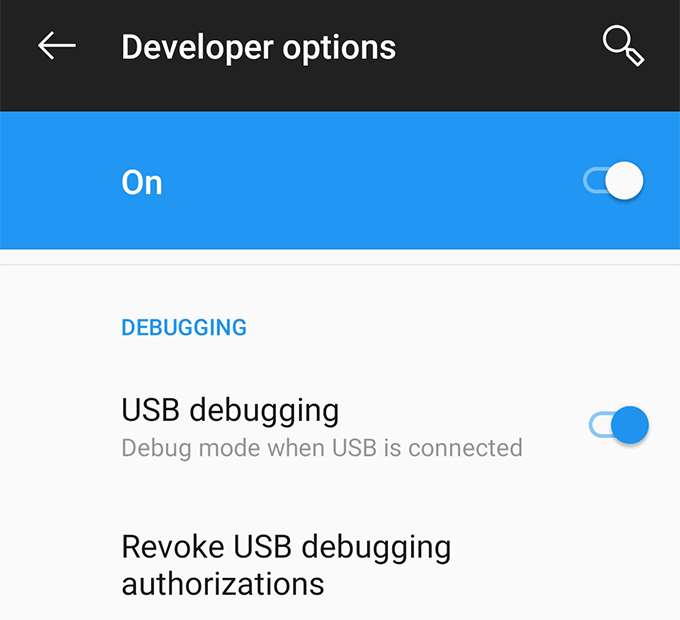
- Go to Settings > Developer options and enable both USB debugging and OEM unlocking.
- Connect your phone to your computer using a USB cable.
- Download Fastboot and extract it to your computer.
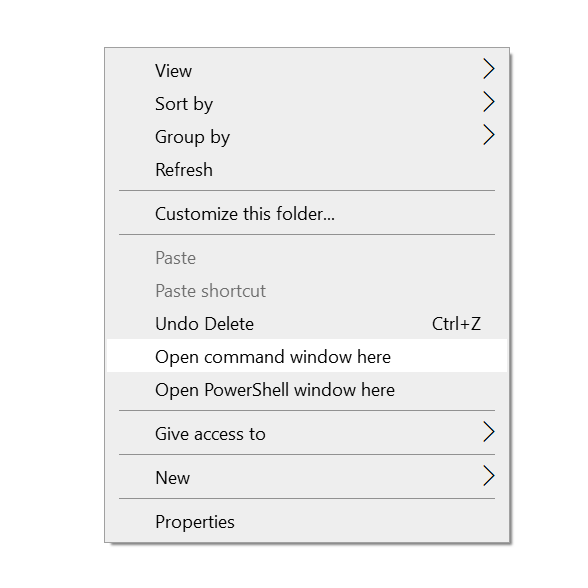
- Open the Fastboot folder, hold down Shift, right-click anywhere blank, and select Open command window here.
- Run the following commands hitting Enter after each line.
adb reboot bootloader
fastboot oem unlock

- Then run the following command to reboot your phone.
fastboot reboot

Flash TWRP Recovery:
- Download TWRP Recovery IMG file and save it in the Fastboot folder.
- Open Settings > Developer options and enable USB debugging.
- Run the following command in Command Prompt.
adb reboot bootloader - Type the following and hit Enter to flash TWRP recovery. Replace twrp.img with your actual file’s name.
fastboot flash recovery twrp.img

- Reboot your phone.
Root a Nexus 5X:
- Download SuperSU and transfer it to your phone.
- Press and hold down Volume Down and Power buttons together. Then select Recovery from the menu on your screen.
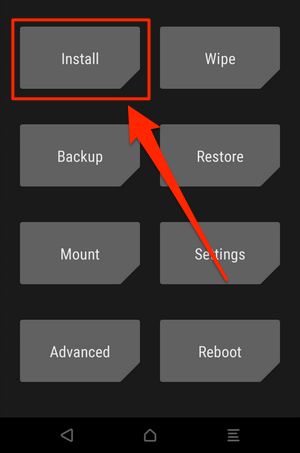
- Tap on Install and install the SuperSU file.
- You’re rooted.
Root a Nexus 6
Unlock Bootloader:
- Go to Settings > Developer options and turn on both OEM unlocking and USB debugging.

- Connect your phone to your computer.
- Download Fastboot and extract it.
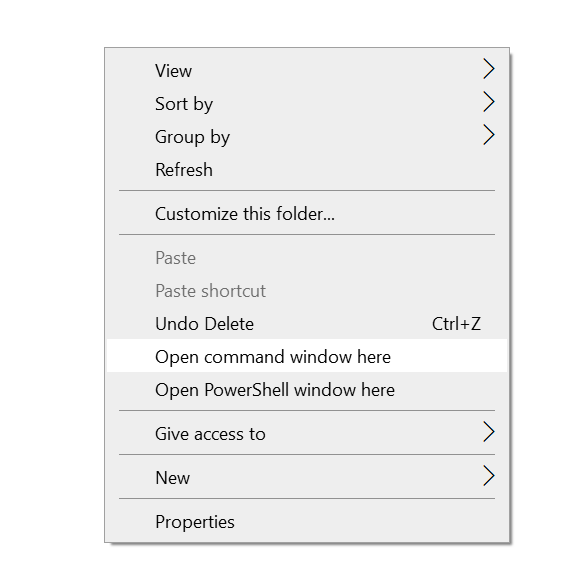
- Open the Fastboot folder, press and hold down Shift, right-click on any blank space, and select Open command window here.
- Run the following command when Command Prompt launches.
adb reboot bootloader

- Use the following command to unlock your bootloader.
fastboot oem unlock

- Use the following to reboot your device.
fastboot reboot

Root a Nexus 6:
- Download CF-Root for Nexus 6 and extract it to your computer.
- Turn off your phone.
- Press and hold down Volume Down and Power buttons to boot into the bootloader mode.
- Connect the phone to your computer.
- Run the file named root-windows.bat from the CF-Root folder.
- You’re now rooted.
Install a Custom Recovery:
- Download TWRP Recovery and save it in the Fastboot folder.
- Enable USB debugging from Settings > Developer options on your phone.
- Run the following command to boot into the bootloader.
adb reboot bootloader - Use the following command to flash the recovery. Replace twrp.img with the actual file’s name.
fastboot flash recovery twrp.img

Root a Nexus 6P
Unlock Bootloader:
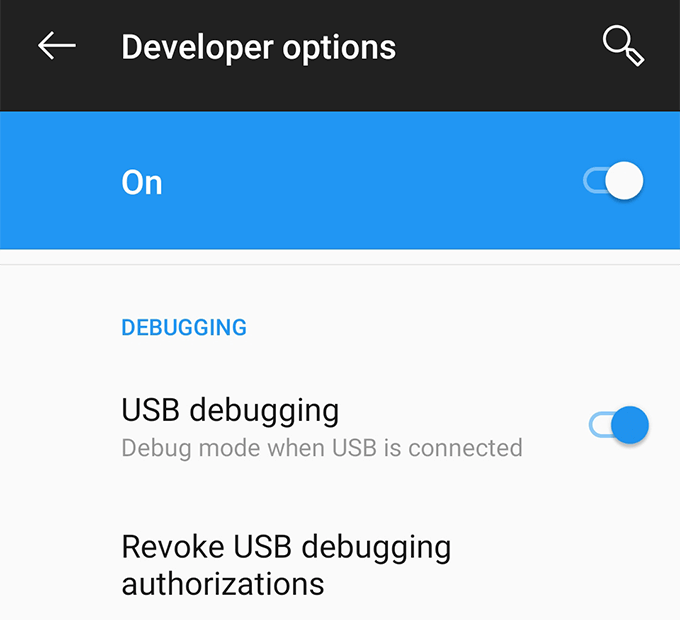
- On your phone, go to Settings > Developer options and turn on both OEM unlocking and USB debugging.
- Plug-in your phone to your computer via a USB cable.
- Download and extract Fastboot on your computer.
- Launch the Fastboot folder, press and hold down Shift, right-click anywhere on your screen, and select Open command window here.

- Run the following commands to unlock your bootloader.
adb reboot bootloader
fastboot flashing unlock

- Use this command to reboot your phone.
fastboot reboot

Flash a Custom Recovery:
- Download TWRP Recovery for Nexus 6P and save it to the Fastboot folder.
- Enable USB debugging from Settings > Developer options on your phone.
- Connect your phone to your computer.
- Run the following command in Command Prompt.
adb reboot bootloader

- Use the following command to install the recovery. Make sure to replace twrp.img with the original name of your file.
fastboot flash recovery twrp.img

Root a Nexus 6P:
- Download SuperSU and move it to your phone.
- Power off your phone.
- Press and hold down Volume Down and Power buttons to reboot into the bootloader mode. Then select Recovery.
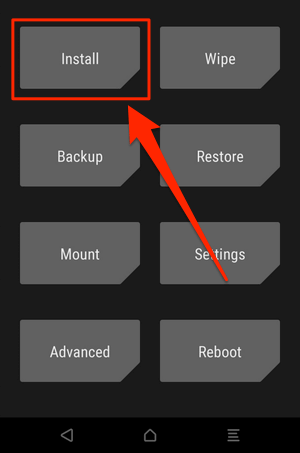
- Tap on Install and install the SuperSU file.
- You’re rooted.
Root a Nexus 7 & Install a Custom Recovery On It
- Download CF-Root for Nexus 7 and extract it.
- Turn off your phone.
- Press and hold down Volume Down and Power.
- Plug-in your phone to your computer.
- Run root-windows.bat from the CF-Root folder.
- You’re rooted.
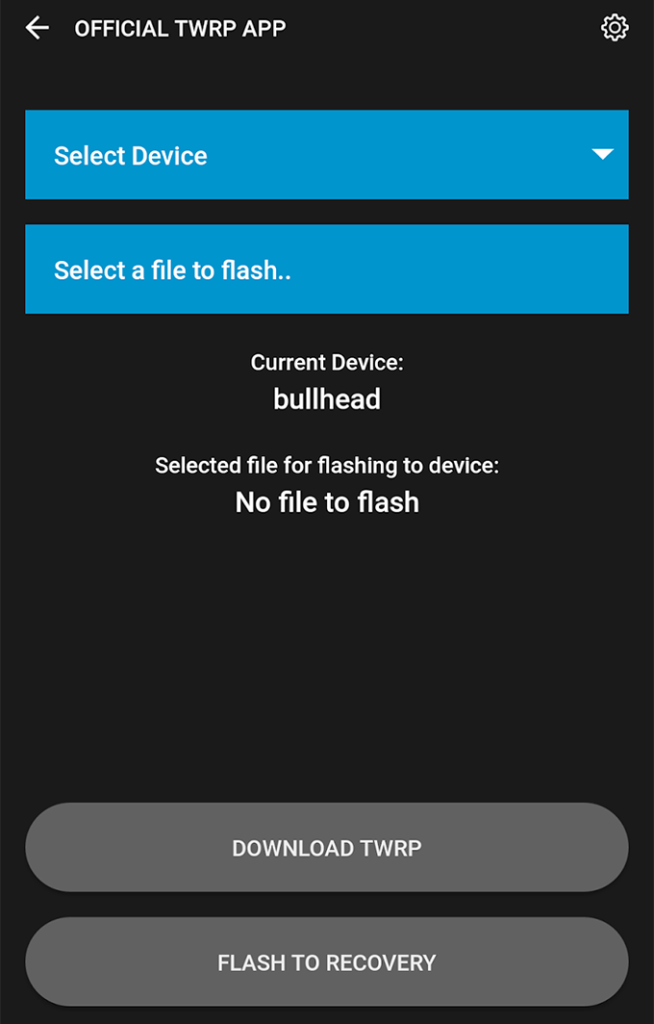
- Download and install TWRP Recovery app.
- Tap on TWRP Flash.

- Select your device and tap on Flash to Recovery.
Unroot a Nexus 5, 5X, 6, 6P, & 7
- Download the factory image for your phone and extract it to your computer.
- Turn off your Nexus device.
- Press and hold down Volume Down and Power buttons to reboot into the bootloader mode.
- Launch a Command Prompt window in the unzipped factory image folder and run the following command:
flash-all.bat

- Wait for it to flash the stock firmware on your phone.
- When the firmware is flashed, run the following command to relock your phone’s bootloader.
fastboot oem lock

- You’re now back to the unrooted stock firmware for your Nexus phone.