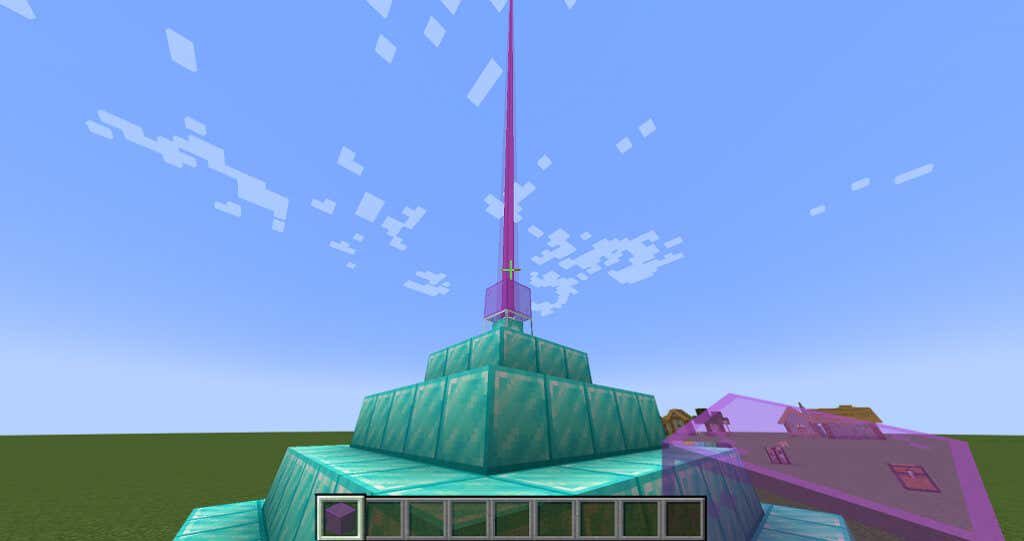
In Minecraft, a beacon is a craftable block that gives nearby players powerful buffs. These power-ups can make you far stronger and more efficient, but because beacons are so difficult to craft, they’re usually a late-game creation.
In this tutorial, we’ll cover what a beacon is, how you craft one, and how you can use them.
What Is a Beacon?
A beacon is a block that creates a vertical beam of light that players can see from a distance, acting as a guide back to that location.
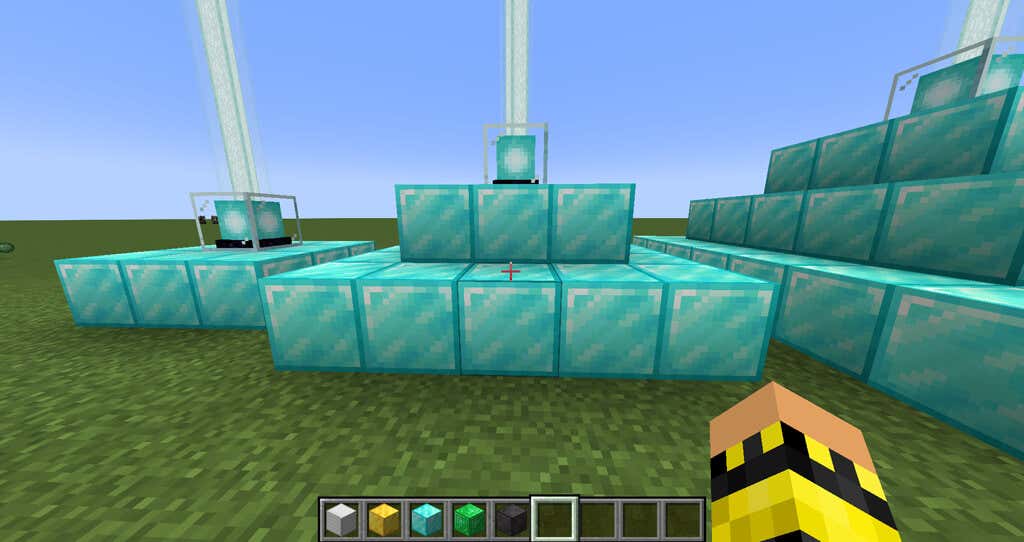
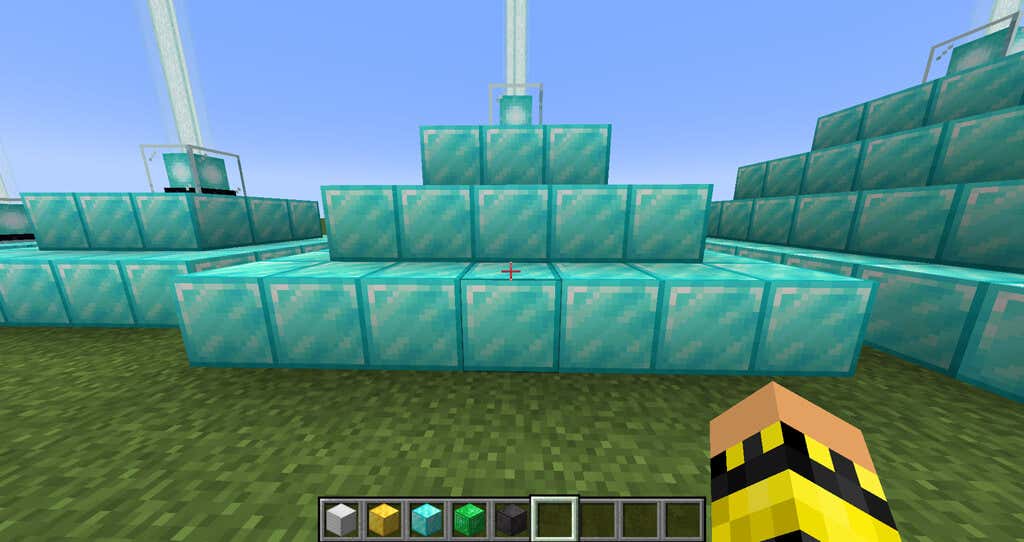
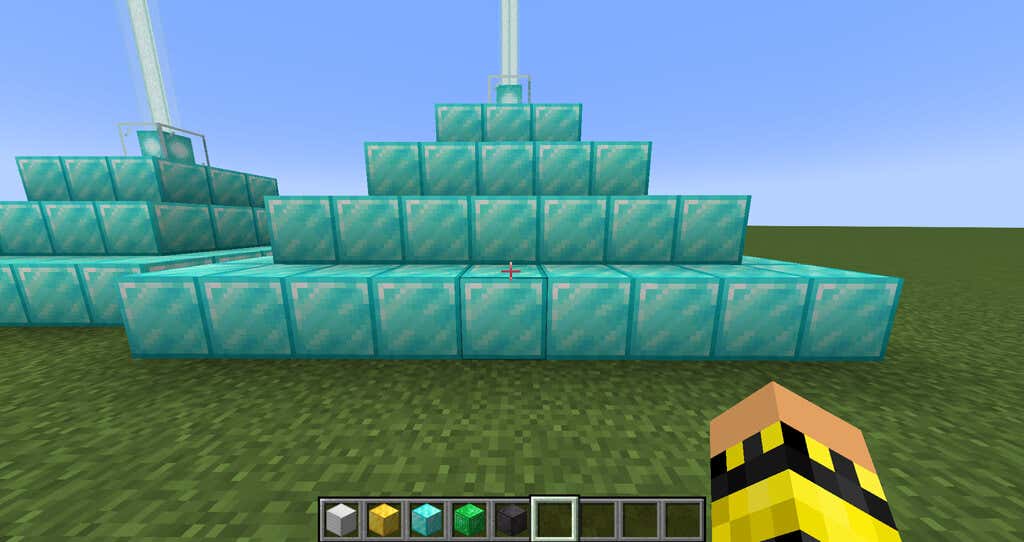
Each Minecraft beacon is a single block, but they must be formed into beacon pyramids to be activated. The larger the pyramid, the higher the level of the beacon.
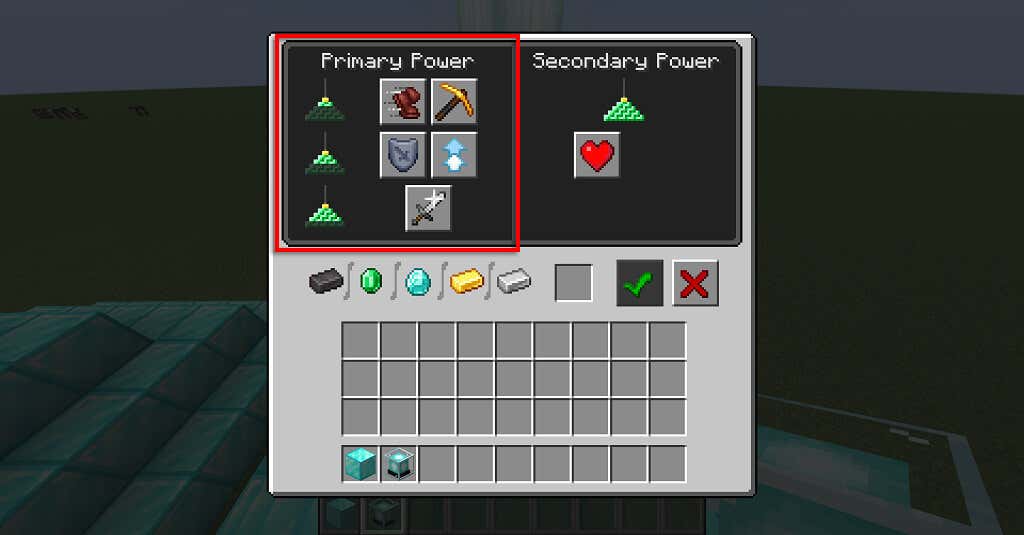
The beacon can provide several status effects to nearby players similar to potions or enchantments. These include five primary powers and two secondary powers. The strength of the status effects is multiplied by the level of the beacon pyramid.
The five primary powers are:
- Speed I: Increased movement speed (single-level pyramid).
- Haste I: Increased mining and attack speed (single-level pyramid).
- Jump Boost I: Increased jump height (2-level pyramid).
- Resistance I: Decrease damage taken (2-level pyramid).
- Strength I: Increased melee damage (3-level pyramid).
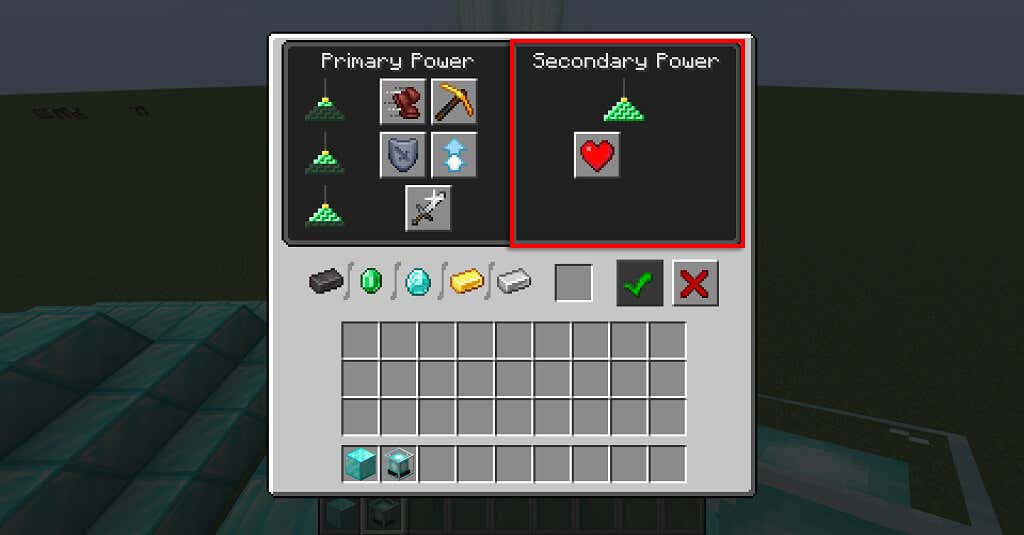
The two secondary powers include:
- Regeneration I: Automatically regenerates health (4-level pyramid).
- Increase the primary power to level II (multiplying its effect).
Because some of the required materials are difficult to obtain, players usually create beacons late in the game. If you’re struggling to get to the point that you can create one, our Minecraft beginner’s guide might help.
How to Find the Required Materials
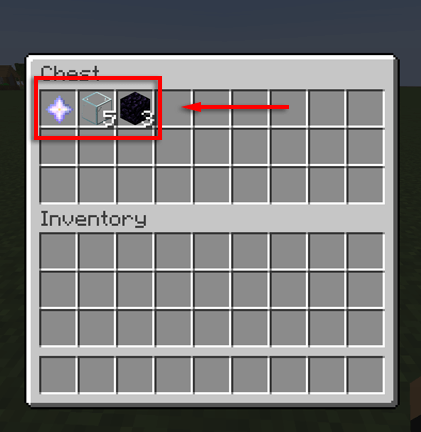
To craft a beacon, you need five glass blocks, three obsidian blocks, and one nether star. The first two are easy to get. To obtain glass, add sand to a furnace. To get obsidian, you just need to find some (it occurs where water comes into contact with lava) and mine it using a diamond pickaxe.
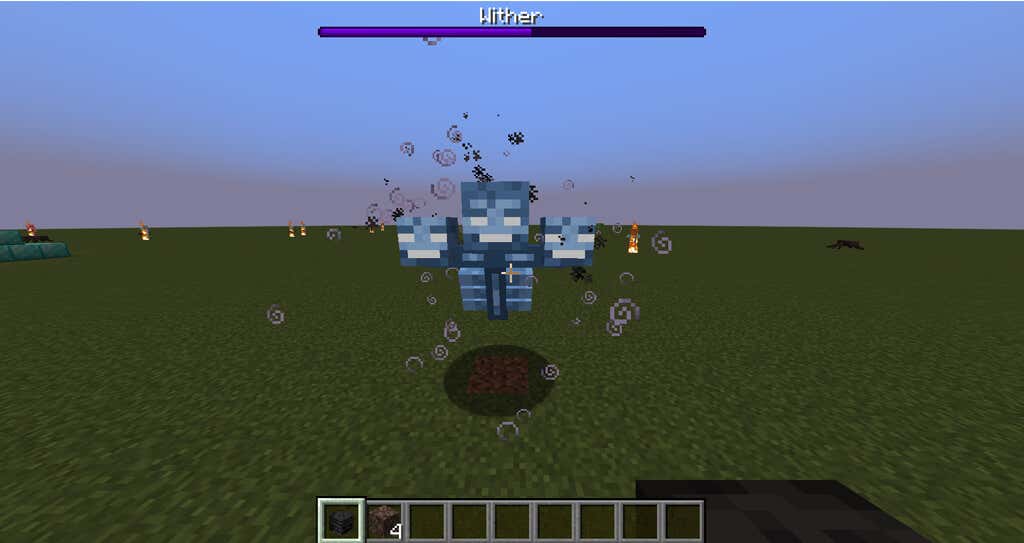
The Nether star is one of the rarest materials in Minecraft and is a little harder to get. To find one:
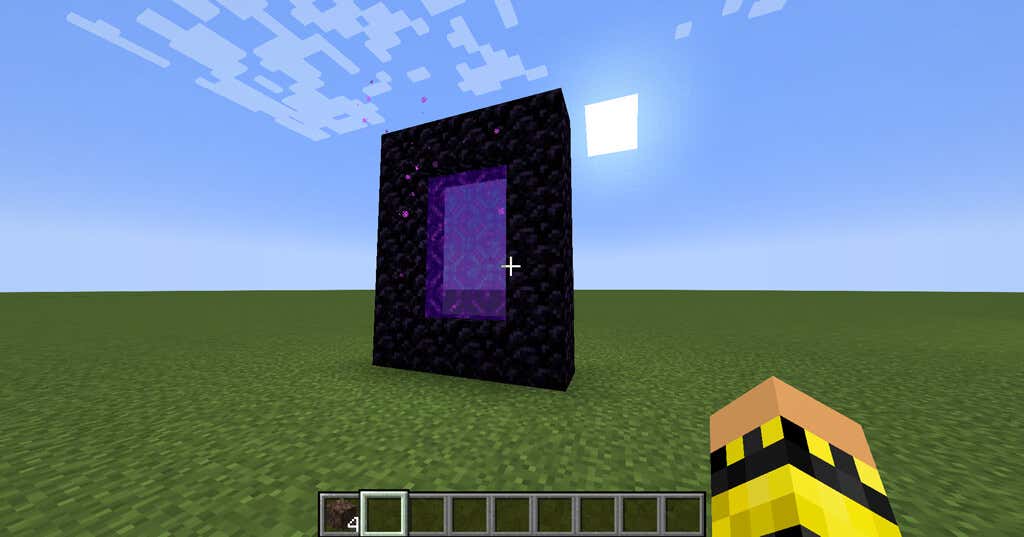
- Travel to the Nether using a Nether Portal.
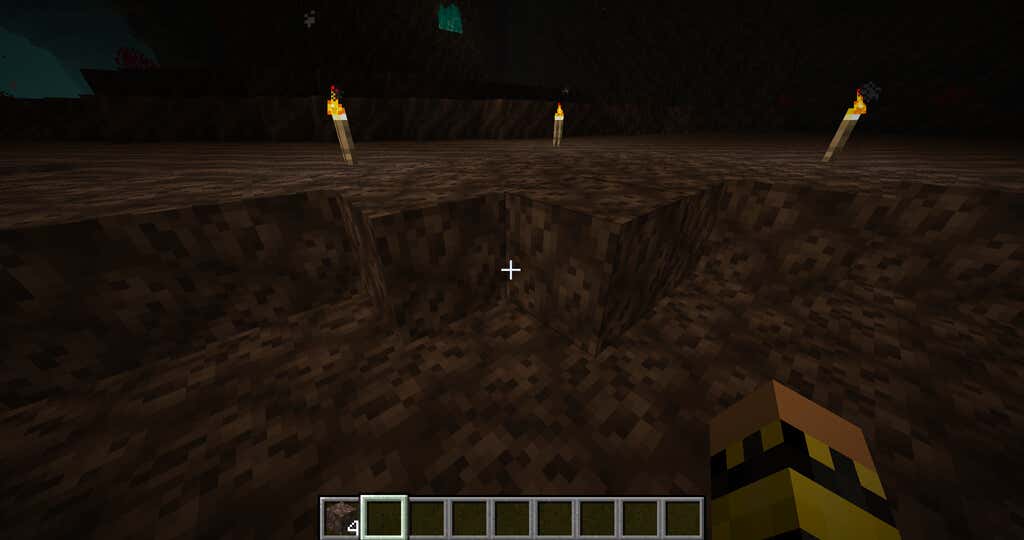
- Collect four blocks of soul sand.
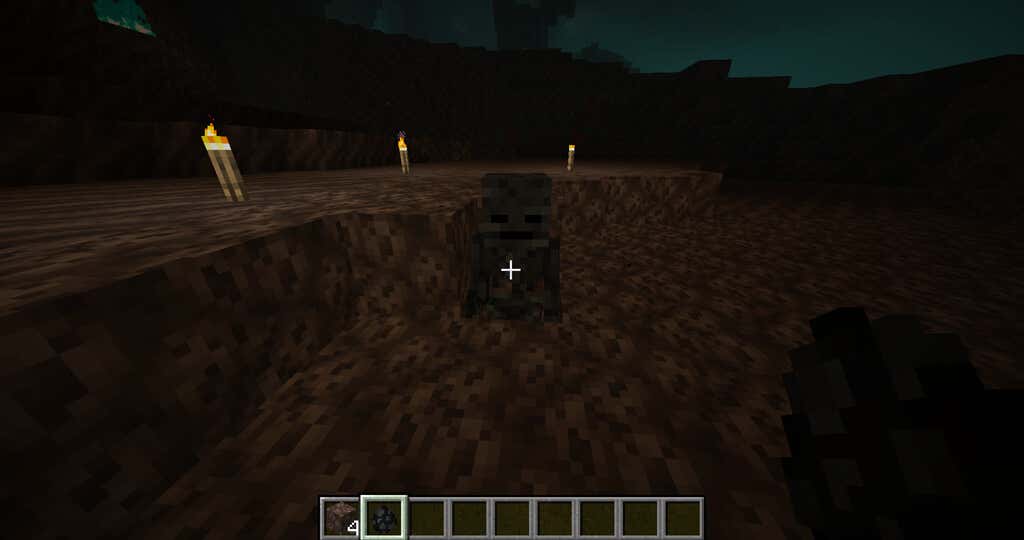
- Collect three Wither Skeleton skulls. These have a 2.5% chance of dropping from Wither Skeletons, a challenging enemy found inside Nether fortresses.
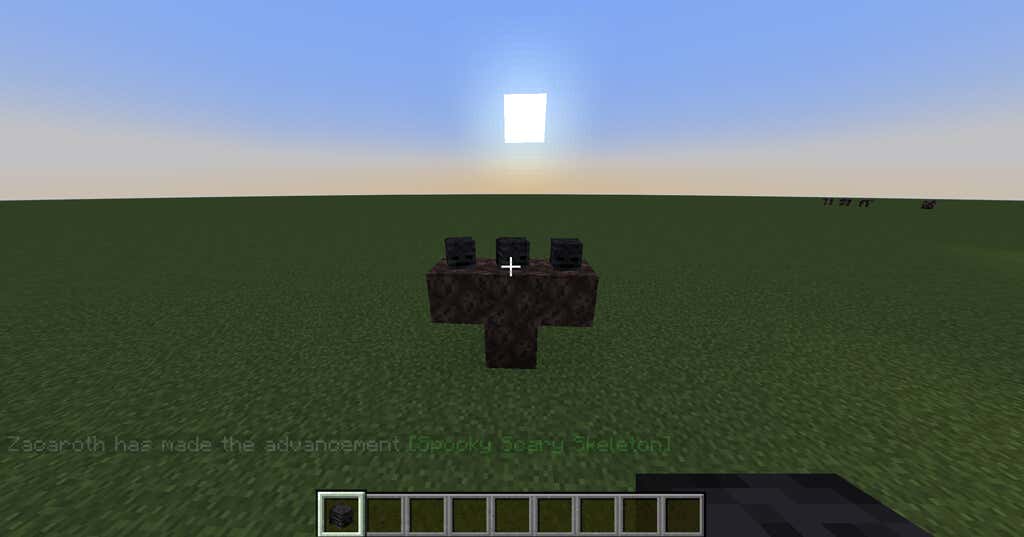
- In the Overworld, create a “T” shape from the soul sand and place the three skulls on top.
- The Wither will spawn. Defeat it, and it will drop a Nether star.
Note: We’ve displayed screenshots from the Java Edition, but don’t worry if you’re a console or Minecraft PE player—the ingredients, recipe, and how to activate a beacon are the same in each.
How to Make a Beacon
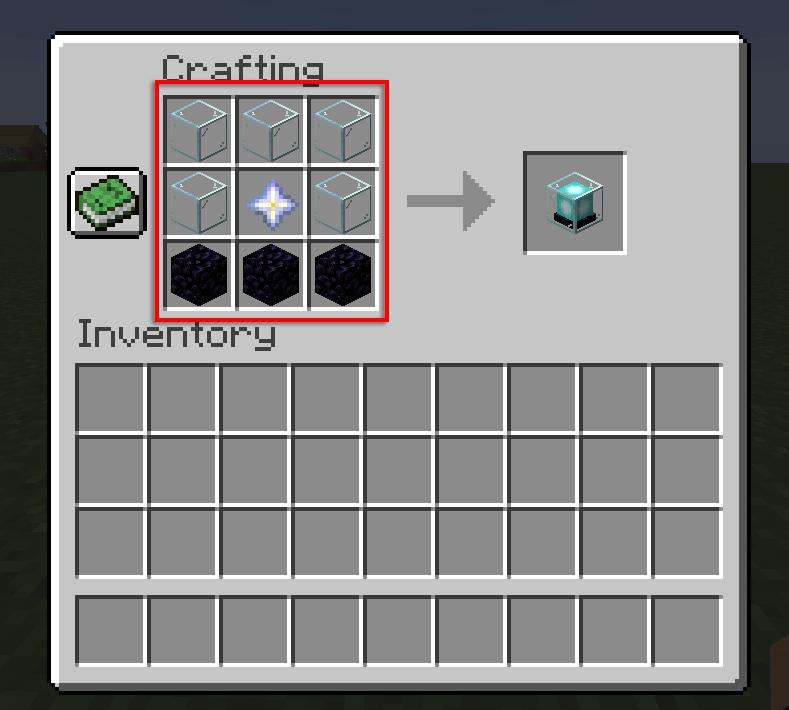
Once you have all the materials, making the beacon is easy. Go to your crafting table and add three glass blocks to the top row. On the second row, add one glass, the Nether star, and another glass. On the bottom row, add the three obsidian blocks.
The crafting recipe looks like this:
How to Activate a Beacon
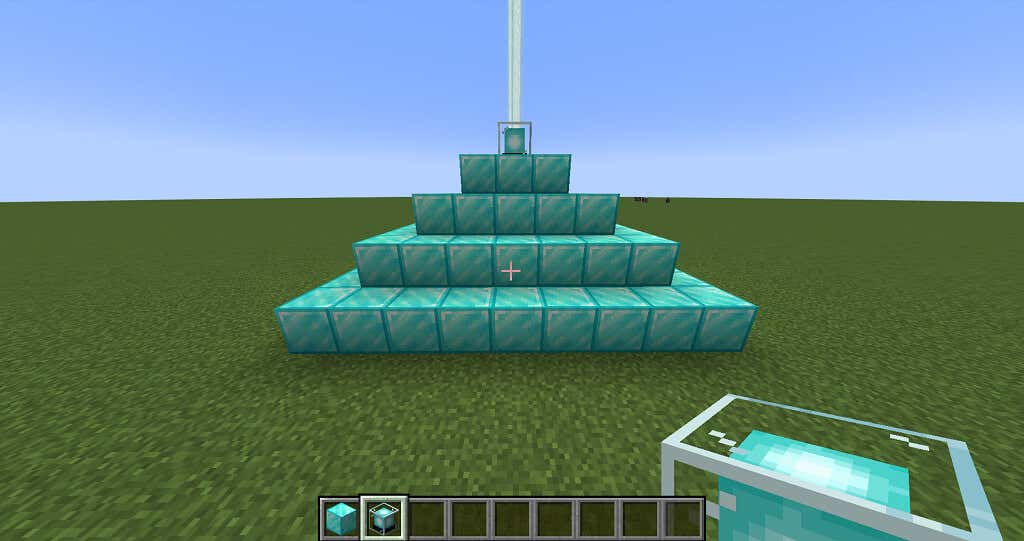
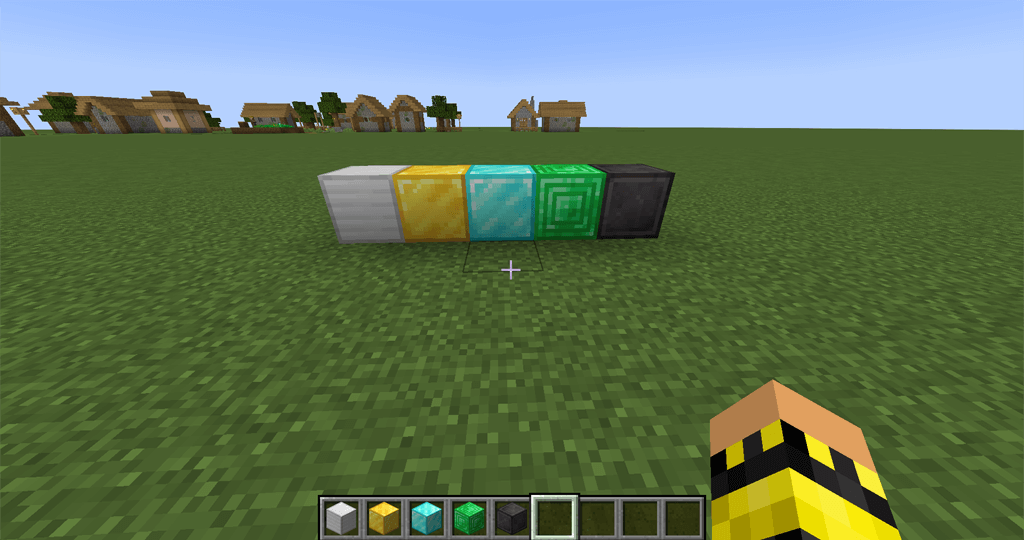
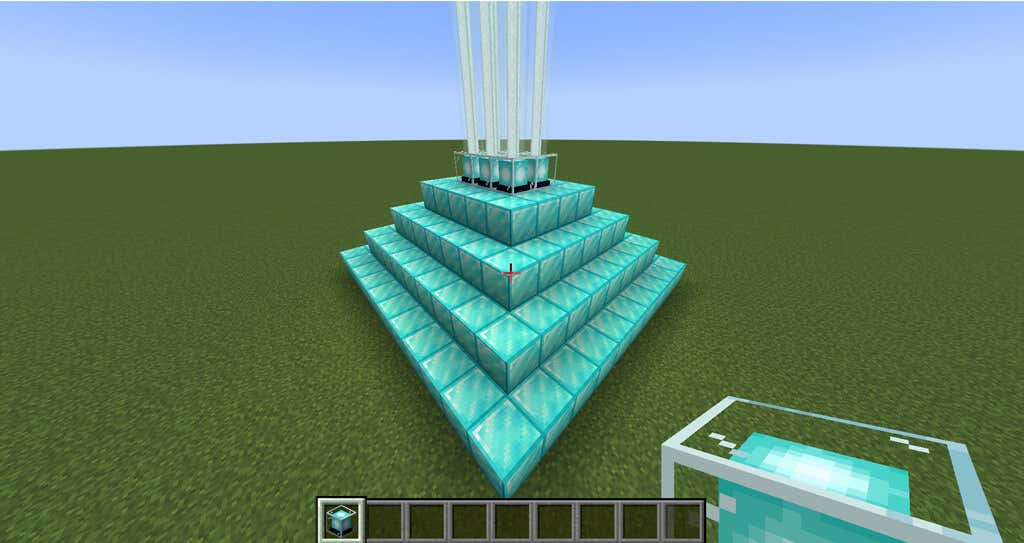
A beacon on its own is inactive. To activate the beacon, you must place it on top of a pyramid made from any combination of the following materials:
- Iron blocks
- Gold blocks
- Diamond blocks
- Emerald blocks
- Netherite blocks
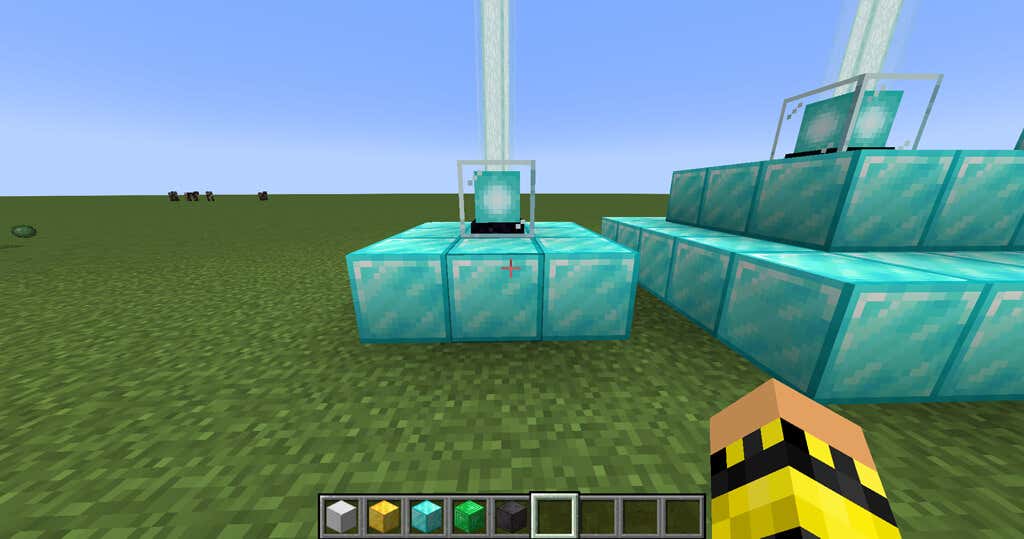
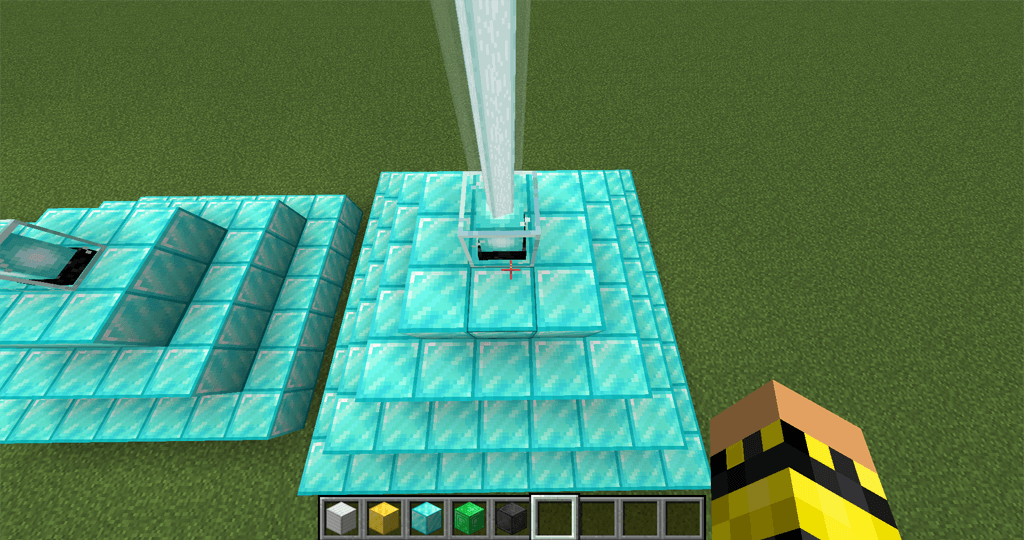
There are four levels of the pyramid, each of which increases the beacon power and radius of effect:
- Level 1: A 3×3 base of 9 total blocks. This has a range of 20 blocks and an effect duration of 11 seconds.
- Level 2: A 5×5 base and 3×3 top with a total of 34 blocks. This has a range of 30 blocks and an effect duration of 13 seconds.
- Level 3: A 7×7 base, 5×5 middle, and 3×3 top with a total of 83 blocks. This has a range of 40 blocks and an effect duration of 15 seconds.
- Level 4: A 9×9 base, 7×7 second layer, 5×5 third layer, and 3×3 top layer with a total of 164 blocks. This has a range of 50 blocks and an effect duration of 17 seconds.
Once the pyramid is ready, simply place your beacon at the top in the center of the pyramid, and it will activate.
The beacon applies the selected powers to all players within the beacon’s range every four seconds. This means that while a player remains in range, the effects are constant. When a player leaves the area-of-effect, the powers continue for the remainder of the effect duration. The best time to leave the effect radius, then, is just after the powers are renewed (i.e. at the next four-second cycle begins).
How to Use a Beacon
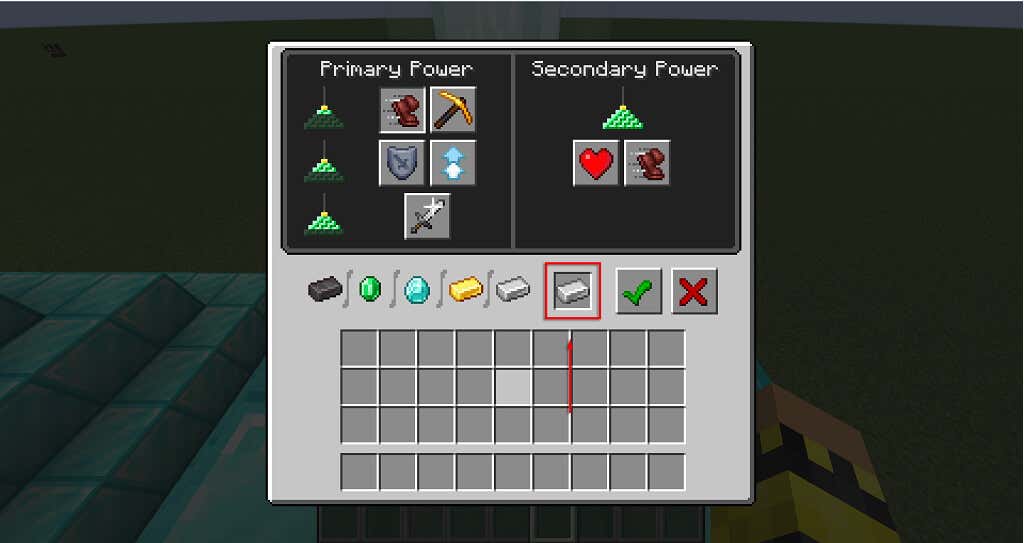
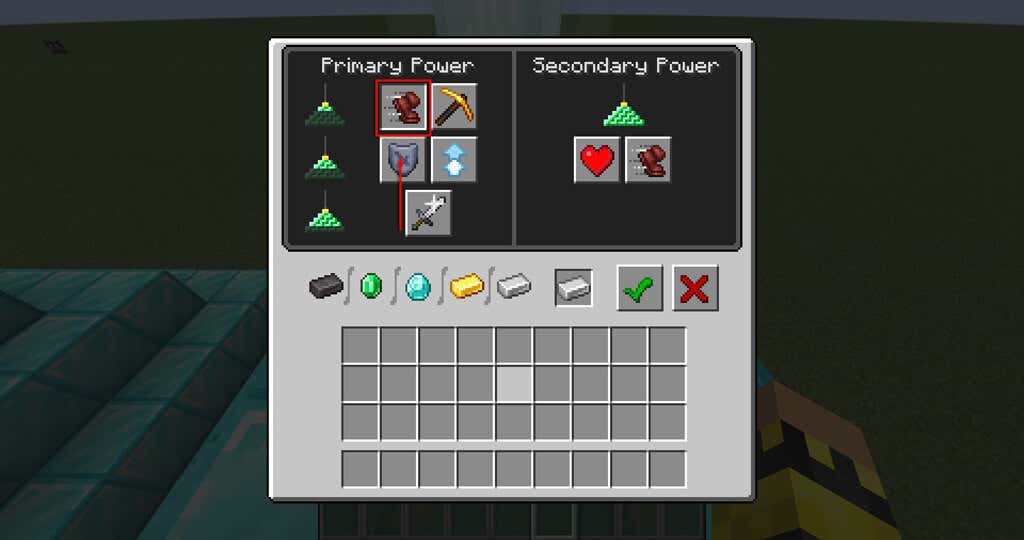
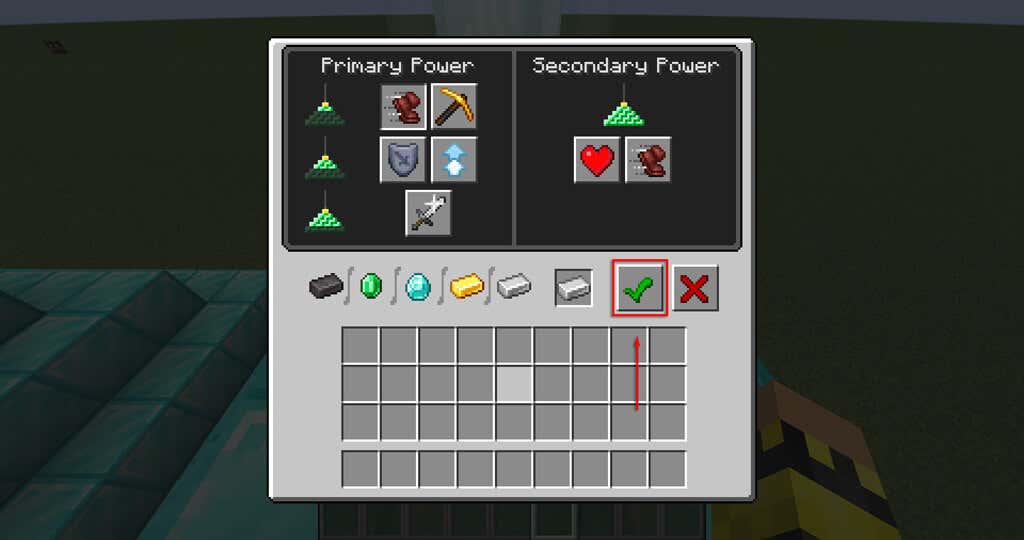
Once your beacon is activated, you can right-click the beacon to access its menu and choose the status effects that you wish to receive.
To activate a status effect, you have to feed the beacon either a gold ingot, iron ingot, netherite ingot, diamond, or emerald. To do so:
- Add the material into the open slot.
- Select the icon of the power you’d like to activate.
- Click the checkmark.
The activated status effect can be changed whenever you like; you just have to feed it another item.
To receive every buff, you must create six individual beacons. Your other option is to create a multiple beacon pyramid with a 10×11 base, 8×9 second layer, 6×7 third layer, and 4×5 top layer.
On top of this, beacons are placed in a 2×3 configuration in the center. This provides all six beacon effects from a single structure using the fewest resources possible.
You can customize the beacon however you like, crafting it out of whatever combination of the accepted mineral blocks you want. You can even customize the color of the beacon’s light. To do so, just place a stained glass block on top of the beacon.
Blinded by the Light
Hopefully, with the help of this step-by-step guide, you are now the proud owner of one of the most sought-after objects in Minecraft. With the beacon’s power-ups, you’ll be ready to take on the Ender dragon in no time.

