A personal wiki is the preferred note-taking format for many power users. After all, having your notes organized in an inter-connected wiki makes them much easier to navigate than a linear collection of pages.
But most methods of creating private wikis are rather tedious. Either they need you to set up an offline server of sorts, complete with HTML and CSS, or they just let you access a webpage with your web browser.
What if you wanted plain and simple wiki pages that can be stored on your computer in a single file or folder? That’s where Obsidian comes in.
What Is Obsidian?
At its basic, Obsidian is an amazing note-taking application. Scratch beyond the surface, however, and you’ll find that it’s much more than that.
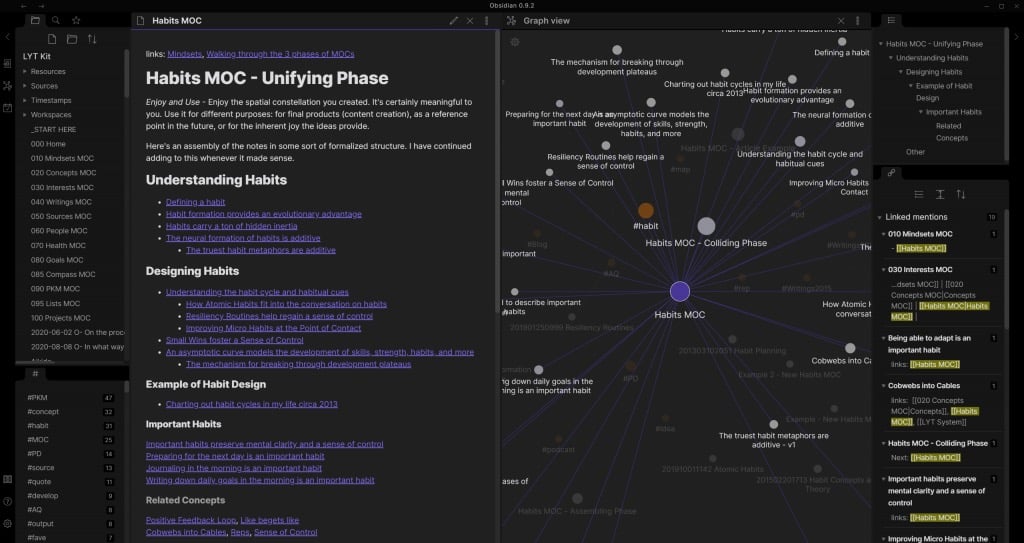
Obsidian gives you the ability to create your own wikis with a network of interconnected nodes, allowing you to organize your thoughts (or research) in a more natural format. There are many “brain mapping” apps that already do that, but none are as clean and simple to use as Obsidian.
Furthermore, all your notes are held in a folder on your own PC, completely offline. This means your data is safe in your hands, to be backed up to a USB drive or your preferred cloud storage.
And the biggest draw? It is completely free. You can get started with this incredibly versatile note-taking app without having to shell out a penny or have your data held to ransom by a third-party server.
Why Do You Need a Personal Wiki?
If you have ever worked on a complex project needing a lot of research and notes, you know the value of an internal wiki. There is only so much information you can put in a series of pages before it becomes an indecipherable mess.
There is a reason Wikipedia (or any wiki, for that matter) organizes its information in the way it does – it is more intuitive to traverse through a web of interconnected topics. A wiki software achieves the same thing, but for your personal use.
Ultimately, it’s a note-taking paradigm that allows you to create a knowledge base of sorts, with topics neatly organized by their relations to each other. Whether you are working on a creative project or researching a complex subject, a personal wiki is a must-have tool.
Using Obsidian
Obsidian is a Markdown-based text editor. This makes starting out quite easy – just open a blank page and start typing. Of course, some knowledge of basic Markdown formatting comes in handy, especially the syntax for adding links.
- First, download Obsidian from the official website. There is an installer for Windows, along with Mac and several Linux distros. Mobile users can head to the Google Play Store and Apple App Store to install Obsidian on their smartphones.
- The installation is lightning fast – simply run the setup and the app will open up in a few seconds.
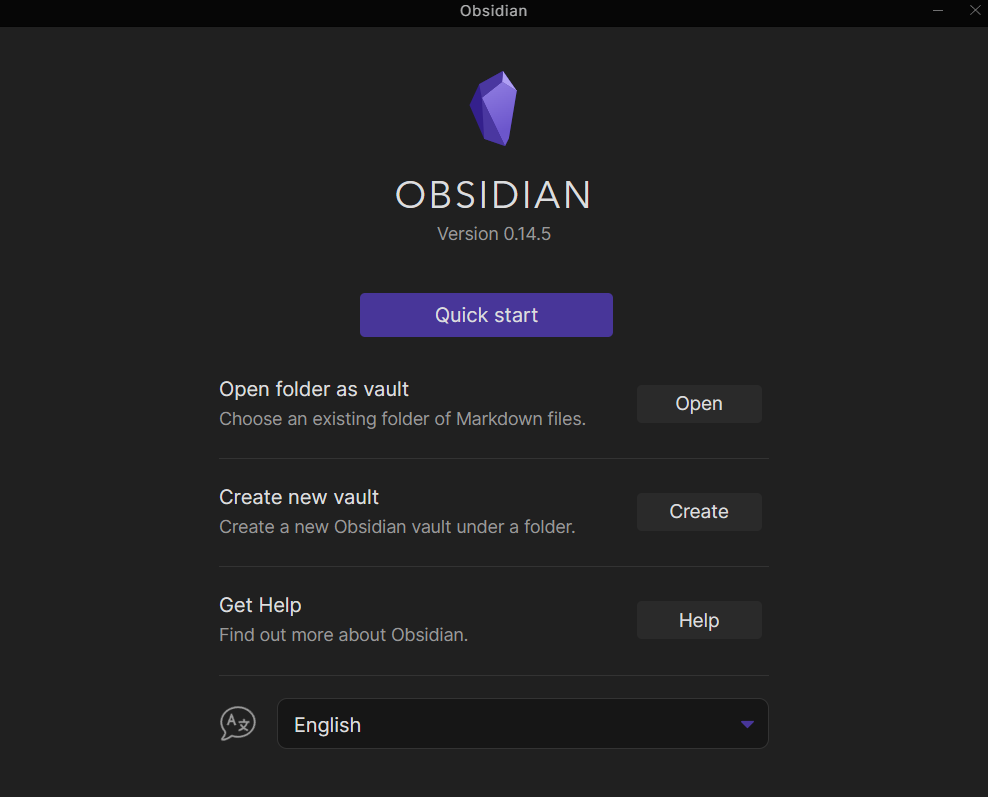
- Obsidian notes are organized as “vaults”. Each vault is essentially a folder full of plain text Markdown files, usually centered around a topic. Obsidian can both create new vaults as well as open vaults created previously, even from another device. For now, let’s go with the middle option.
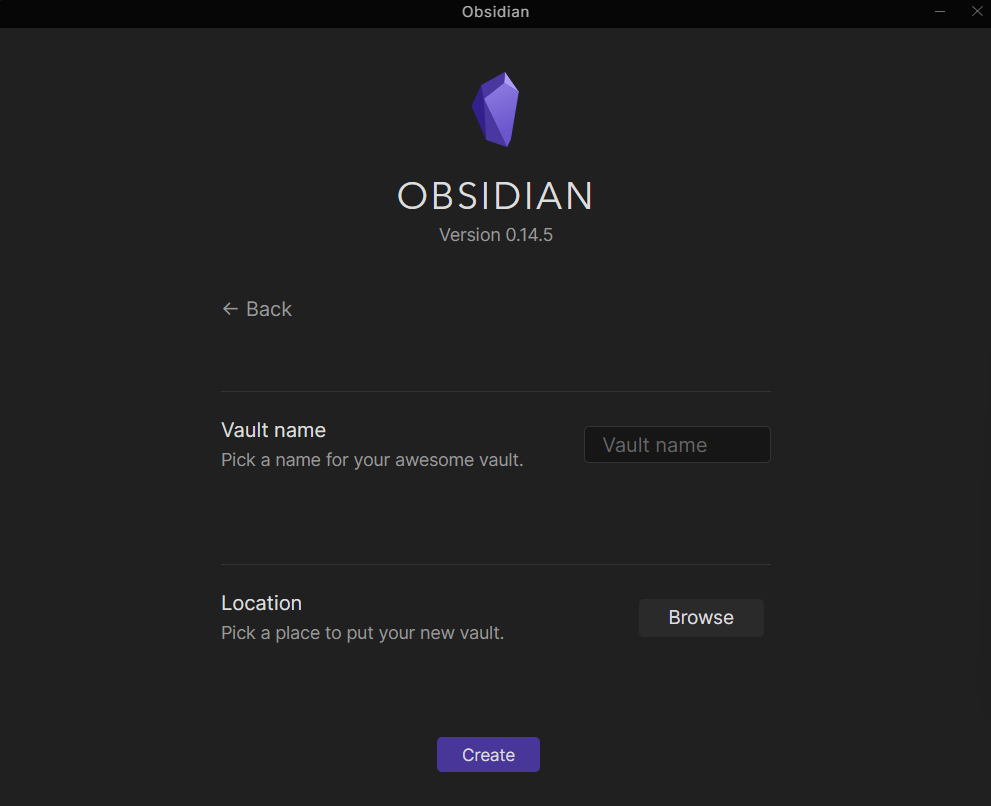
- You will be asked to name the vault and specify a destination. You can choose to store it on your PC or a portable drive connected to it.
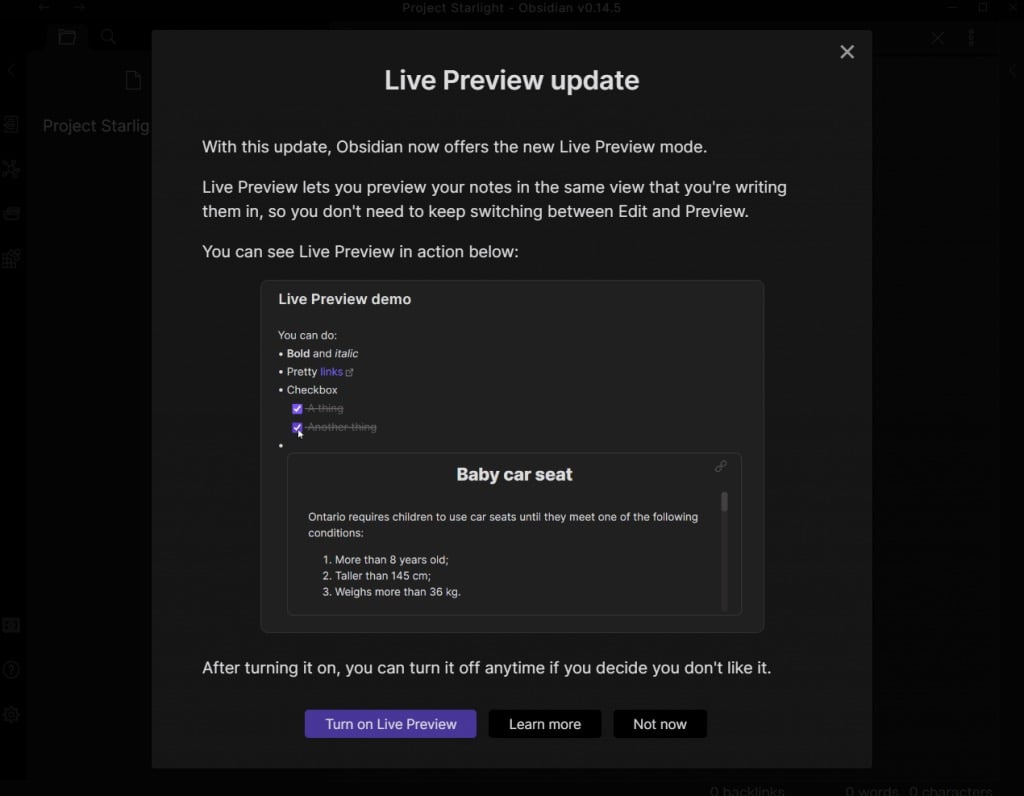
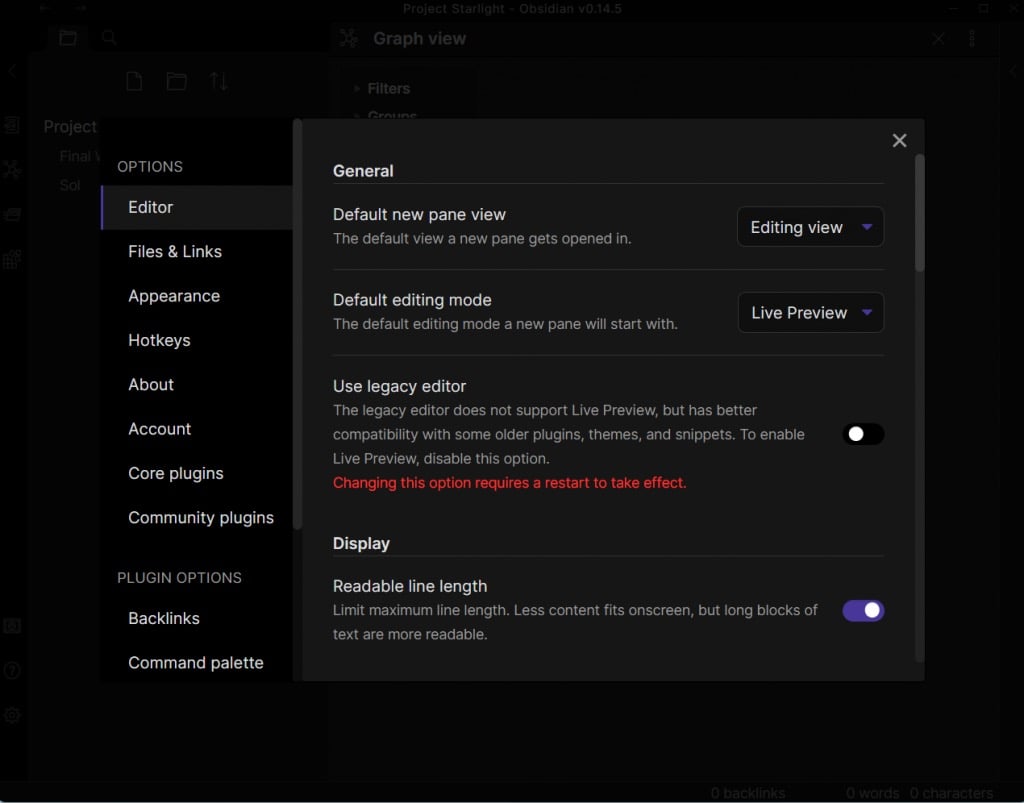
- The latest version of Obsidian comes with a live preview feature. Basically, it lets you see the effects of the Markdown formatting directly (like a WYSIWYG editor) instead of having to switch to a preview. We recommend turning it on.
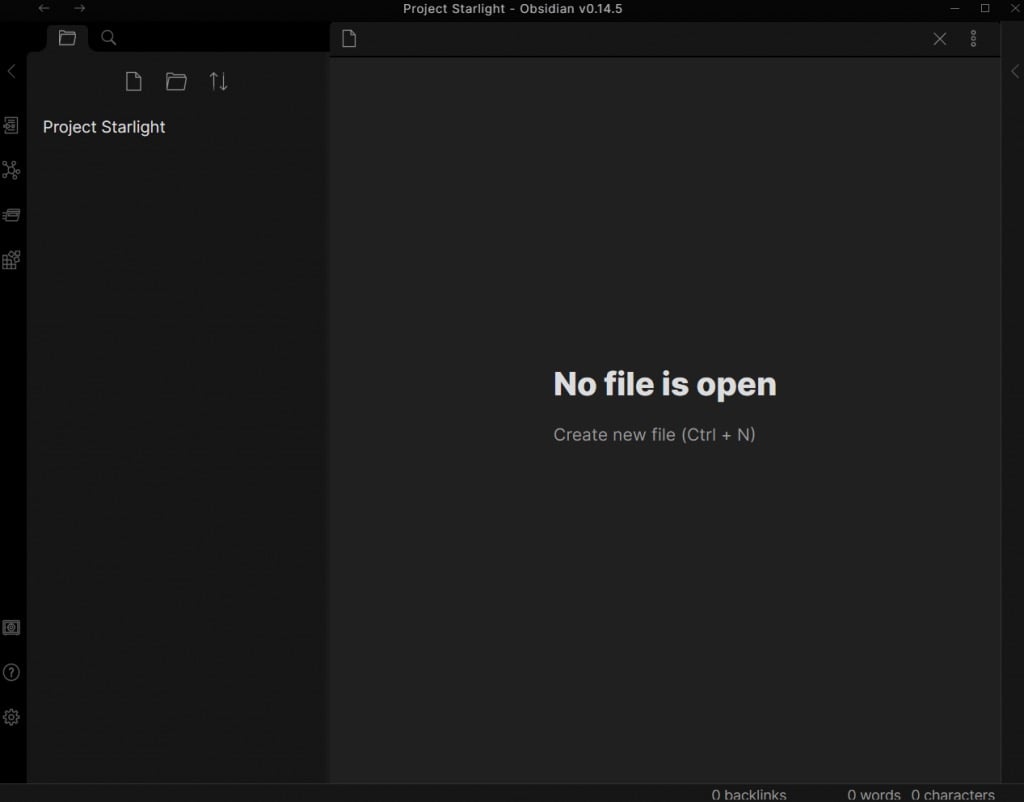
- The vault will open in the standard Project view, displaying a list of all of your files and the text of the currently selected file. Except there’s nothing to show yet, so you get a blank canvas.
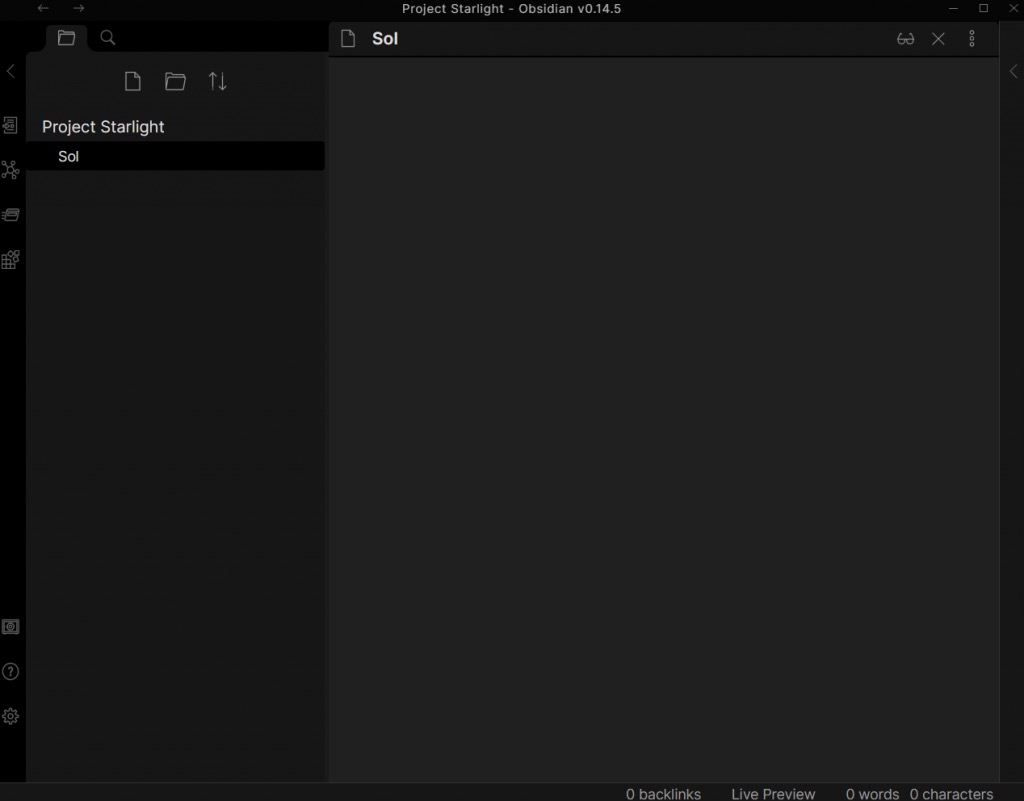
- Create a new file by hitting Ctrl+N or using the New Note button on the left.
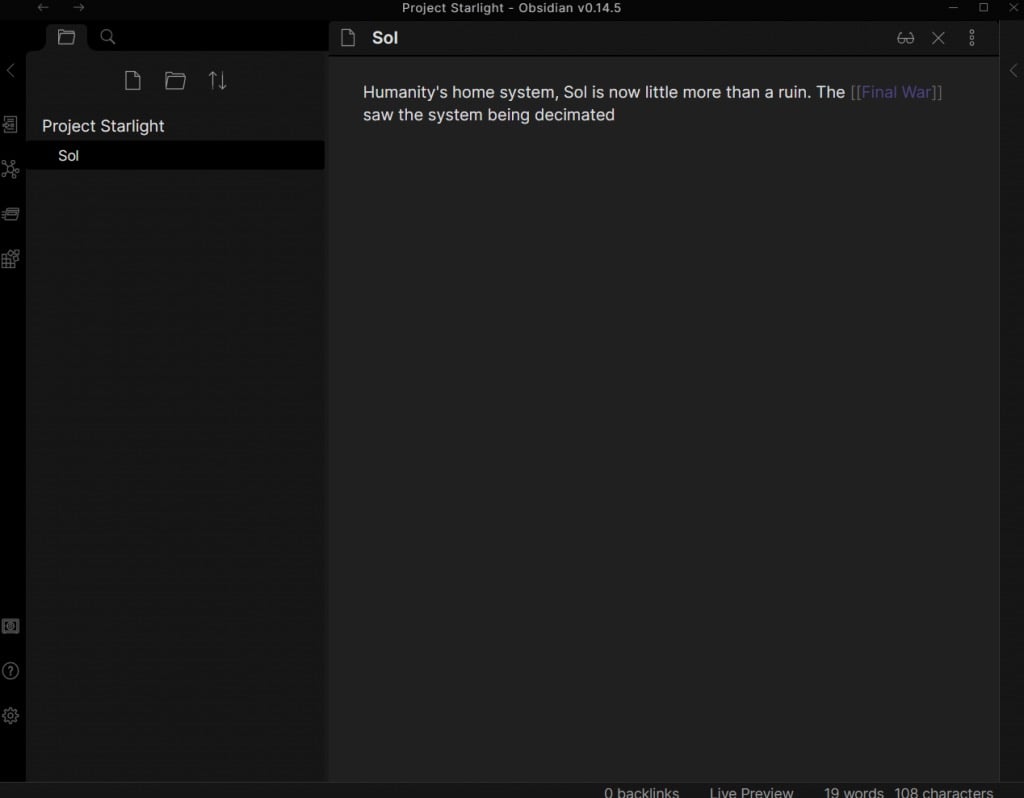
- You can now start typing the contents of the note, using Markdown formatting when necessary. While a complete Markdown syntax guide is beyond the scope of this article, we’ll demonstrate creating linked notes. Just put some text inside double-square brackets, and it will turn into a link.
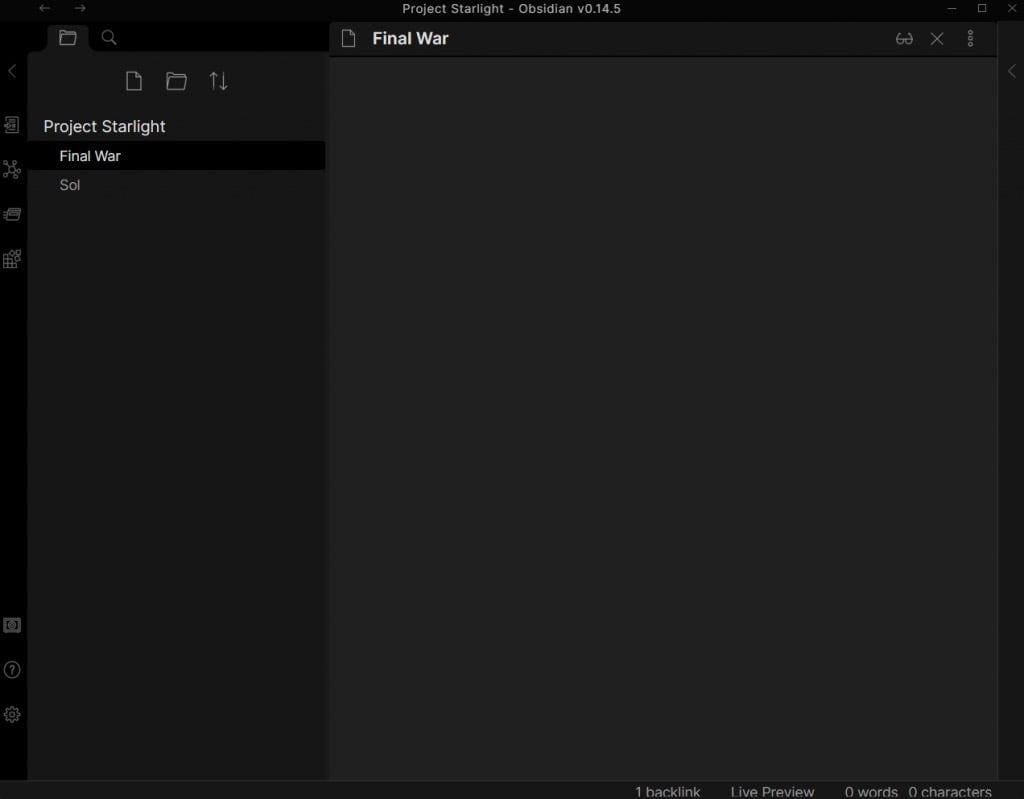
- Clicking on the link directly creates a new note with the name in the brackets, ready to be edited similarly. You can also see the ever-expanding hierarchy of notes in the list on the left, and switch any of them with a click.
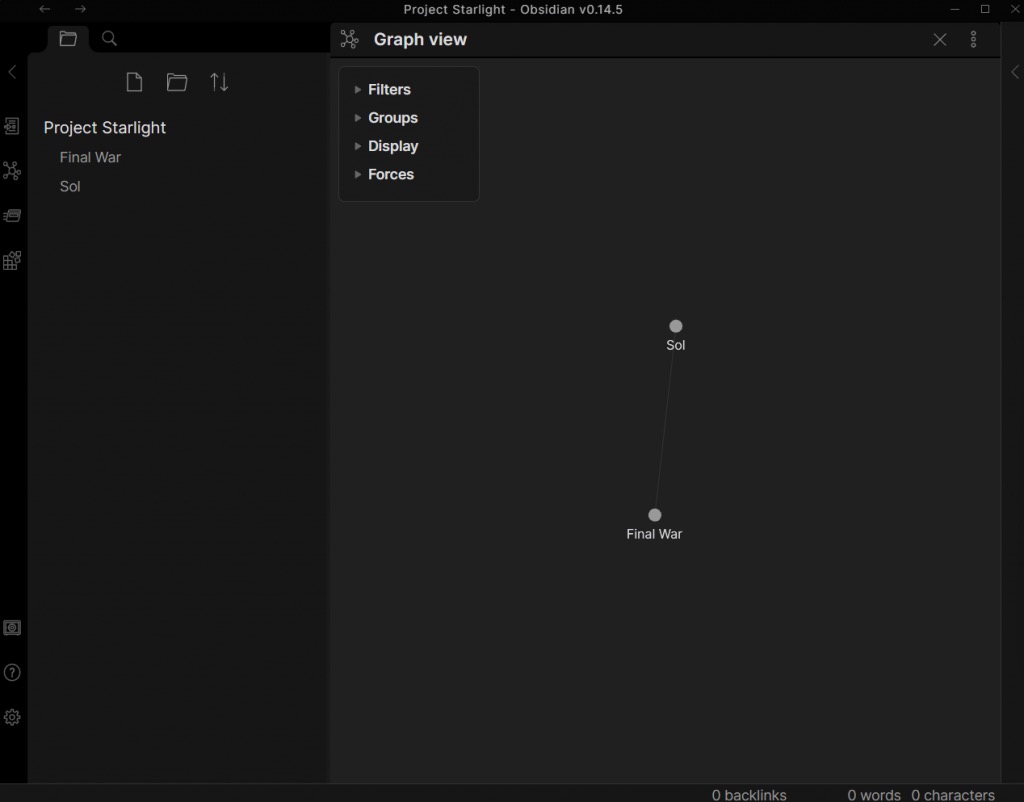
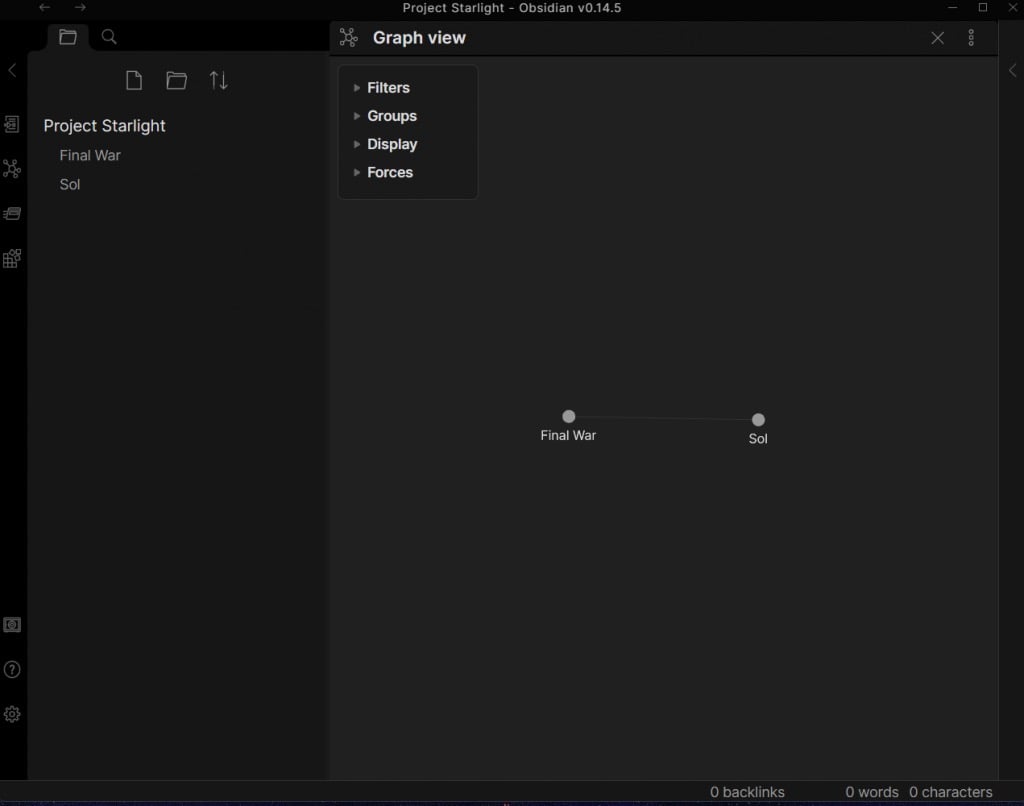
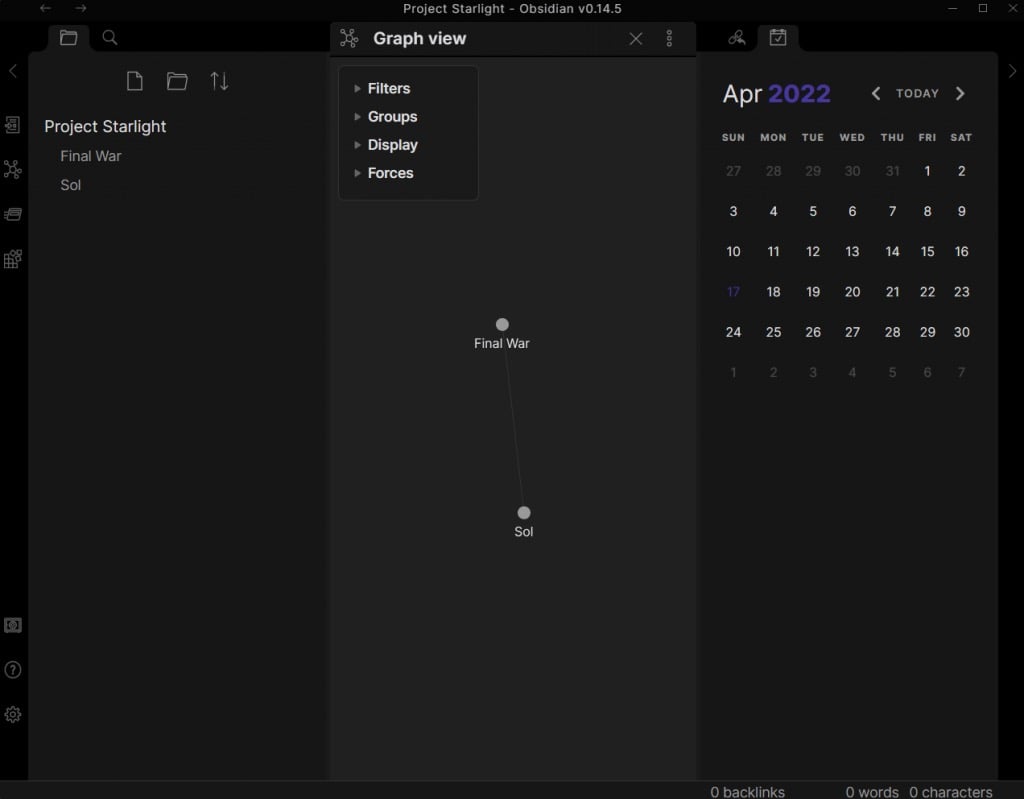
- You can also view your network of nodes in the graph view, opened by the dedicated button in the side panel on the left (the molecule-like icon). It displayed all of your notes with lines joining the linked ones, giving a nice way to see the relations between them. With just two notes it doesn’t look like much, but when you have dozens (or hundreds) of files it comes in really handy.
And that’s pretty much it. You can create your own personal knowledge base by simply typing up your notes and linking together related topics, without any other markdown formatting involved.
That being said, learning a bit of Markdown will let you include things like bulleted lists and external links, along with a bunch of other formatting options that make your notes easier to read.
Beyond Notes – Plugins
Obsidian’s greatest advantage over other note-taking apps is its extensibility. With the right plugins, you can turn Obsidian into almost anything, from a kanban board to a journaling tool.
And there are quite a few plugins available. As with any free tool, Obsidian has a large and active community. There are plugins to add all sorts of functionality to Obsidian, making it a productivity tool on par with the likes of Trello or Notion.
- To get started with plugins, run the Obsidian app on your computer, and open Settings from the gear icon on the bottom-left.
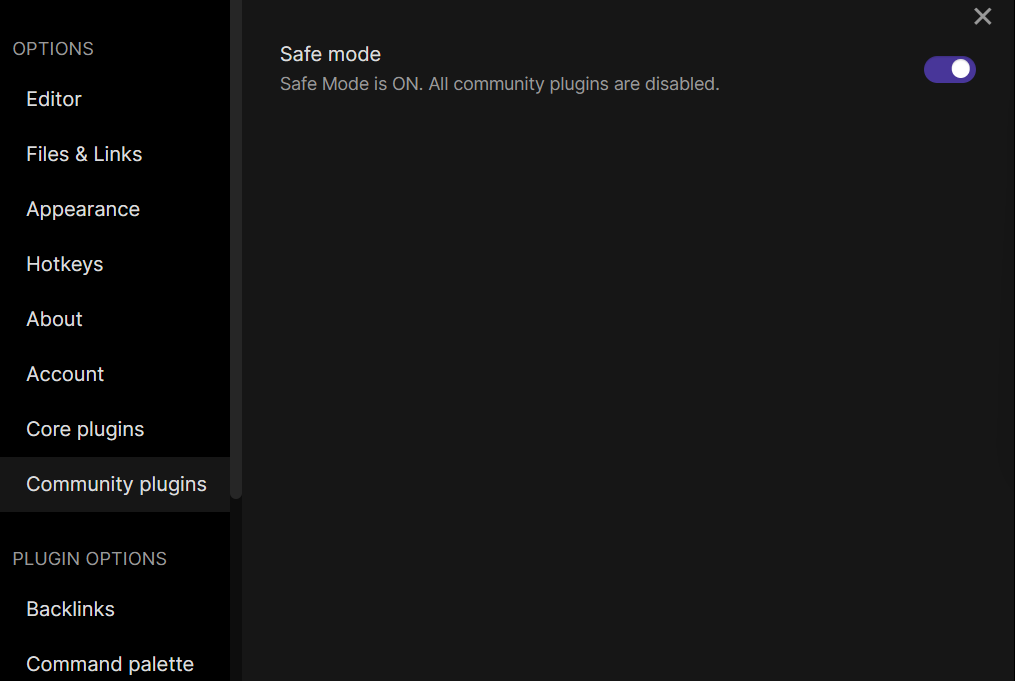
- Select the Community plugins option.
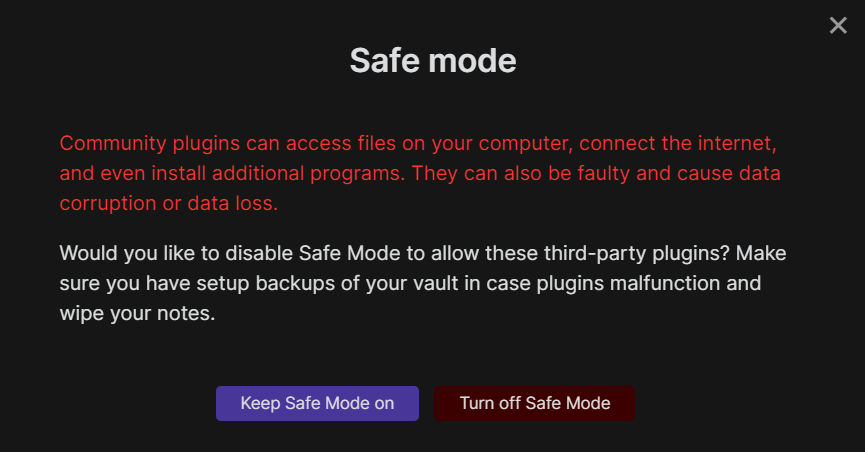
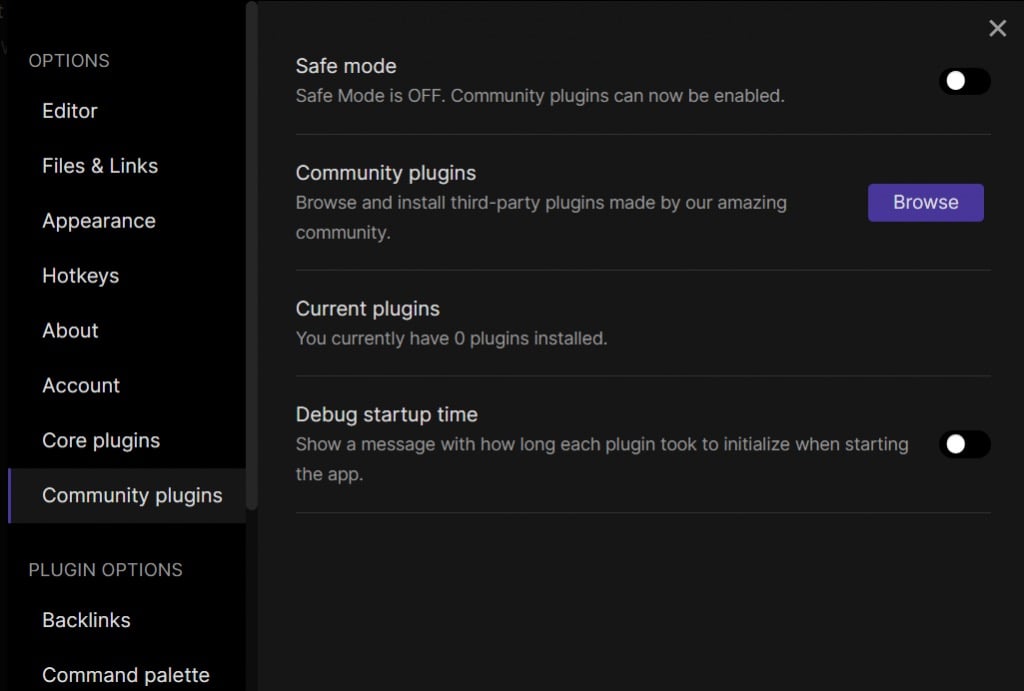
- By default, Safe mode is turned on, preventing any community plugins from being installed on your PC. Use the button to turn it off.
- You’ll be prompted to confirm the choice, with a warning about the risks posed by poorly made plugins. Select Turn off Safe Mode to proceed.
- The interface will now change, displaying additional options to find more plugins and view all installed ones. Click on Browse to get a list of all community plugins.
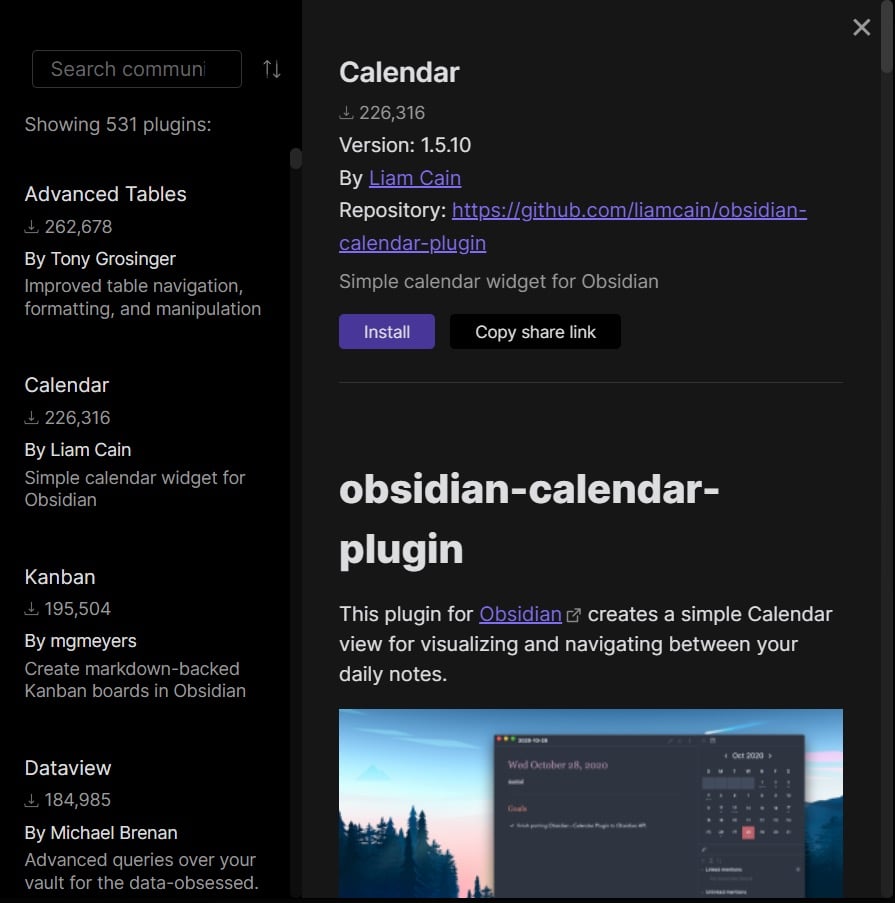
- The plugins are sorted by their number of downloads, so you’ll find the most popular plugins near the very top. Each of the entries comes with a name and short description, which you can select to see more detail.
- After selecting a plugin, just click on the Install button to add it to Obsidian.
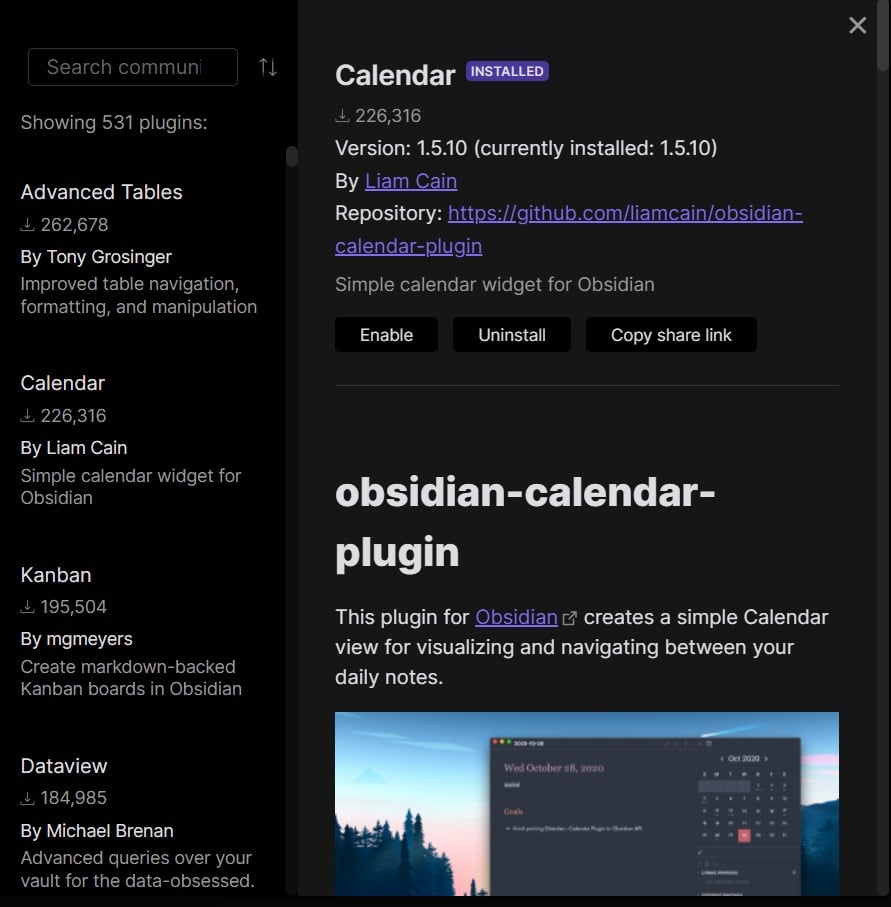
- You must Enable the plugin too before you can use it. This is also where you can uninstall or disable the plugin if you want to.
- The plugin will be activated and ready to use.
Is Obsidian Any Good?
Anyone who has ever tried to compile a comprehensive knowledge base of their notes knows how difficult it is with a normal word processor. This is especially true for creative projects, where your thoughts branch out in all tangents, rarely keeping to a strictly linear flow.
Wiki software with internal linking does exist, but few are as lean and easy to use as Obsidian. Not to mention extensible, with complete Markdown support and a variety of plugins made by the community.
And the best part? The app is completely free and local. Your files are stored on your own computer, keeping your data safe and private. This makes Obsidian one of the best ways to organize information out there.

