You may be scratching your head at the blurry phone camera photos your device is suddenly producing, or you can’t get the focus to work right in the viewfinder before taking a picture of your cat doing something hilarious for social media. This tutorial will show you how to fix a blurry camera on any smartphone for improved picture quality.
Why is My Camera Blurry?
The factors causing rear camera blur vary by device, camera lens placement, device handling/usage, and other factors. A dirty lens is the most obvious culprit for blurry phone photos. Dirt (smudges, fingerprint smears, etc.) on the lens can distort the camera’s autofocus and result in blurry pictures.
Sometimes, using a dirty or cracked protective film on your screen can cause clear pictures to appear blurry. Likewise, protective phone cases with camera covers sometimes cause condensation, which covers the camera lenses and causes blurry images.
Software-related factors could also blur photos on mobile devices. Some camera apps have effects that make pictures grainy and blurry. Operating system bugs, an outdated app version, or corrupt cache files are other software-related factors that could prevent your phone from capturing sharp photos. Check your camera settings and ensure you’re using the correct mode. Also, update your phone and camera app to the latest version.
How to Fix Blurry Phone Camera Photos? – 16 Easy Fixes
Follow the troubleshooting steps below to diagnose and fix blurry image issues on your Android or iPhone camera.
1. Clean Your Camera Lens
Use a clean microfiber cloth to clean the lens(es) on your phone’s rear or front camera. Do not use any cleaning agent since the glass covering the camera lenses may have a coating that reacts poorly to certain chemicals.
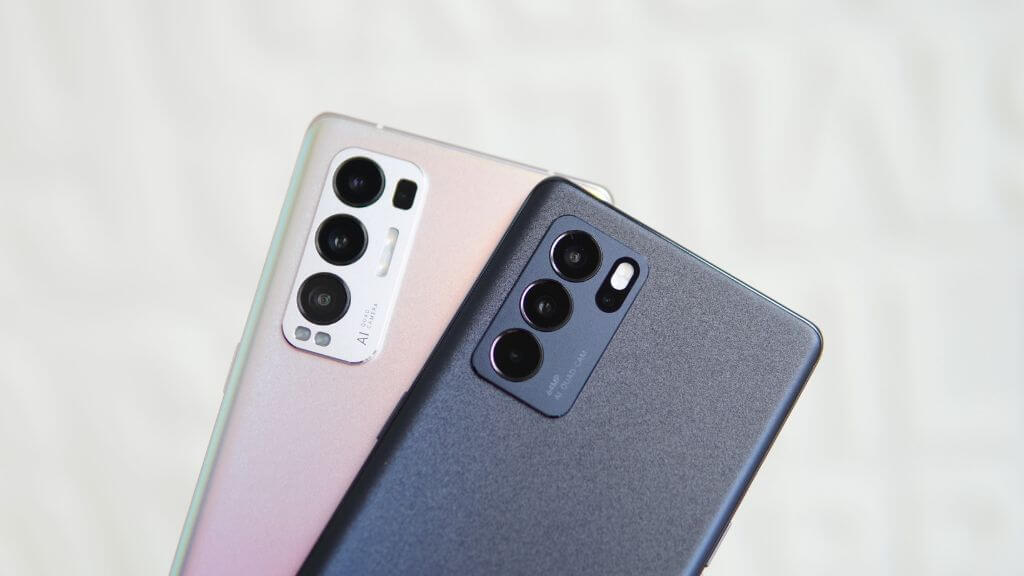
If you have a water-resistant phone, gently rinse the outer camera lens glass with a small amount of fresh water to remove mineral debris or small sand particles. Alternatively, dampen a soft, lint-free cloth with water and wipe your phone’s camera lens before taking pictures.
Although modern outer camera lens glass is made from rigid, hard materials such as sapphire, hard minerals trapped between your cloth and the glass can still scratch it.
2. Use the Correct Mode
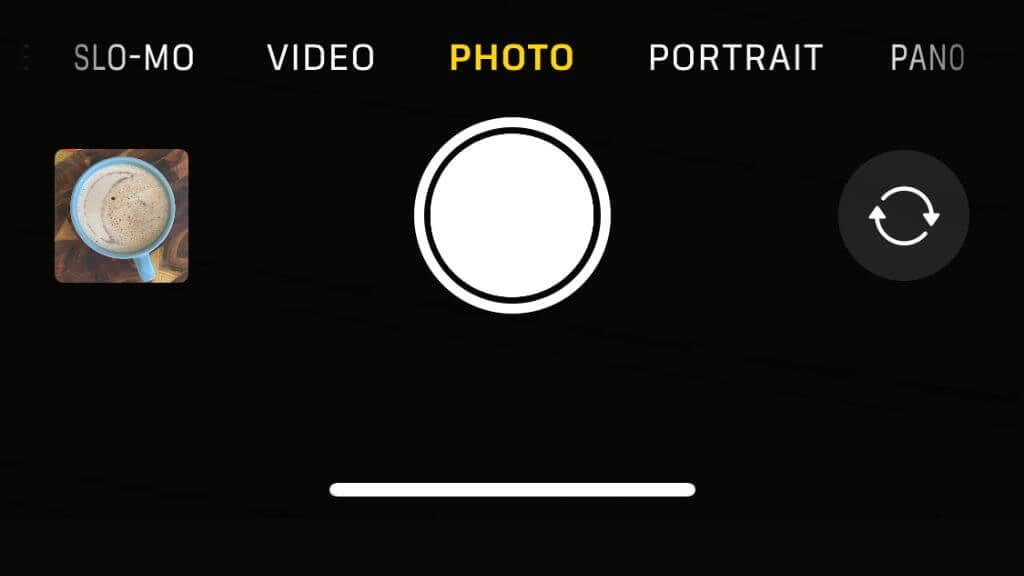
Using the wrong mode in your camera app could result in blurry photos. If you’ve accidentally activated a special mode, such as Portrait or Macro mode, getting your subject in focus for a regular shot might be impossible. Alternatively, you might need to turn on one of these modes, such as Macro mode, when your subject is too close (to the camera) to be in focus.
3. Take the Protective Film or Screen Protector Off
If you’re seeing a slightly fuzzy image in your camera app’s viewfinder, something on your screen may be distorting the image. If you’ve just taken a new phone out of the box, ensure you haven’t left the protective film on the screen. Carefully read the quick-start guide since some phones have a factory-applied screen protector you shouldn’t remove unless damaged.
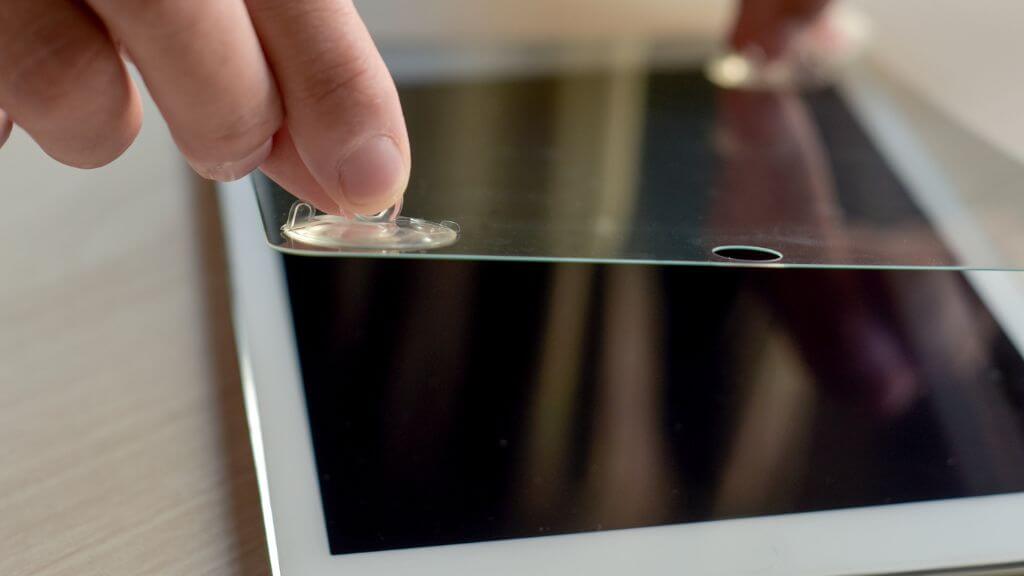
Some screen protectors negatively affect the clarity of your display and front camera, making everything appear fuzzy. You can easily check for this by opening a non-camera app and inspecting screen elements such as text. If everything on the screen appears slightly soft, consider removing the screen protector or replacing it with one with better clarity.
4. Clean Your Screen
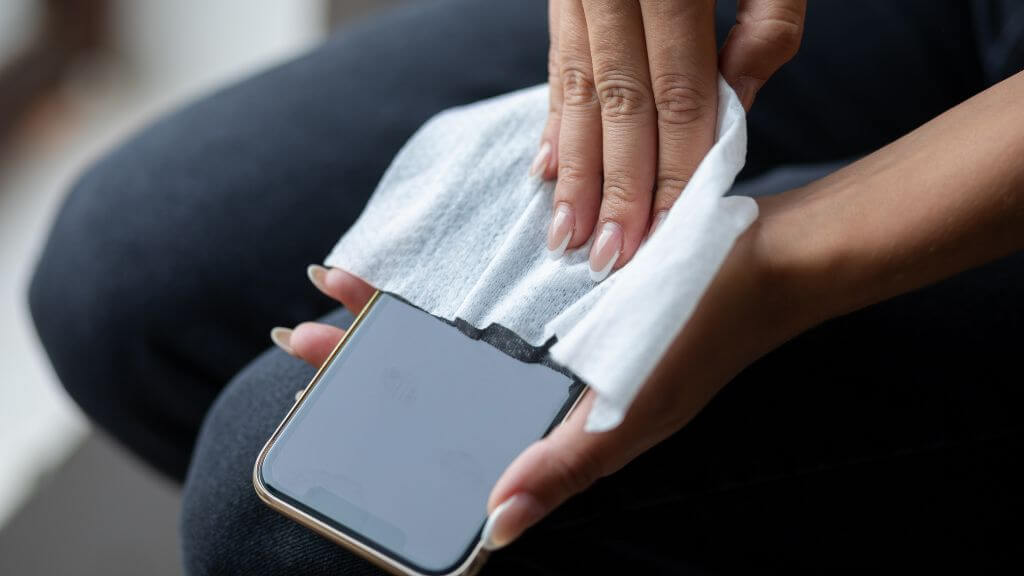
Give the phone a good wipe with a clean microfiber cloth to eliminate the possibility of a greasy screen making images fuzzy.
5. Check the Lens For Condensation
Exposing your phone to water or high humidity may lead to condensation between the lens and outer camera glass. Although the camera may be sealed against liquid ingress, it still needs to let air through to equalize the pressure inside the camera assembly with the outside atmosphere. This is why liquid can condensate onto the inside of the glass if you’re using the phone in conditions closer to the Amazon jungle than comfortable humidity.

If you see condensation inside the camera, you can only wait for it to evaporate. Keep the phone at room temperature and normal humidity to speed up this process. If the problem doesn’t go away or keeps returning, your phone may have suffered water damage, and you’ll need a professional to evaluate it.
6. Avoid Digital or Optical Zoom
When you zoom into a subject, your phone camera uses software to enlarge the frame. Digital zoom often reduces picture quality and makes a photo blurry. The reduction is worse on smartphones with a digital zoom system. If your phone has a digital zoom system, expect blurry images when you zoom in on subjects you photograph.

Our “Digital vs. Optical Zoom on a Smartphone” article provides more information about both camera zoom systems. When taking photos on your smartphone, avoid zooming in on the subject—especially if the camera doesn’t use optical zoom. Instead, use your camera app’s default/preset zoom levels and move closer to the subject.
7. Take Off Your Phone Case
Most phone cases have ample cutouts for the rear and front-facing cameras, but some models may overlap excessively, especially when using the widest-angle camera on your phone. For phones that use special sensors to measure distance for focus, the case may partly obstruct that sensor even if it doesn’t cover part of any lens.
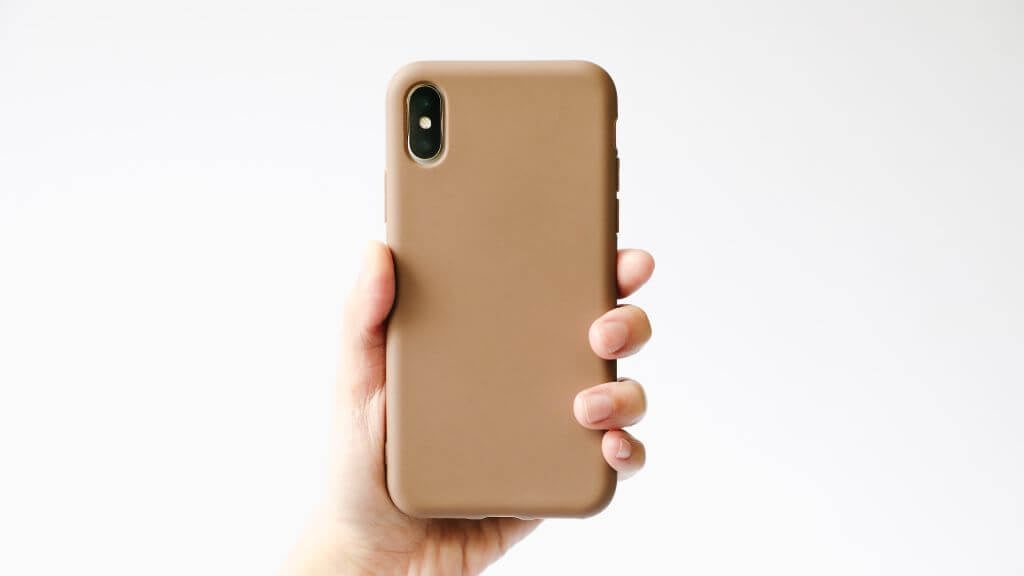
While it’s not likely, if you suspect your case is the issue, take it off and shoot a few test photos to rule out the possibility.
8. Tap For Focus
Sometimes, your phone’s auto-focus feature gets things wrong. In most cases, you can rectify this by tapping the subject you want to focus on in the camera viewfinder.
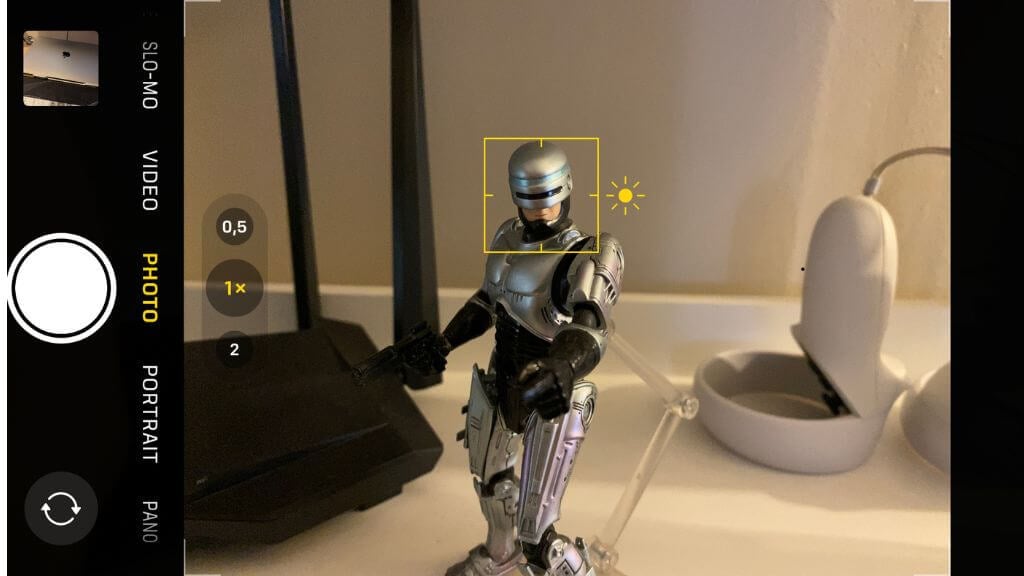
In the iPhone camera viewfinder, you can tap anywhere in the frame to shift focus. Focus adjustment for Android camera apps isn’t standardized and may differ from one phone brand to the next. If tapping to focus doesn’t work on your Android phone, consult the camera app’s help file for instructions.
9. Switch to a Different Camera
Most modern smartphones have multiple independent cameras. If your image is blurry, try switching to a camera with a more appropriate focal length. Even if you are on the right camera for the shot you want to take, sometimes switching to a different camera and then switching back can reset whatever temporary glitch is causing issues. The main camera usually has the best clarity, thanks to its higher megapixel count image sensor.
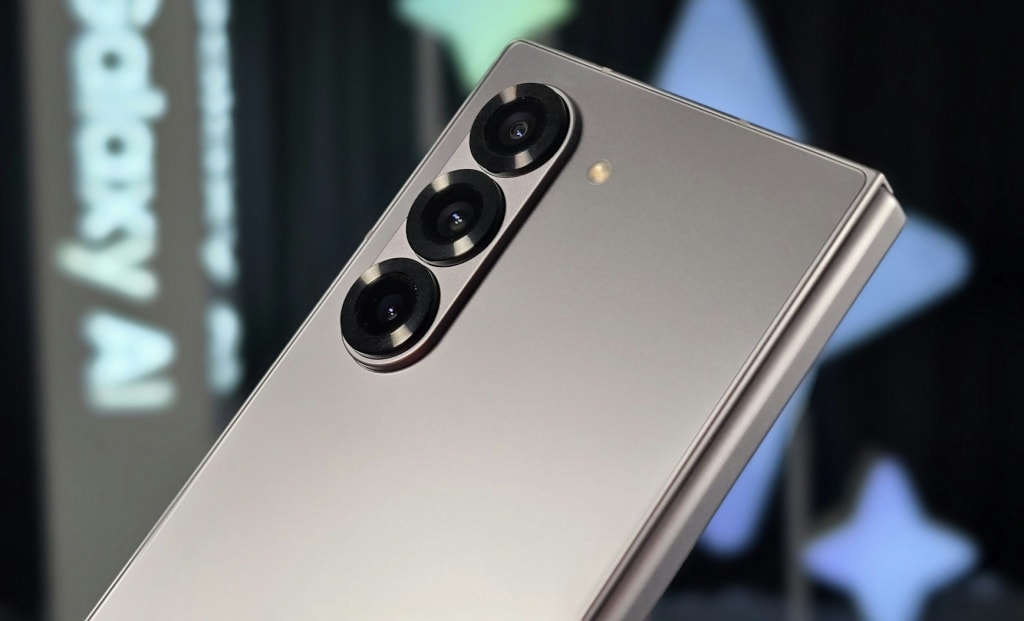
If your phone’s rear camera produces blurry photos, try switching to the selfie camera and then back to the rear cameras. Some users have reported that this helps them.
10. Use Manual Mode
By default, your camera app is mostly automated. It tries to select the best focus and exposure settings for you, so you only have to worry about framing and timing your shot if you’re taking a photo of a subject that the autofocus feature can’t handle properly.
Some Android phone camera apps come with a manual or “Pro” mode, making it more like operating a DSLR camera. For example, on a Samsung Galaxy phone, you can select Pro mode and manually your camera settings using the on-screen focus wheel.
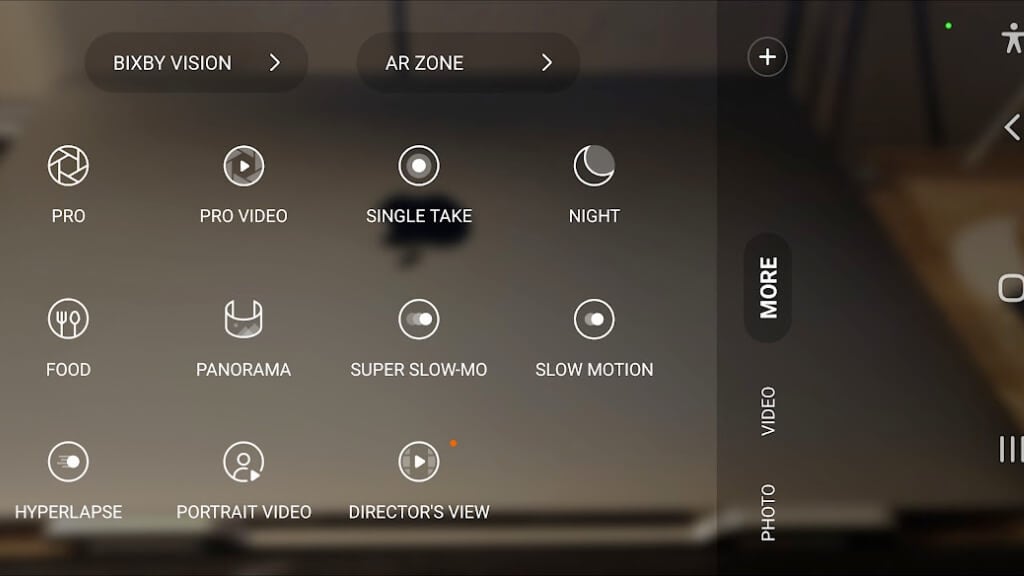
Many manual modes have a visual focus guide, which highlights the parts of the image that are in focus so you know that the right things are in focus.
11. Try a Third-Party Camera App
The default camera app for some iPhone and Android devices doesn’t include a manual mode. Your best option is to use a third-party camera app that allows you to control your cameras manually.
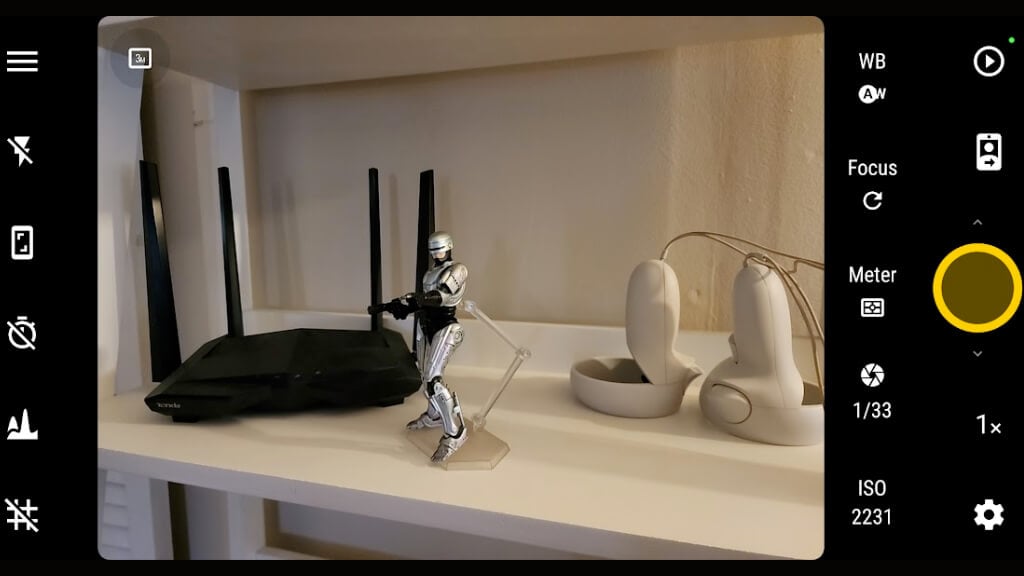
On the iPhone, we suggest ProCamera, although it is somewhat pricey at $15. Camera+ is a good alternative at nearly half the price. If you’re on Android, the best choice, in our opinion, is Camera FV-5 for $4.99. Some Android phones don’t work well with this app, so either test it within the trial period or try the FV-5 Lite app first. Refer to our Android camera apps compilation for more options.
12. Reset Your Camera App
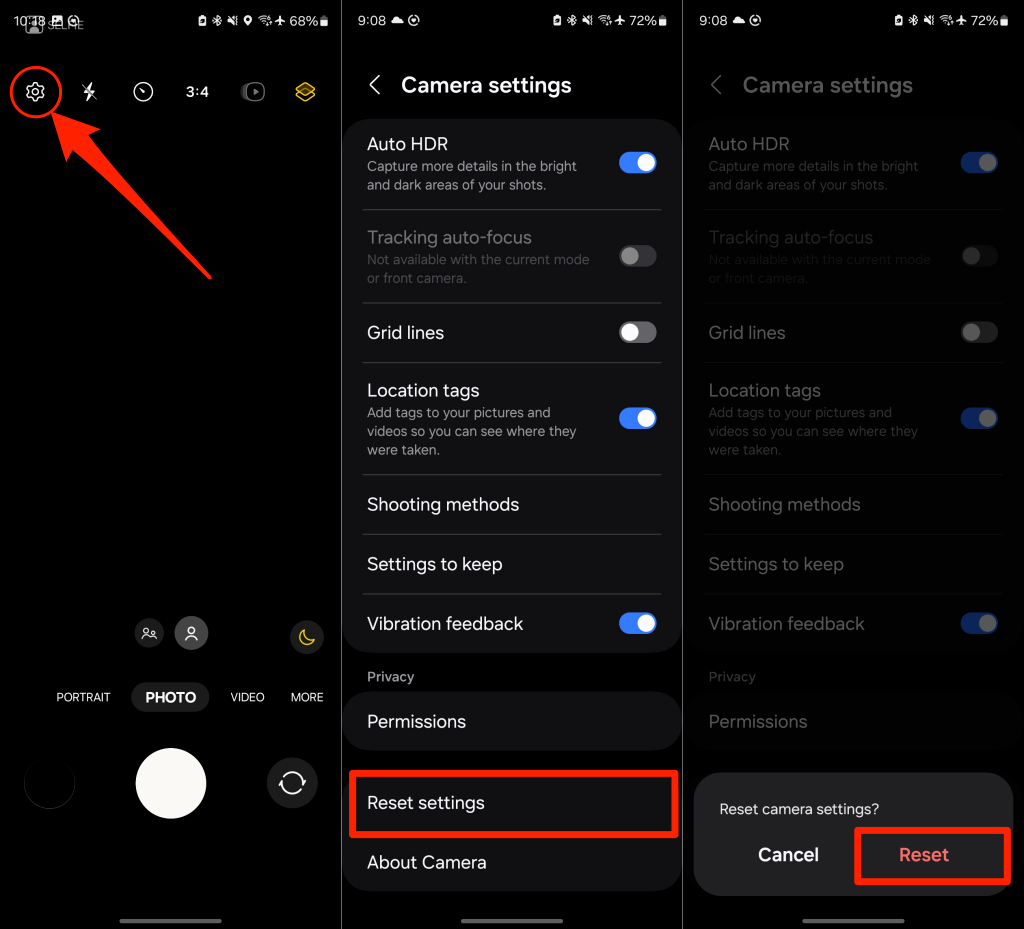
Some Android devices (Samsung, for instance) have options to reset the camera to its default setting. Check your camera settings menu, perform a reset, and check if that resolves the blurry image issue.
Open your camera app, tap the Settings icon, and choose Reset settings (or similar options that resets the camera to default settings.)
13. Force Close the Camera App or Restart Your Phone
Smartphone cameras aren’t quite as reliable as the firmware you’ll find in a dedicated camera. After all, there are so many running processes on a smartphone, and software bugs are constantly introduced or discovered. If your camera doesn’t focus on anything, it might just be a temporary problem with the app. Force-stopping the app might fix the issue.
In iOS, swipe up from the bottom of the screen to the middle, bringing up the app carousel. Swipe left or right until you see your camera app, then swipe it upwards to close.
On Android, long-press the camera app icon, tap the Info icon > Force stop, and select OK on the confirmation screen.
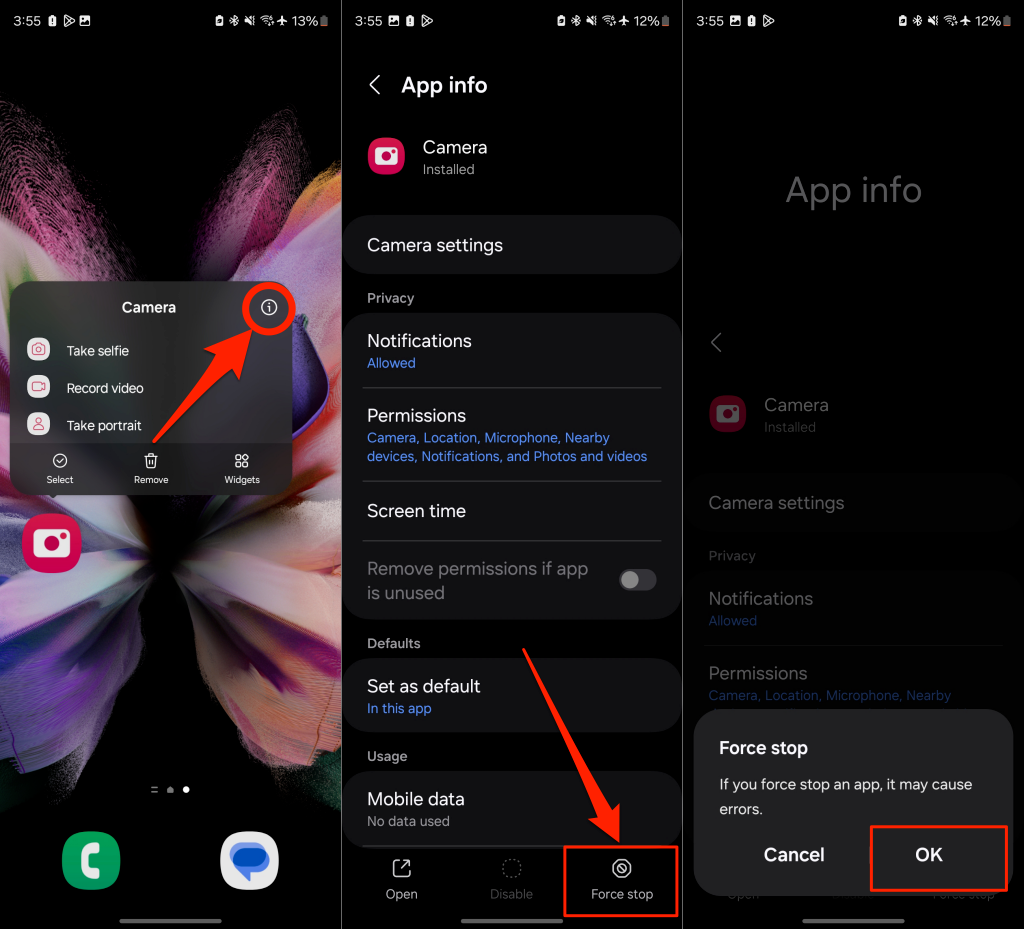
Restart your phone if force closing and reopening the app doesn’t fix the blurry camera issue.
14. Check for Software Updates
Updating your camera app to the latest can fix bugs causing it to produce blurry pictures. This is especially true if your camera works well with a third-party app but not with the standard app, which suggests there’s nothing physically wrong with your camera.
Check the Play Store (Android) or App Store (iOS) and install the latest camera app version. We also recommend updating your phone, as camera app updates are sometimes bundled with major operating system updates.
15. Slap Your Phone Against Your Palm
This may seem a little strange, but slapping your phone against your palm can fix some camera problems. That’s because the camera assembly has tiny moving parts that can get stuck in a particular position, stopping the camera from shifting focus.
With your camera activated, firmly yet carefully slap the back of your phone against the heel of your palm. With any luck, the electromechanical components will reset to their correct positions. Gently hitting your phone can also help dislodge tiny blur-causing particles in the camera lens.
16. Send Your Phone for Assessment
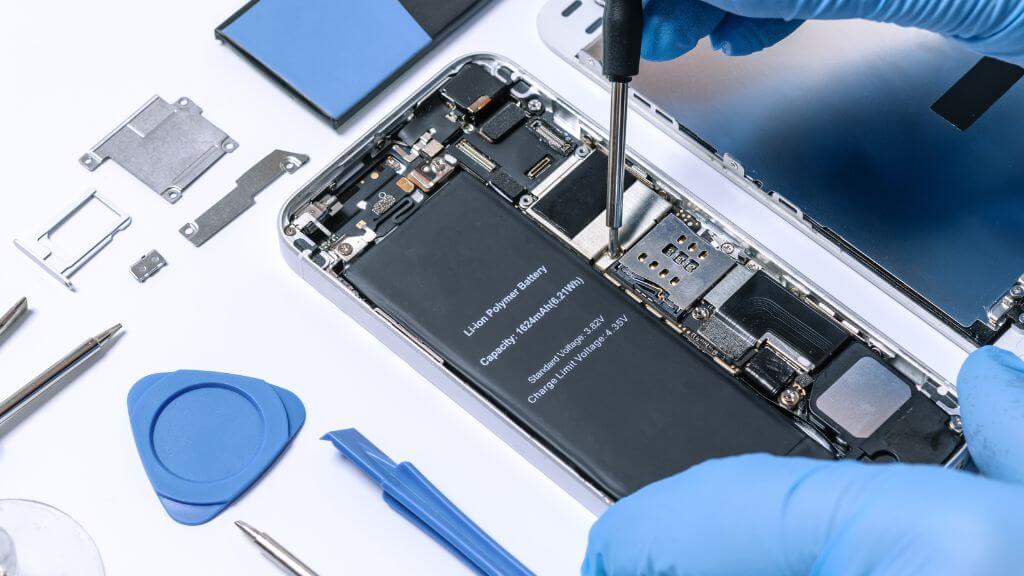
Have a professional examine your phone, as the camera module may need replacement. If you use an iPhone or iPad, contact Apple Support or visit a nearby Apple Store. For Android devices, contact your phone manufacturer for technical support.
Take Blur-Free Photos
Not too long ago, blurry photos were the best anyone could hope for. Today, everyone expects crystal-clear shots that rival the quality of those taken by a dedicated digital camera. If the issue persists after trying everything on this list, use enhancement software like Adobe Photoshop to sharpen blurry photos. See our tutorial on making blurry pictures clear.