As a VR (Virtual Reality) enthusiast, you’ve probably marveled at the impressive strides VR gaming has made, with the Oculus Quest being a prime example. It offers an immersive experience sans a PC, making it the most popular VR headset ever.
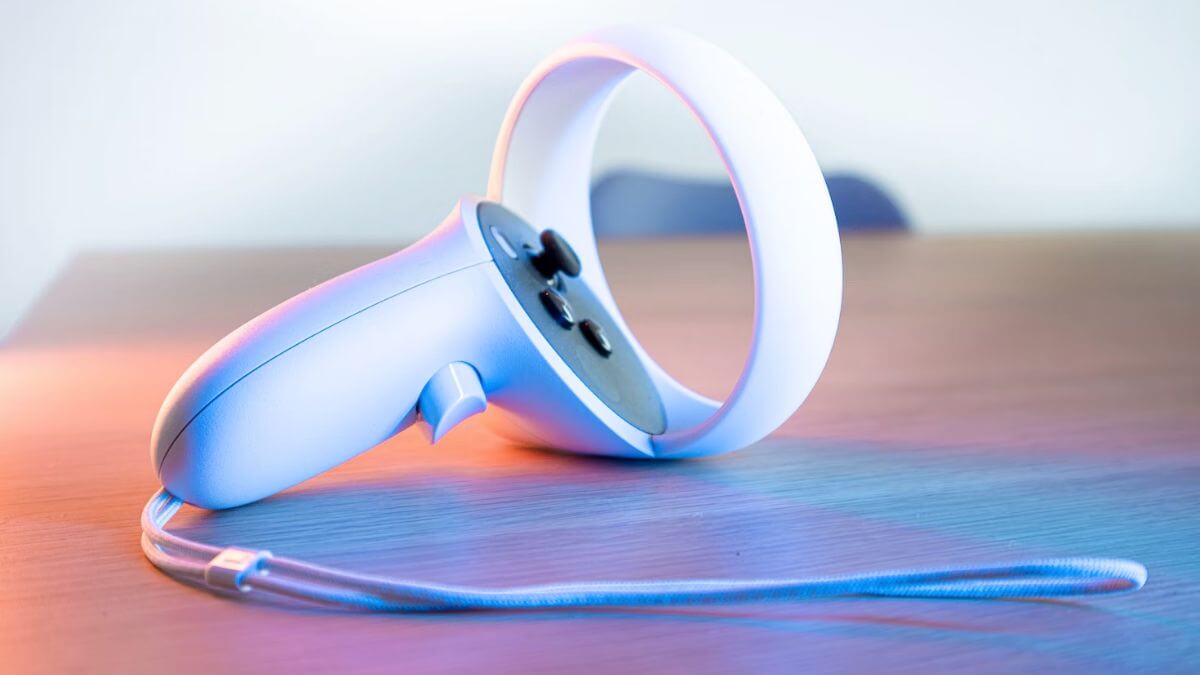
However, even the best tech can encounter hiccups like Oculus Quest controller issues. This guide will walk you through several troubleshooting tips to get your controllers (and you) back in action.
Note: In this article, we’re referring to the Quest as the “Oculus” Quest since that’s still the brand most people are familiar with and is, in fact, written on the boxes of most Quests. However, the new official name for the product is the Meta Quest.
1. Use Hand Tracking
While working on your controllers, use the hand tracking feature for an alternative interaction method with your headset. The Oculus Quest and Oculus Quest 2 headset’s built-in cameras track your hand movements, eliminating the need for physical controllers.
If you’ve updated to the latest version of the Quests software, hand-tracking should be enabled by default. Put your controllers down and bring your hands in front of the headset while wearing it. You’ll see an outline of your hands appear, which means you’re ready to use the feature.
Hand tracking relies on specific gestures to interact with the VR environment. Familiarize yourself with the following basic gestures:
- Point and Pinch: Aim your hand at the object you want to select and pinch your thumb and finger together.
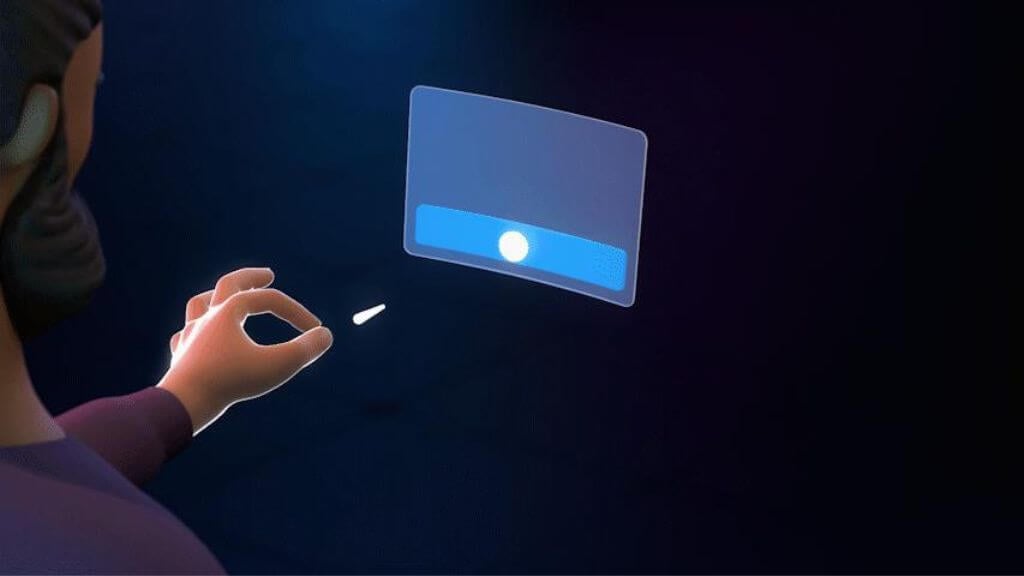
- Pinch and Scroll: Pinch your fingers inward and move your hand up, down, left, or right to scroll. Release your fingers when finished.
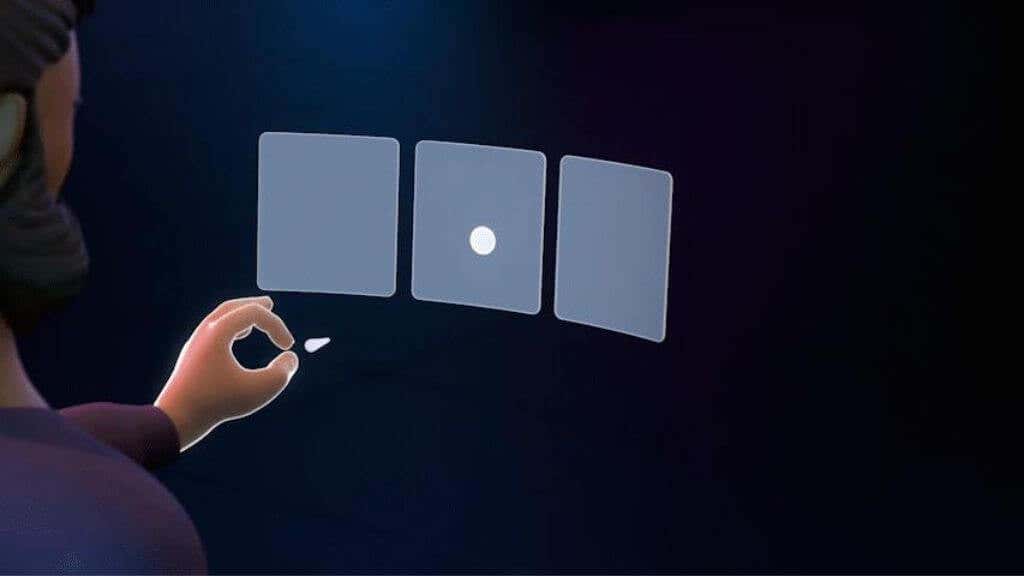
- Palm Pinch: Look at your palm at eye level, hold your thumb and index finger together until the progress circle fills, and then release.

Other gestures and interactions depend on the app or game you’re using, so be sure to check for specific instructions within the app or game. However, these three main gestures will get you through any system menus you need to interact with.
Tip: Some Quest games also support using an Xbox controller. While this may not be as immersive as using the Touch controller
2. Check the Batteries
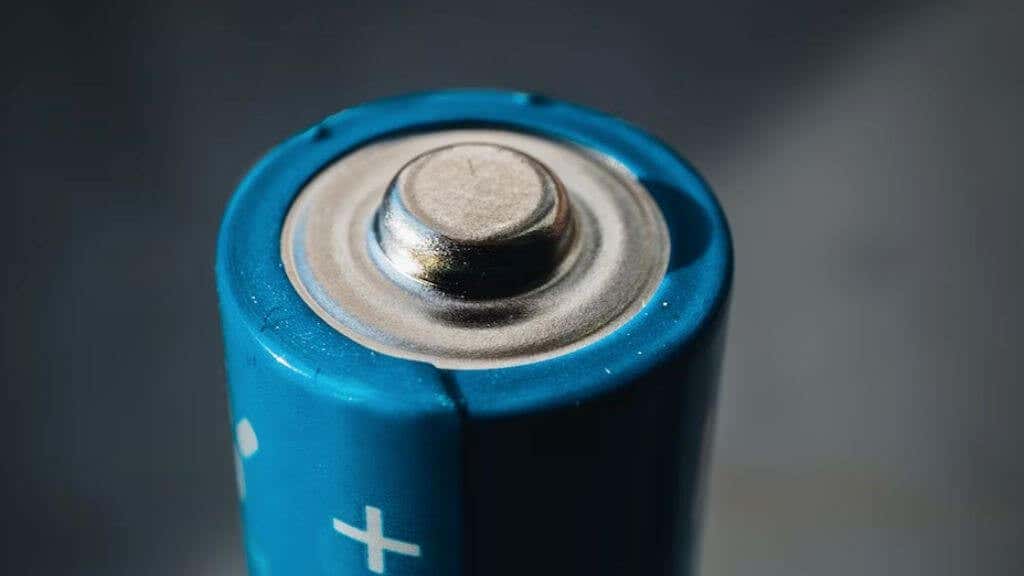
Always begin troubleshooting by examining the device’s power source. Make sure your Oculus Quest controller has fresh AA batteries. Replace low batteries with new, high-quality alkaline or rechargeable ones for optimal performance. Make sure the battery is correctly seated in the battery compartment.
3. Ensure Adequate Charging Time
If you’re using rechargeable batteries in your Oculus Quest controller, ensure they have been adequately charged before use. Poorly charged batteries can result in performance or connectivity issues.
4. Ensure the Controller Is Turned On
It may sound obvious, but check that your controller is turned on. Press and hold the power button until the LED light turns on. If it doesn’t, the power button might be the issue, requiring further investigation or replacement.
5. Inspect the Controller’s LED Light
The LED light on your controller offers valuable status information. If it’s flashing, the controller might struggle to connect to the headset. If it’s not lighting up, there could be a power or battery issue. Consult the Oculus Quest user manual for more information on LED light patterns.
6. Verify the Controller’s Connection to the Headset
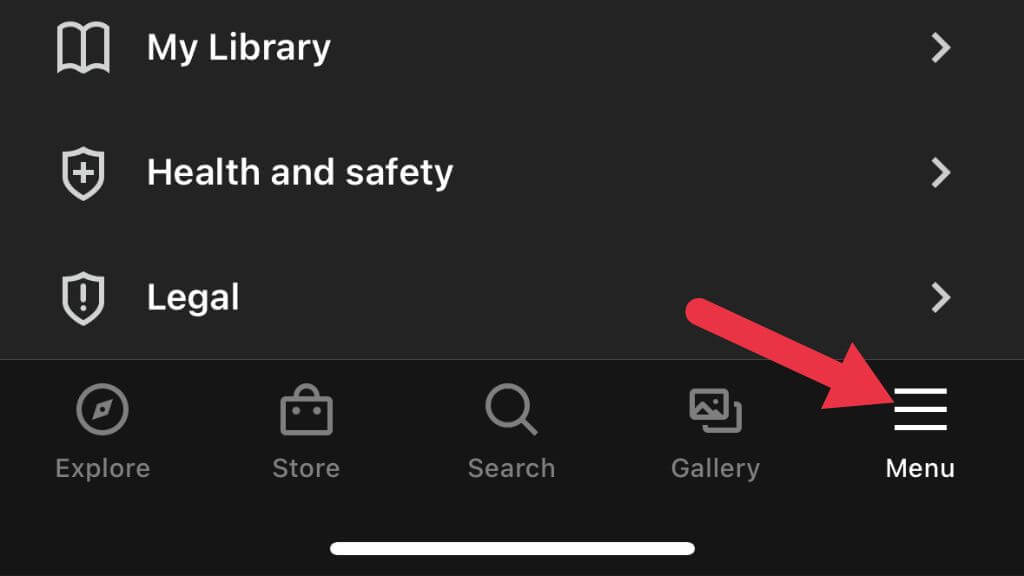
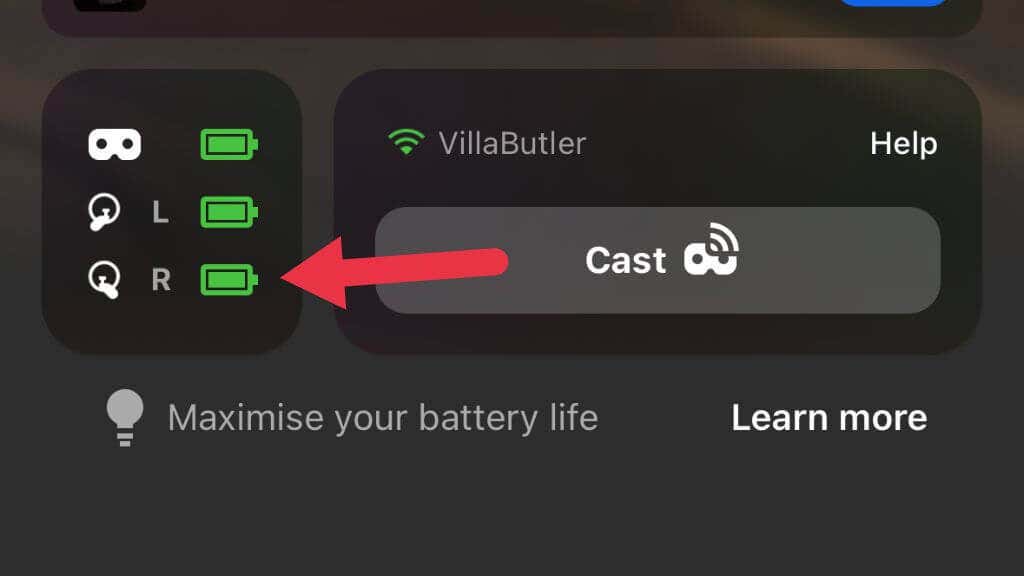
Occasionally, the issue is simply a disconnected controller. Open the Oculus app on your phone and check if the controller is listed under Menu > Devices.
If not, try pairing it again, ensuring proximity between the headset and controller during pairing for a stable connection.
7. Restart the Headset and Controller
Switch off both devices and turn them back on to resolve minor glitches. If issues persist, perform a complete restart by powering down both devices and removing the controller’s batteries before turning them back on.
8. Test the Controller in Another Game or App
If the controller isn’t working in a specific game or app, test it in another. This can help you determine if the issue is game-or app-related or a controller problem. Contact the game or app developer for support if the controller works fine elsewhere.
9. Check for Updates
Make sure both your Oculus Quest headset and controller have the latest firmware. To do this, go to the Oculus app on your phone, tap on your headset, and check for updates. Keeping your devices updated can help prevent compatibility issues and improve overall performance.
10. Pair the Controller
If your controller isn’t connecting to your headset, try repairing it.
- Open the Oculus app on your phone, go to Menu > Devices
- Go to Headset Settings
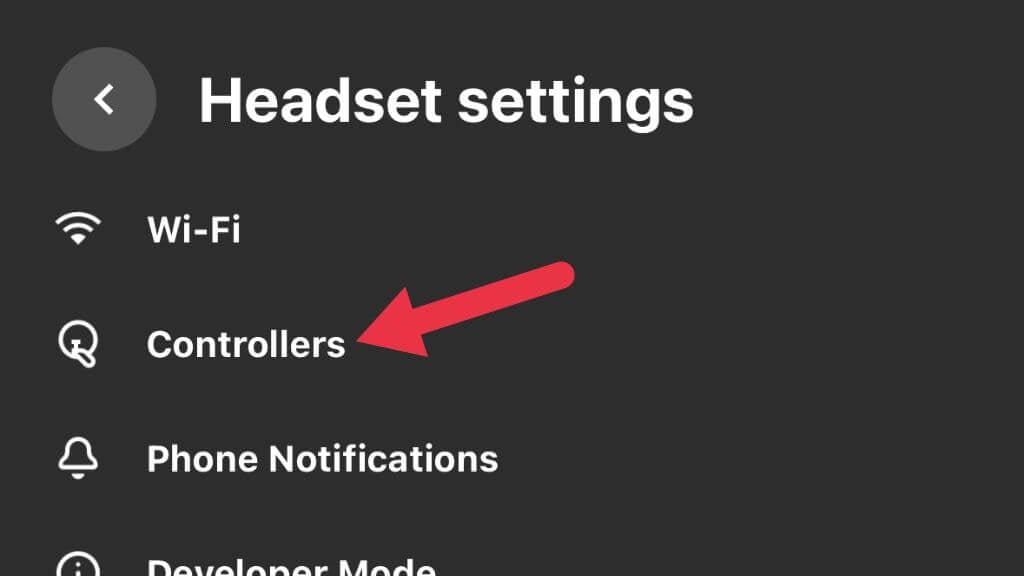
- Select Controllers
- Choose the currently paired controller that’s not working correctly. E.g., the Right Controller or the Left Controller.
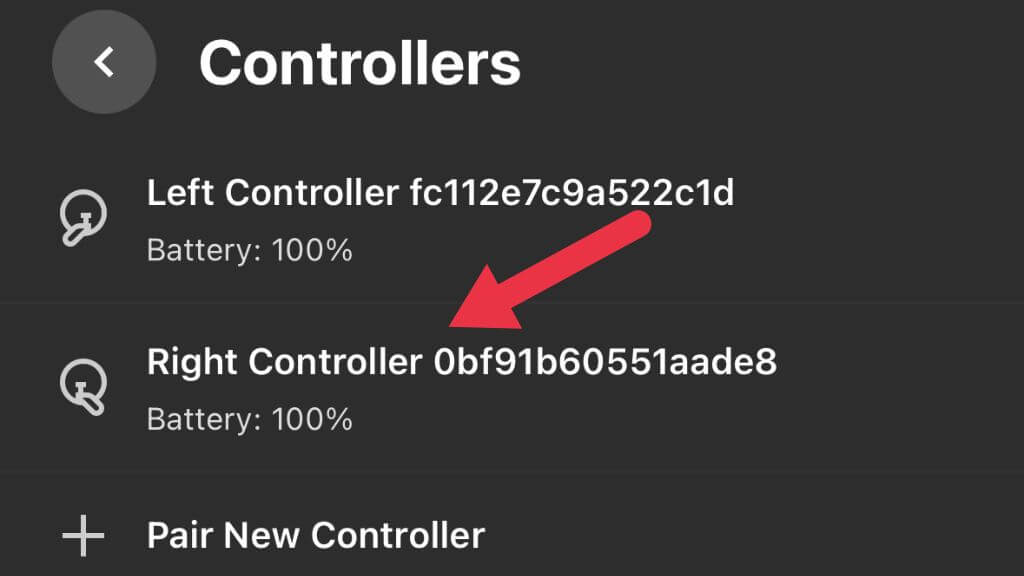
- Select Unpair Controller.
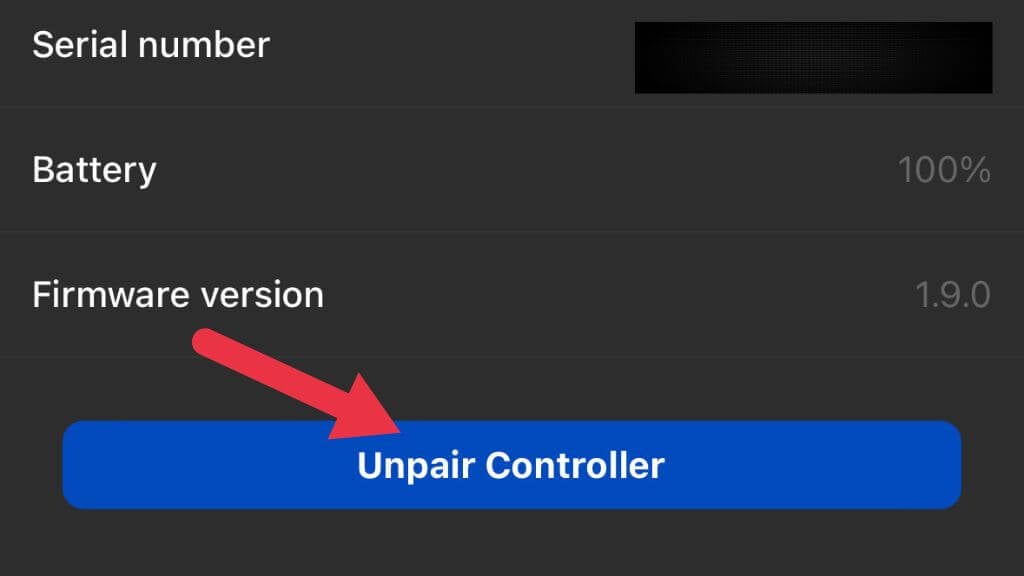
- Under Controller, select Pair New Controller.
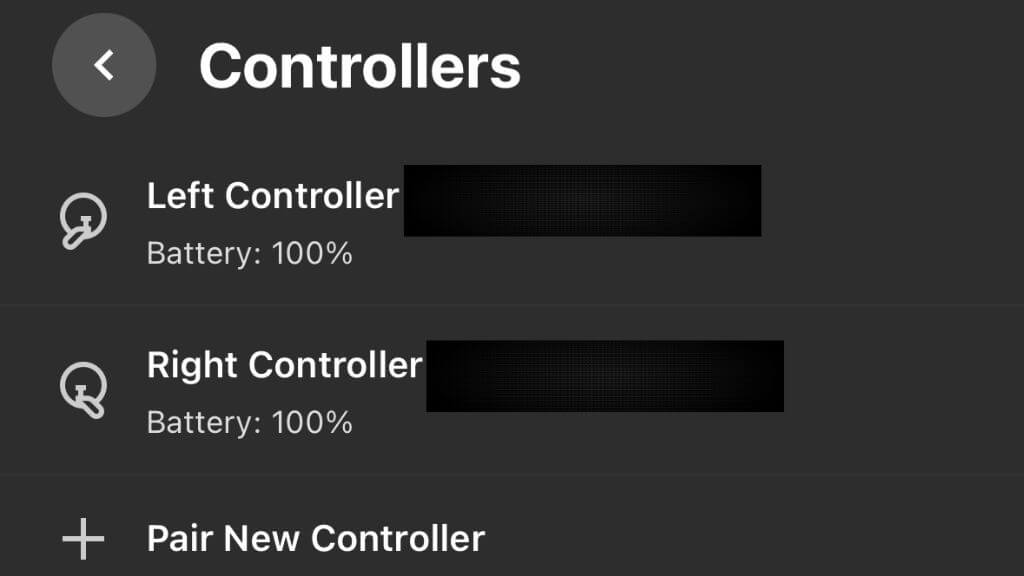
Follow the instructions to pair the controller again and test it to see if it works properly.
11. Clean the Controller
Dirt and grime can hinder the controller’s functionality. Use a soft, dry cloth to clean the exterior, being careful not to let moisture enter the controller as it can damage internal components. Focus on the buttons, triggers, and joystick, where dirt can accumulate and cause issues.
Avoid harsh chemicals such as alcohol, especially if you’re experiencing stick drift. Unfortunately, the nature of the stick sensors in most controllers (including Quest and Quest 2) means that they will eventually drift as the contacts degrade. Short of replacing the thumbstick assembly completely, the only way around this is to calibrate the controller until the drift becomes too much for software compensation. Then a replacement is needed.
12. Inspect the Controller for Damage
If your controller isn’t working after trying the above steps, visually inspect it for damage. Look for cracks in the casing or other visible issues that could be causing problems. If you find any damage, consider a replacement or contact Oculus Support for assistance if you think it’s a factory error.
13. Check the Play Area
The Oculus Quest uses external sensors to track the controller’s position. If you’re experiencing tracking issues, ensure your play area is free of obstructions and reflective surfaces that could interfere with the sensors. Ensure the room is well-lit, as poor lighting conditions can negatively impact tracking performance.
14. Test the Controller on Another Oculus Quest
If you have access to another Oculus Quest headset, try using your controller. This can determine if the issue lies with the controller itself or if it’s an issue with your specific headset. If the controller works on the other headset, you may need to troubleshoot your own headset further or contact Quest support for assistance.
15. Consider External Factors
External factors like radio frequency interference from other devices or Wi-Fi networks can cause issues with your Oculus Quest controller. Try turning off nearby electronic devices and see if the issue persists. If you’re using Wi-Fi, consider switching to a different frequency band or moving your router away from your play area.
16. Check the Guardian Settings
Your Oculus Quest controller may not work if there’s an issue with the Guardian settings. To check and reset the Guardian settings, go to the quick settings menu in your headset and Guardian and follow the on-screen instructions. Resetting the Guardian can help resolve tracking issues with your controller.
17. Factory Reset Oculus Quest
As a last resort, consider a factory reset on your Oculus Quest headset. This will erase all data and restore the device to its original settings. Before proceeding, ensure you’ve backed up any critical data. To perform a factory reset:
- Open the Quest app on your phone.
- Go to Menu > Devices.
- Choose Headset Settings.
- Select Advanced Settings.
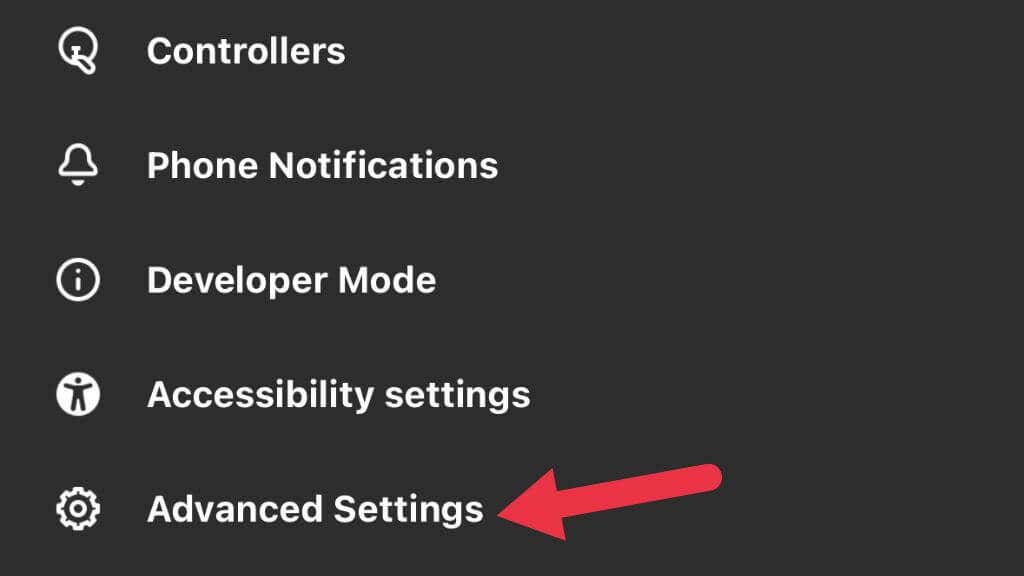
- Choose Factory Reset.
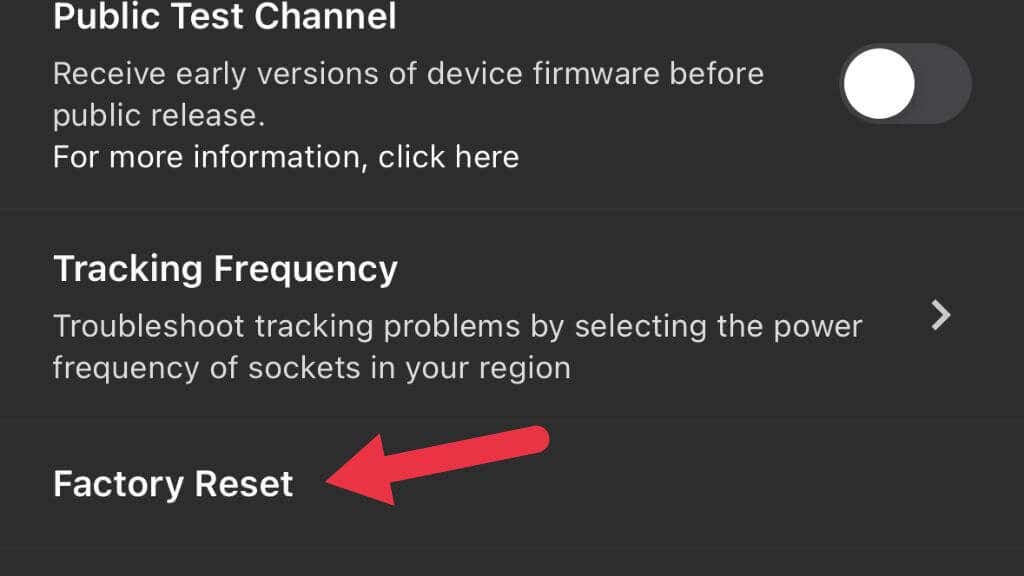
- Finally, Choose Reset.
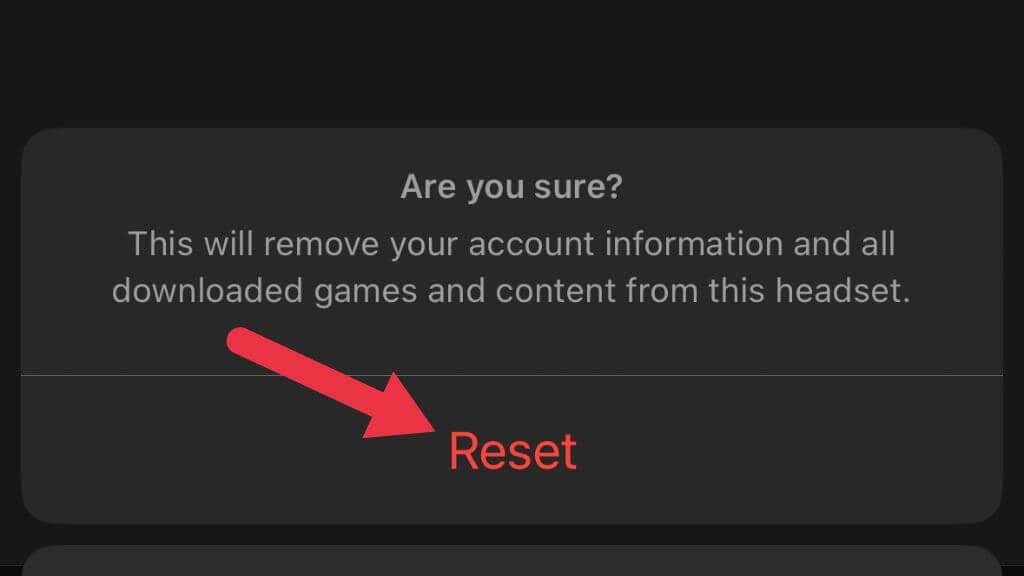
Now set up your Quest from scratch to see if this resolved your controller issues.
18 Contact Oculus Support
If your controller still isn’t working, reach out to Oculus Support. Provide a detailed description of the issue and any steps you’ve taken to resolve it. Oculus Support can help diagnose the problem, provide further guidance on how to fix it, or determine if a replacement is necessary.
