Smart devices have never been more accessible, and the dream of a connected home that anticipates your whims and makes your life convenient is now attainable by nearly everyone.
However, many homeowners will buy smart devices and leave it at that – failing to take advantage of their technology’s true potential. Where smart devices truly shine is when they work together.
Stringify is a conditional trigger system that can connect devices and actions together. You’ll specify a trigger, and then an action that will take place when that event occurs. The service refers to these pairing as Flows, since one action flows into another.
In this guide, we’ll be creating a simple flow with a single trigger and action. However, Stringify flows can create multiple pairings, which allows you to group in a bunch of interactions that can work together to make your life more convenient.
In order to ensure that everyone can follow along, we’re going to be creating a Flow that will send us a notification at a certain time.
Where the app really shines, however, is in its ability to string together multiple smart devices. While we won’t be covering smart device flows, the process for creating a smart device Flow is pretty much the same.
Follow the steps below to create your first Stringify Flow!
Create a Stringify Flow
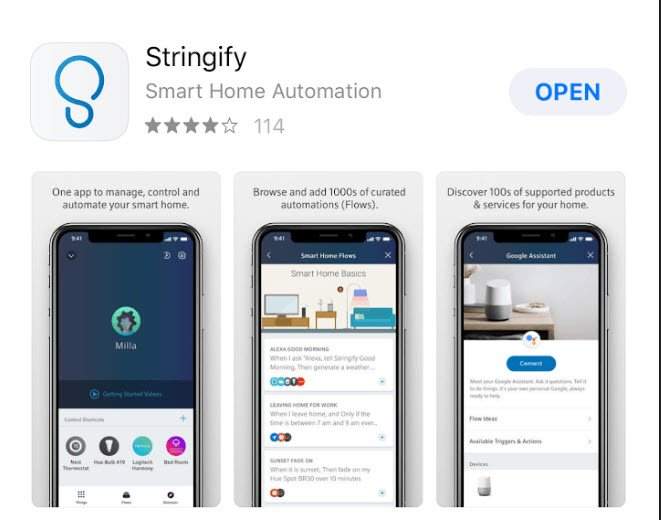
Step 1. Stringify Flows are handled exclusively through the app, so you’ll need to download the program from the App Store (iOS) or Google Play (Android).
The Flow creation process should be the same regardless of your operating system, but we’ll be using an iOS device.
Step 2. Next, you’ll want to sign up for a Stringify Account with your email and desired password.
Step 3. A simple verification process will follow, sending a message to your email and prompting to click a link.
If everything goes as planned, you should see a confirmation in your web browser that your account is activated and ready to go.
Step 4. When you first open the app, you’ll be greeted with a basic tutorial that explains how the app works. It’s quite short, so we recommend taking a couple of minutes to swipe through so you better understand the basics.
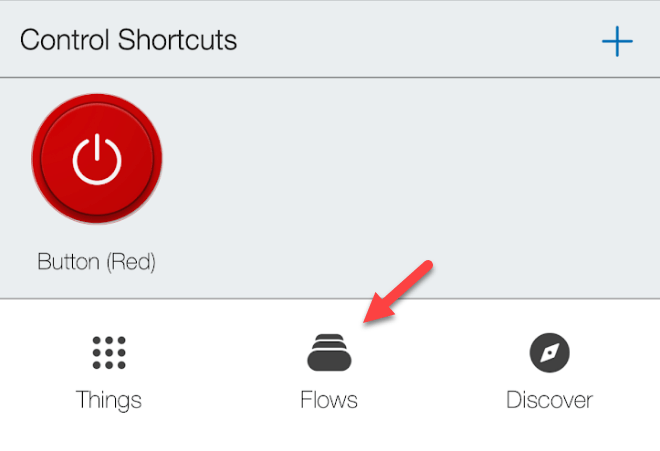
Step 5. After you’ve finished the tutorial, you’ll be greeted by the main Stringify page. Tap the Flows button at the bottom of the screen to start creating your first Flow.
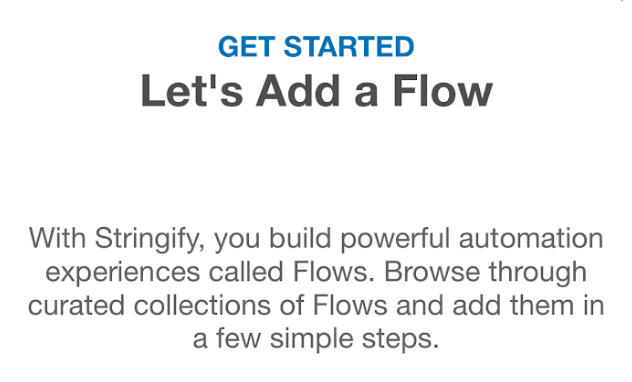
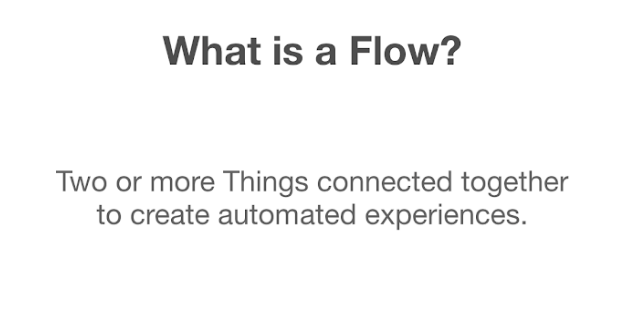
Step 6. Just like the tutorial when you first signed in, Stringify will give you a quick primer on how flows work.
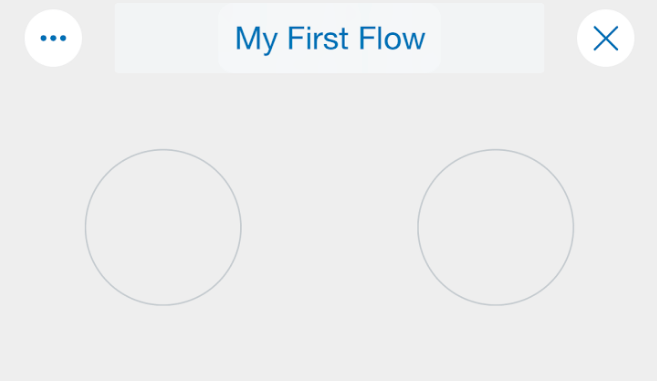
Step 7. The next screen is where you’ll be putting the flow together. First, name your Flow at the top of the screen.
Then, at the bottom of the screen, hit the Plus icon in order to add your Trigger.
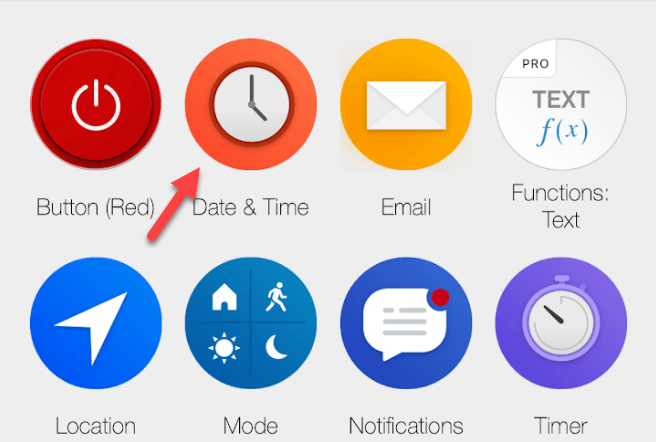
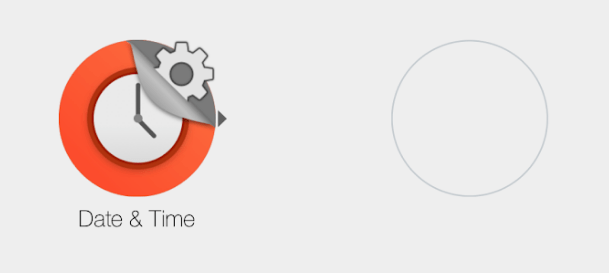
Step 8. Since we’ll be putting together a Flow that will send us a notification at a certain time, we’ll start by tapping Date and Time.
This will stick an icon in the bottom of your Flow screen. Tap and drag it to the top left corner. Stringify makes triggers and actions easy to keep track of, since everything is represented visually. We’ll just stick the different pieces in the correct location so they interact the way we want!
Tap on the icon to move onto the next menu.
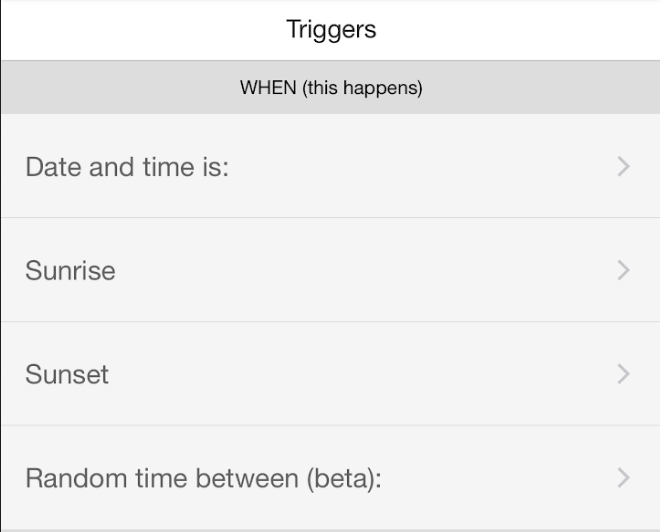
Step 9. The next menu gives you a few different options to choose from for the date and time. For this tutorial, we’ll just pick a specific time. However, the Sunset and Sunrise features are pretty cool as they’ll adjust dynamically based on the timing at your specific location.
It’s a great way to do things like automatically turn on the lights when it starts to get dark or open the blinds to let some light in when it’s time to get up in the morning.
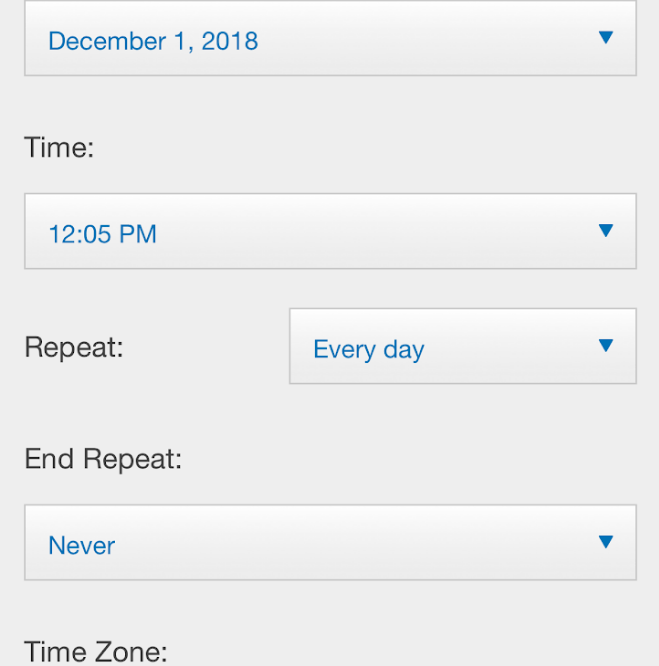
Step 10. Fill in the details the way you please. We’ll set things up to get a notification at 12:05 pm that repeats each day.
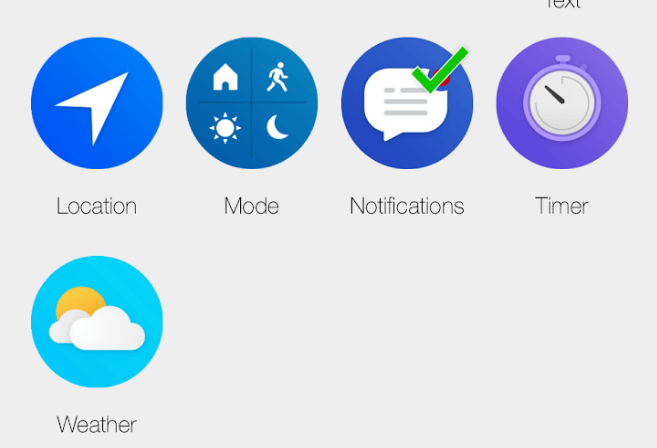
Step 11. Next, it’s time to add the Notification action that will trigger each day. Once again, press the plus button. On the next screen, tap Notifications – just like we did with Date and Time.
Just as before, you’ll see the icon in the dock at the bottom of your screen. Tap and drag it to the top right corner.
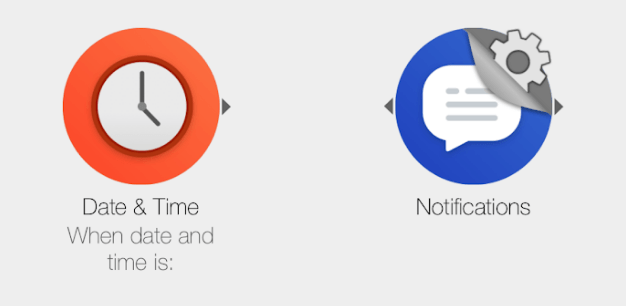
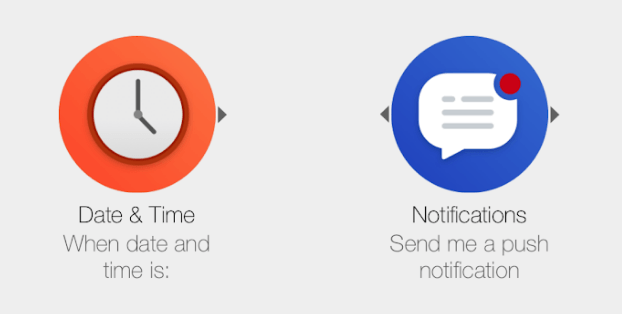
You’ll see two arrows pointing at each other, one from Date and Time and the other from Notifications. This visually represents that at the specific time, the flow will activate and trigger the notification.
Tap the notifications icon to move on and input the details.
Step 12. The only option we have for this step is to receive a push notification on our phone. Add that in, and then make sure you have notifications activated for the app on your device.
Step 13. After confirming those details, you should be able to see the final format of your Flow.
Navigate back to the main menu, and ensure that your flow is included in the list.
Congratulations, you’ve created your first Flow!
This Flow is obviously quite simple, but Stringify allows for quite a bit of creativity. If you’re looking for some ideas, the service has you covered.
Just click the Starter Flows button at the bottom of the main screen.
The next page has a bunch of Stringify Flows that you can either activate directly or use to think up some ideas to help automate your daily routine.
If you’re looking for some alternatives to Stringify, IFTTT is a competing service that offers slightly different features. IFTTT is also generally compatible with more devices, so you may find that it’s a little easier to connect things with that tool.
There are a lot of options out there, from Stringify and IFTTT to more basic utilities like Amazon Alexa and Google Home. If you’re looking to build out your smart home, make sure you don’t neglect the power that these trigger systems have to offer! Enjoy!

