If you want to create a professional sounding voice for podcasts, videos, or other media, you can use a number of tools in Audacity, which is a free open source audio software. In this guide, I’ll explain the steps you can take in Audacity to get that perfect professional sounding voice.
I will also be giving some general tips on picking out a microphone and other equipment – generally speaking, you’ll need to invest around $80 to $150 to get a microphone that’s good enough to produce professional style voice recordings.
If you already have audio equipment, skip the first section. After, please make sure to follow each step carefully so you can get the highest quality results possible.
Picking Audio Equipment For a Professional Voice
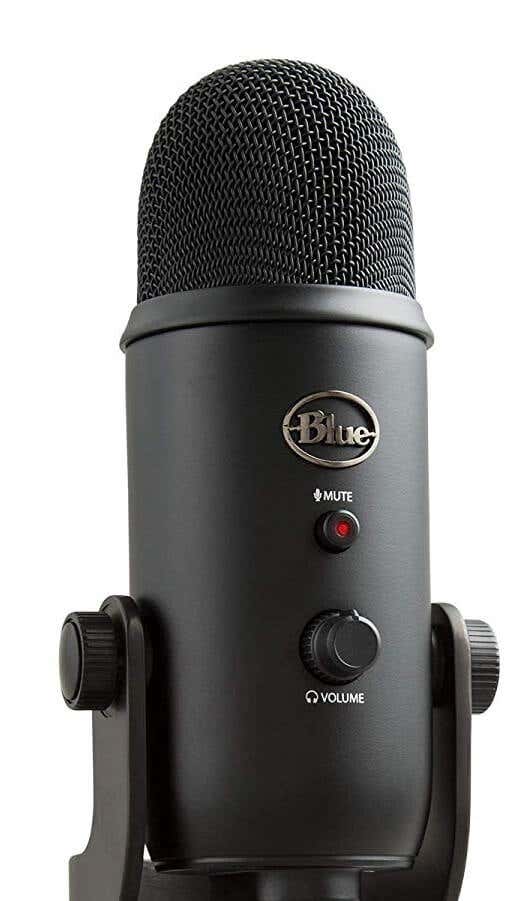
There are dozens of great microphones available, but for budget options I would suggest purchasing a Blue Snowball Ice Condenser microphone for $50, a MXL Mics 770 Cardioid Condenser Microphone for $70, or a Blue Yeti for $120.
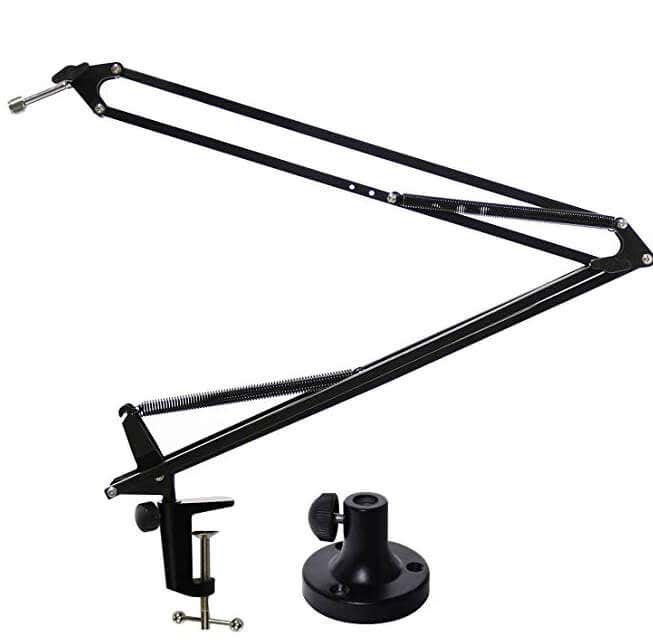
Once you have picked your microphone, you should also purchase a microphone arm. You can attach this to your desk and ensure your microphone is directly in front of your mouth during recording. These are available on Amazon for $20-$50.
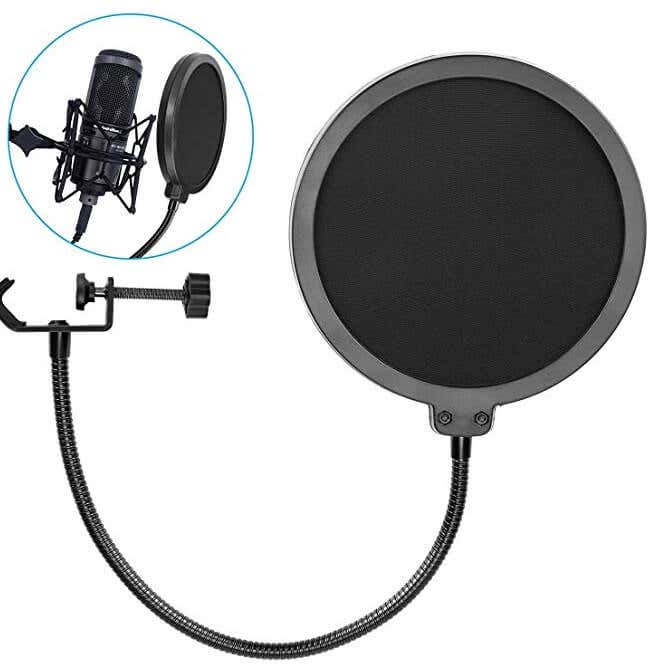
Next, make sure to purchase a pop filter – this can be placed in front of your microphone to remove popping sounds when you speak. This can cut out sharp noises from Ps, Bs, or other hard hitting letters. Pop filters can be purchased for under $10 on Amazon.
Once you have your gear, you can move onto the steps below to start creating a professional sounding voice in Audacity.
How To Improve Your Voice Recording Quality In Audacity
Before we begin, you first need to actually record your voice. There are some crucial steps you must follow when recording your voice to improve the quality. If you do not follow these steps, improving your voice recording with software will be difficult.
First, make sure you reduce background noise to a minimum. Sometimes it can be difficult to reduce every noise – very small background noises, for example from your PC, can be cut out. However, try to switch off appliances like desk fans or your air conditioning during your recording.
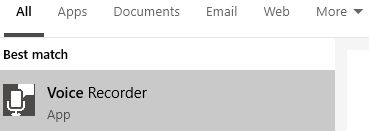
Once you have reduced the sound, it’s time to record your voice. I have personally found the Windows 10 Voice Recorder app to work perfectly. Search Voice Recorder in the Start Menu and click on the option that appears.
Once voice recorder is open, it’s time to start recording. Click the microphone button to begin your recording. A visual will appear to show you that sound is being picked up. Click the stop button to end the recording. You can also pause if necessary, but I find it easier to cut out mistakes later in my video editing software.
For every recording, have a 30 second period of silence before you start speaking. This way you can pick up the sound profile of your environment and use Audacity to reduce it.
Once you have finished your recording, right click the recording in Voice Recorder and click Open file location. You’ll need this location for the next step in Audacity.
If you haven’t done so already, download Audacity. Once it has downloaded, install and open it.
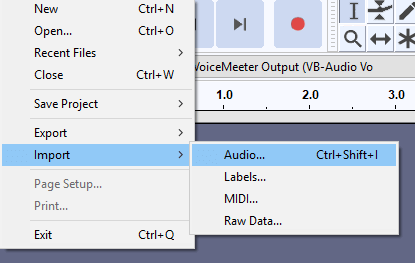
Click File > Import > Audio. Next, navigate to the folder that your recording was saved and double click your recording.
We will now be following the steps below to do the following tasks:
- Remove background noise.
- Equalize your voice for better audio.
- Use a compressor to reduce the dynamic range of your voice.
- Amplify your voice to readjust after using the compressor.
- To remove background noise, click and drag the area of silence you recorded at the start of your voice recording. It will be highlighted as you drag it.
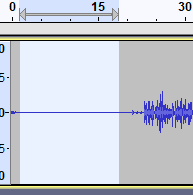
- Next, click Effect > Noise Reduction.
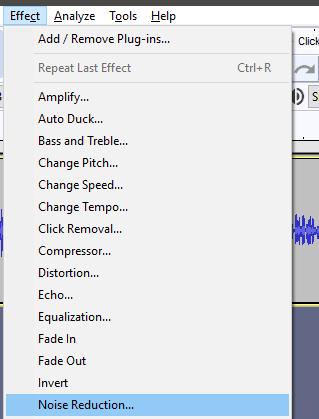
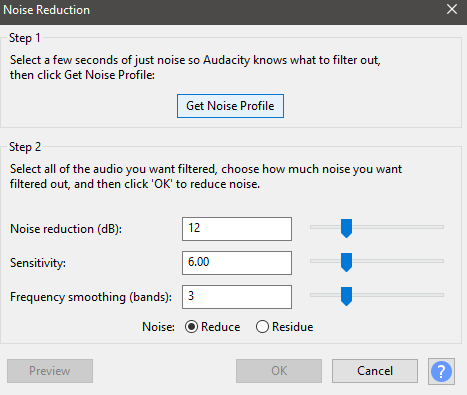
- On the noise reduction window, click get Noise Profile. The window will close. Now press Ctrl + A to select the entire voice recording.
- Once again, click Effect > Noise Reduction. This time click OK to apply the noise reduction based on the noise profile you just collected.
- After this, press Ctrl + A to select the entire voice recording again. Click Effect > Equalization. You can click to add points on the EQ graph.
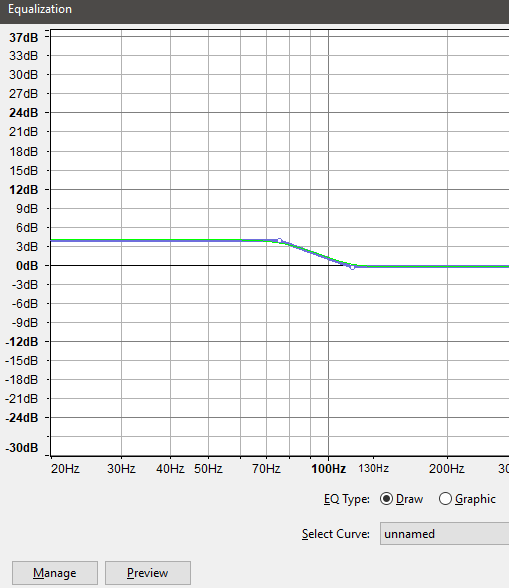
- Add two points on the low end (left side) at about 75Hz and 120Hz. Next, drag the point at 75Hz to around the 4dB mark.
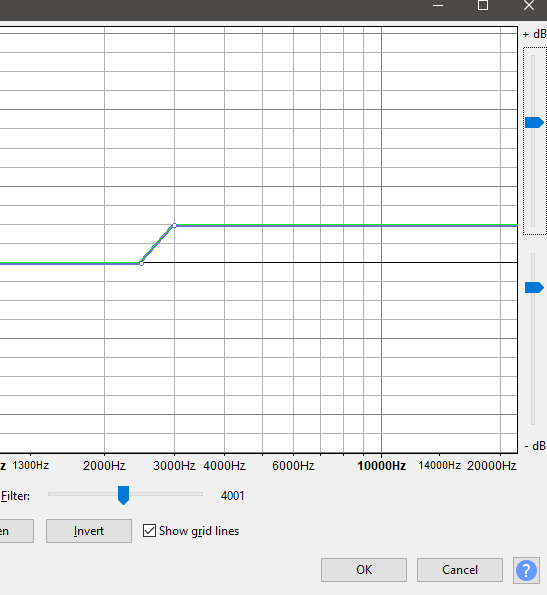
- Add two points on the high end (right side) at about 2500Hz and 3000Hz. Next, drag the point at 3000Hz to around 6dB. You can click preview to hear the recording, and make adjustments as necessary, but it should sound better already.
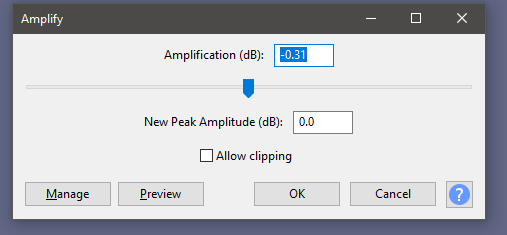
- After following these steps, click Effect < Amplify and then click OK with the default levels. This will help to fix up the audio levels after the equalization.
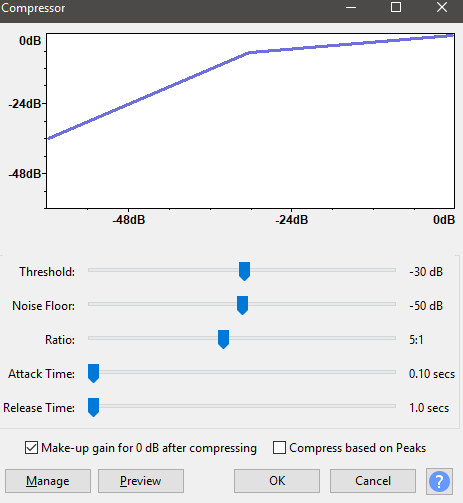
- Next, we will use the compressor effect to lower the higher decibel areas and bring up the lower decibel areas. Click Effect < Compressor. Use the settings as follows:
- Threshold: -30 dB
- Noise Floor: -50dB
- Ratio: 5:1
- Attack Time: 0.10 secs
- Release Time: 1.0 secs
- Tick Make-up gain for 0 dB after compressing
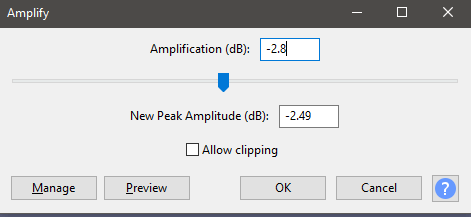
- Finally, click Effect < Amplify again. This time, set the amplification (dB) level to -2.8, then click OK.
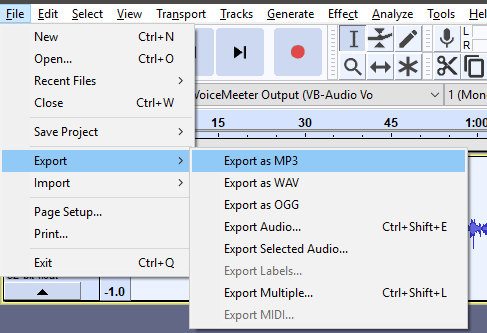
- You can now play the audio back. You should hear a considerable improvement over the default audio. To save the recording as an MP3, click File < Export < Export as MP3.
