Want to grab a font from an image or text? There are some surprisingly powerful tools available that can do all of the work for you. Once you know what font it is, you can then look online to download it and you’ll be able to use it with your usual word processing apps.
These tools aren’t always perfect at getting the exact font you’re looking for, but instead you’ll find a range of results that are very similar to the font you’ve scanned. Sometimes you can find the exact font too, but either way it’s much better than trying to search hopelessly online for a specific font name.
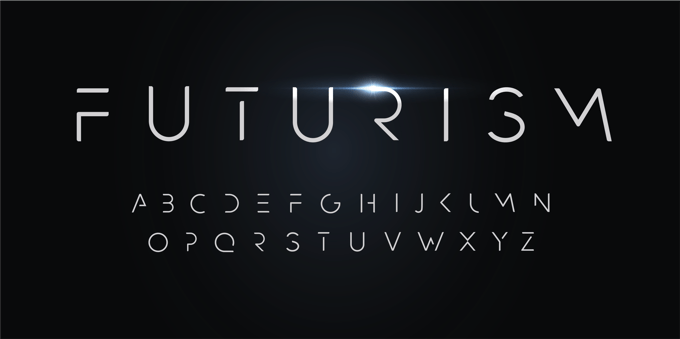
We’ll take a look at some font finder tools, then explain how you can install the fonts to your computer too.
The Best Font Finder Tools
Before we list the best font finder tools to discover the font, here is a quick tip for getting your font ready for scanning.
If you want to scan font from a PDF, document or web page, take a screenshot of the page as opposed to copying and pasting the text itself. If it’s text in a photo, you can crop out most of the background so that you’re left with just the font.
Next, follow the steps mentioned below for either of these font finder tools we have included.
What The Font by Myfonts
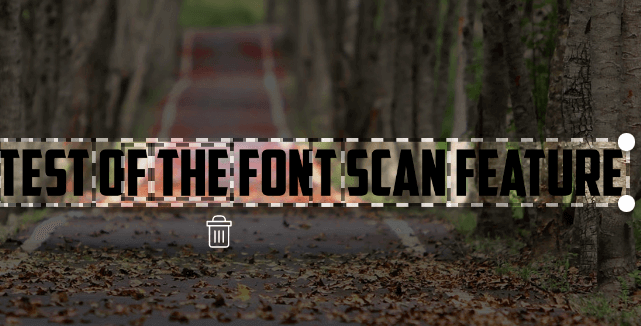
Visit the link above, click and drag your photo into the box, and Myfonts will identify any text in the image. Then, simply click to drag around the text you’d like to scan.
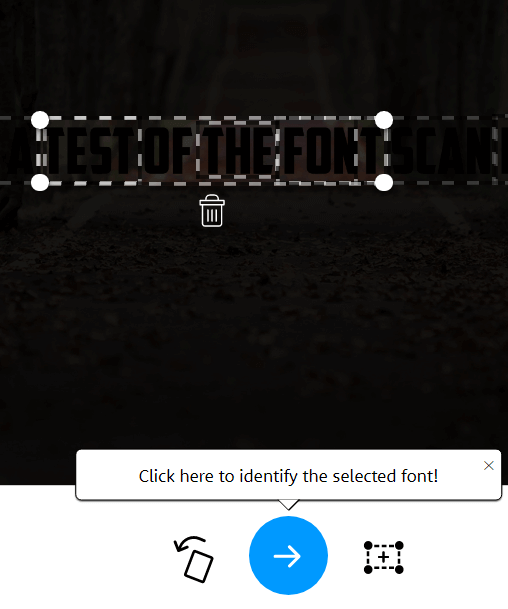
What The Font does a great job at finding text in an image, so in almost all cases you should see that the text is automatically highlighted. If not, you can use the drag tool to highlight the text manually. Once you do this, click the blue arrow to identify your font.
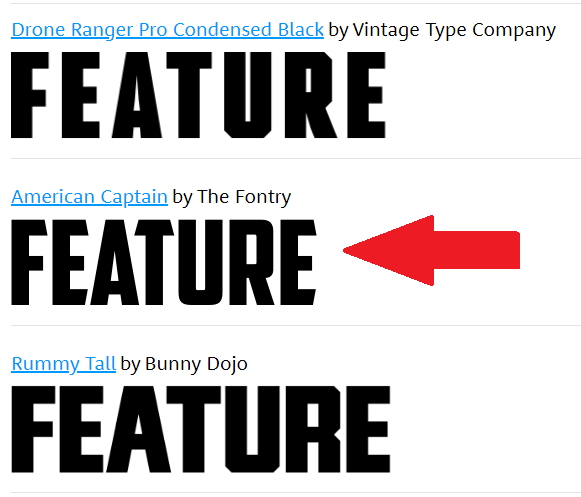
Like mentioned earlier, the font may not always be recognized immediately, but you’ll get a range of options. In our testing, What The Font found the right font, but placed it second in the list.
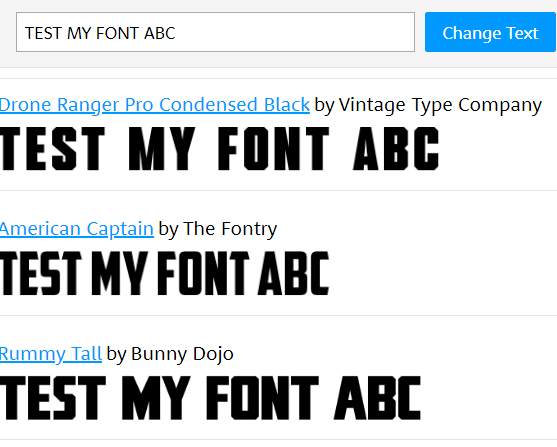
Many of the options here are very similar and you can enter your own text to see how the font will appear. We’ll explain later how you can find free variants of these fonts and also install it to your computer.
Font Matcherator by Fontspring
We found that What The Font was a more user friendly font scanner and worked accurately more often. For example, the darker images shown earlier could be detected by What The Font, but not by Fontspring. However, if What The Font isn’t working as intended, you can try Font Matcherator by Fontspring.

Visit the link above and drag your image into the box on the Font Matcherator website. Click and drag to surround the text with the marked box. If text is found, you will see red boxes outlining the text. Once you’re happy with the results, click the green Matcherate it button.
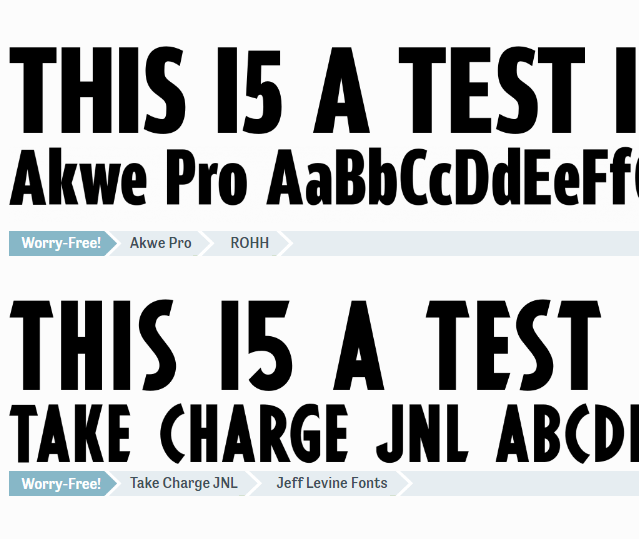
The end result may not be as accurate as you’d hope, but you should still see fonts that look similar to the one you scanned.
How to Download Free Fonts Online
You’ve found a font you like and have the name, but don’t want to pay $20 to $100 for it? Thankfully there are alternatives. Many font creators will create free versions of their fonts and you can find them online.

To do this, visit dafont then search for your font name in the search bar.
Once you’ve found the font, click the download button. Pay attention to the usage rights. Usually, these fonts are available for free for personal use, but you must pay the author for commercial usage rights.
If you cannot find your font here, you can go back to What The Font or Font Matcherator to find the name of a similar font. It may take some time to search around for an available font, but it can be worth it if you’re only using it for personal use.
If you need the font for commercial use, it’s best to purchase them off of websites like Myfonts or fonts.com. If you can’t find a font you like, you could always create your own font.
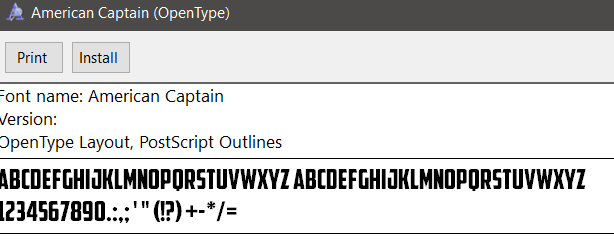
Once you’ve downloaded your font, it should be in a .zip file. Extract the .zip file with an archive tool and then browse to the location of the unzipped contents. Double click to run the .otf file and then click the install button.
You will now find the font available in most apps. This will include Microsoft Word, Photoshop, and most other popular programs that have some sort of word processing and font selector. On Mac, double click to install the .ttf file and then click the Install Font button when prompted.
How to Add Fonts in Adobe Creative Cloud
You can find a variety of free fonts to install to your Adobe Creative Cloud apps with just a few clicks.
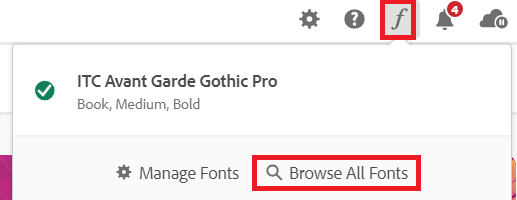
First open Adobe Creative Cloud. Next, click the italic f icon in the top right and then click Browse All Fonts. A new page will open in your browser. Sign into your Adobe account if you haven’t already, and you’ll have access to a powerful font search engine.
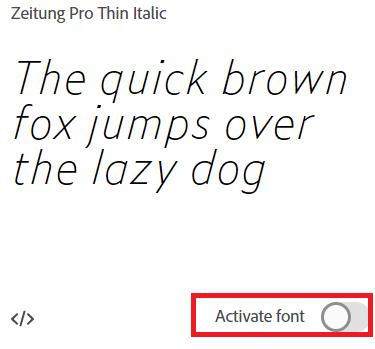
Browse through the categories or search for a specific font name, font family, or font creator. Once you’ve found a font, double click it and you’ll find yourself on a new page where you can click to activate each font. Click the activate button and the font will be available in your Adobe Creative Cloud apps.
What Font Is This?
In this article, we taught you how to find fonts online by scanning a single image. You’ve also learned how to find the font names online to download, as well as how to install them on your Windows PC or Mac.
Do you still have more questions? If you do, feel free to share them in the comments section.