Most people never really mess around with their Android phones, but if you’ve ever tried doing something a little off the beaten path, you’ve probably run into USB debugging mode. Activating it isn’t hard, but this ease of use hides the fact that there are serious implications when ticking that little box. Let’s look at this Android feature and weigh the pros and cons of using it.
What Is Android USB Debugging?
The Android USB Debugging mode is a part of the Developer Options menu. This is a set of toggles in Android that app developers use to make sure that their apps are working correctly and diagnose problems when issues arise.
Normally, your Android phone will have strict rules regarding devices that are connected to it via USB. It typically does not allow a connected device to modify it, give it commands or otherwise take over the functions of the device.
When you switch your phone over to USB debugging mode, you’re opening a control channel meant for the Android Software Development Kit (SDK), making it easy for app developers to see a live readout on a connected PC of what’s going on in the phone or tablet.
What Are the Uses for Android USB Debugging?
Apart from the intended developer use, why are regular non-developer users even turning this function on in the first place? There are a number of things you may want to do with your Android phone that take advantage of USB debugging mode.
One popular tool, which is also meant for developers is the Android Debug Bridge Utility. This opens up a command-line interface on your computer and lets you execute code and scripts on the phone.
This is a fast and effective way to modify the phone itself and a key method to “root” an Android phone. If you don’t know what it means to root a phone, it’s simply the act of gaining administrator privileges. ADB then further opens up the possibility of replacing the factory version of Android with custom firmware or simply the stock version of the latest Android release.
How to Activate USB Debugging Mode
As mentioned above, in order to access USB debugging mode you need to jump through a few hoops to activate developer mode. The exact method may differ slightly from one version of Android to the next. These steps are from a Galaxy S21 Ultra.
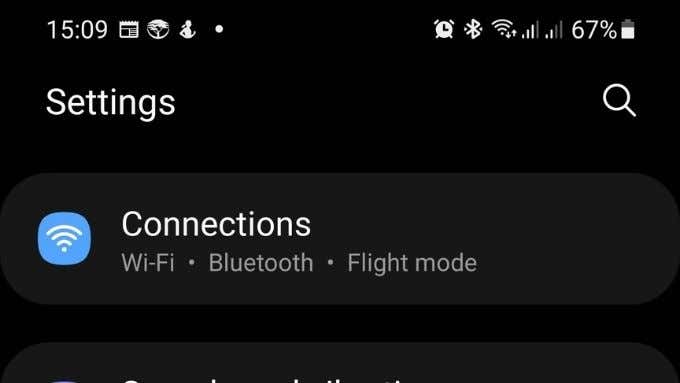
- Open Settings.
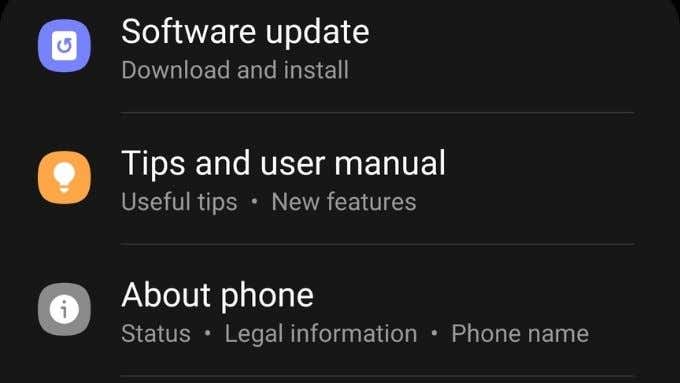
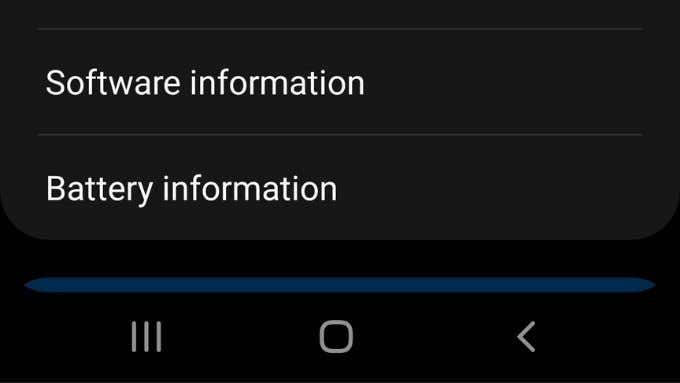
- Scroll down to About Phone.
- Select Software information.
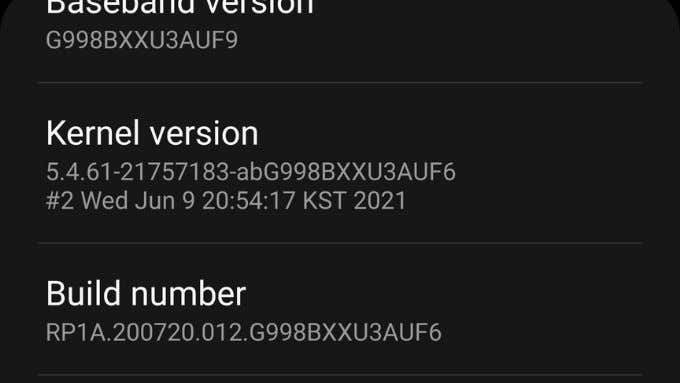
- Keep tapping on Build Number until developer mode is activated.
- Now go to Settings > Developer Options.
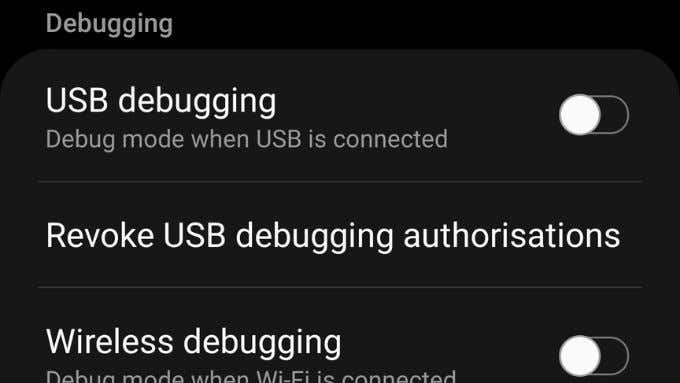
- Look for USB Debugging under the Debugging section and toggle the switch to the on position.
Now your phone is in USB Debugging mode and you can do all the things that have this mode as a requirement.
How Is Standard USB Mode Different?
Android devices in their default state are highly secure. When you plug them in to a computer to charge or transfer files, they don’t allow any access to the core and crucial software components of the operating system.
So, you can connect devices like USB flash drives or chargers to your phone without worrying that anything bad might happen to your device. That is, with the exception of malware being executed from external storage. However, safely sideloading applications to your Android device is a different type of risk.
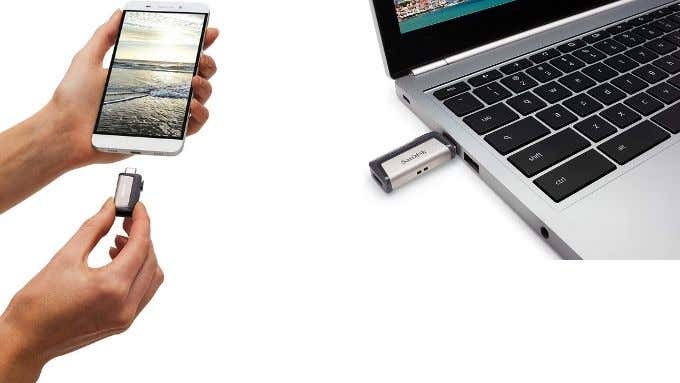
When you connect an Android device in its default USB mode to a computer, the phone always remains in control and you need to approve anything that happens between the computer and mobile device as the authorized Android user.
In USB debugging mode total control of the device can be handed over to the connected PC. Knowing this, the next question you have is probably whether leaving debugging mode on is a good idea or not.
Should You Leave USB Debugging On?
The short answer is no. If USB debugging mode is left on, you run the risk of a malicious actor or malicious software compromising your phone. The real-world risk is admittedly quite small. However, keep in mind that hackers only need to be lucky a small number of times for it to be worth the trouble of exploiting such an open door. Furthermore, if your phone is ever stolen or seized, there’s the potential that USB debugging could offer some way to break into the device.
Again, these are low-probability outcomes, but since switching off debugging mode when you aren’t actively using it is such a quick and easy thing to do, it’s better to err on the side of caution.
What if You Lose a Phone in Debug Mode?
If you’ve lost a phone that has USB Debug Mode active and it has been rooted, you may have a potentially serious situation on your hands. There’s nothing much you can do if this has already happened, other than to change all your passwords for the services you use. Additionally, you should watch out for signs of identity theft and take appropriate steps to protect yourself.
Even if you haven’t left USB debugging on, take the time to install Google’s Find My Device app. This will let you remotely wipe your device if you can’t retrieve it. Some Android phone brands, such as Samsung’s phones, have their own custom remote device tracking and erasure solution. In that case, you’ll probably want to set that up instead.
Don’t Take USB Debugging Lightly
The bottom line when it comes to this and any developer options is that you should never activate anything outside of the default configuration your phone or tablet shipped with, unless you know exactly what that option does. If you do switch on any of these options for a purpose that is only temporary, then the activation of the relevant option should be temporary as well. Practice this simple principle, and you’ll avoid any unnecessary security risks to your information.
